
Propagation
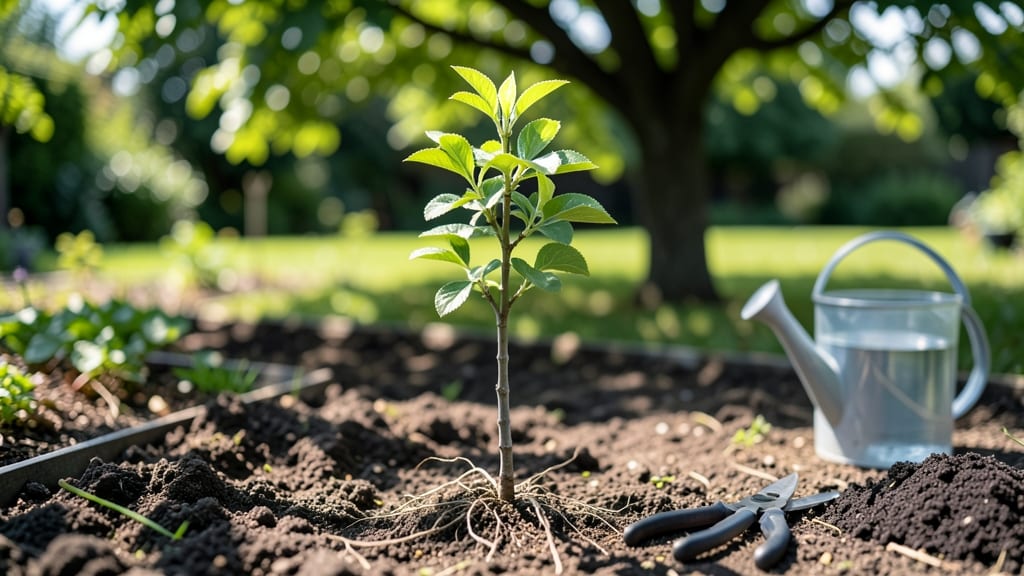
Planting a plum tree from seed feels like betting on the future—one that pays off in sweet, juicy rewards. 🌱 I’ve watched those tiny pits sprout into sturdy saplings after months of patience, and the key to success starts with cold stratification, a natural trick that mimics winter’s magic.
Most gardeners skip this step and wonder why their seeds never sprout, but with the right timing and conditions, you’ll break through that frustration and see life emerge.
The process is simpler than it sounds: soak the seeds overnight, then chill them in damp sand for 3 to 4 months to break dormancy.
You’ll need well-draining soil, a sunny spot, and a little extra care during the first year, but the payoff is a tree that’s uniquely yours—not just genetically, but because you nurtured it from the start. The biggest challenge? Waiting.
Germination can take 6 months to a year, but once those first leaves appear, you’ll know every effort was worth it.
What you’ll end up with is a tree that grows stronger with each season, its branches eventually heavy with fruit.
The first harvest might be years away, but the journey is where the real satisfaction lies—watching roots spread, leaves unfurl, and a tiny seed transform into something that feeds both body and soul. This isn’t just gardening; it’s a lesson in patience, and the plum tree is your perfect student.
Works best in zones 5-8, where winters are cold enough for natural stratification but not so harsh they’ll kill a young sapling. For warmer climates, extend the chilling period or use a refrigerator to simulate winter. Here’s how to turn that pit into a promise kept.
📚 In This Guide
- What you need
- Instructions
- Tips and common mistakes
- Wrapping up and next steps
What you need
- ● Plum seeds: 3–5 fresh, healthy seeds (harvested from ripe fruit, cleaned and dried).
- ● Cold-stratification supplies: 1 small plastic bag (resealable, ~1-gallon size) or a paper towel.
- ● 1–2 cups damp peat moss or sphagnum moss (or a mix of sand + peat).
- ○ Optional: A seed stratification kit (if available).
- ● Planting containers: 1–2 4-inch pots or small nursery containers (with drainage holes).
- ● OR a seed tray with individual cells (for multiple seeds).
- ● Potting mix: 1 bag of well-draining seed-starting mix (or a 50/50 blend of peat moss + perlite).
- ● Tools: 1 small trowel or spoon for transplanting.
- ● 1 spray bottle (for gentle watering).
- ● 1 label marker + tags (to track seed varieties).
- ● Location: A cool, dark place (like a fridge or unheated garage) for stratification (30–90°F).
- ● Sunlight access: A south-facing window or grow lights (12–16 hrs/day) after germination.
- ● Patience: Seeds may take 4–12 weeks to sprout—consistency is key!
- ● 1 humidity dome or plastic wrap (to retain moisture during germination).
- ● 1 thermometer (to monitor stratification temps).
- ● 1 fertilizer (balanced 10-10-10, diluted to half-strength for seedlings).
- ● 1 pruning shears (for future shaping—though not needed yet!).
Step-by-Step instructions for growing a plum tree from seed
Here's how I turn tiny seeds into sturdy saplings ready for the garden.
🌱 Step 1: Extract and Stratify the Seed
Plum pits need cold stratification to break dormancy. Start by cleaning the seed thoroughly—scrub off any remaining fruit pulp with water and let it dry completely. This prevents mold during stratification.
Place the cleaned seed in a sealed plastic bag with a moist paper towel. I like to use a quart-sized bag and add just enough water to dampen the towel—not soaking wet. Seal it tightly and refrigerate for 8-12 weeks. Check monthly to ensure the towel stays moist; if it dries out, add a few drops of water.
Here's the thing—don't rush this step. The cold period mimics winter conditions and signals the seed it's safe to germinate. If you skip stratification, the seed may never sprout or will produce a weak seedling that won't survive long-term.
⏰ Step 2: Plant After Stratification
After 8-12 weeks in the fridge, remove the seed and plant it in a small pot filled with well-draining potting mix. Press the seed about 1 inch deep into the soil—deeper planting delays germination because the seedling must push through more soil to reach light.
Water lightly until the surface feels evenly moist, but don't soak it. Overwatering now can cause the seed to rot before it even sprouts. Place the pot in a warm spot with indirect light, like a sunny windowsill that doesn't get direct afternoon sun. Germination can take 2-6 weeks, depending on the variety and your home's warmth.
You'll know it's working when you see a tiny green shoot push through the soil. This is the moment that matters—once it appears, move the pot to a brighter location immediately. Without enough light, the seedling will grow leggy and weak.
☀️ Step 3: Nurture the Sapling Through Its First Year
Once the seedling reaches 4-6 inches tall, it's ready for a larger pot or outdoor planting. If transplanting outdoors, wait until after the last frost date in your area and choose a spot with full sun (at least 6-8 hours daily). Plums thrive in well-draining soil with a pH between 6.0-7.0.
Water deeply once a week, allowing the top 2 inches of soil to dry out between waterings. Overwatering is the biggest mistake here—plum seedlings hate soggy roots. Mulch around the base with 2-3 inches of organic mulch to retain moisture and protect roots from temperature swings.
Real talk: Your first plum tree from seed won't bear fruit for 4-6 years. But if you're patient and give it consistent care, you'll end up with a hardy tree that produces fruit for decades. Prune lightly in late winter to remove dead wood and shape the tree, but avoid heavy pruning until it's established.
Tips & tricks for planting a plum tree from seed
Here's what I learned after years of growing plum trees from seed—and how to avoid the mistakes I made.
Stratification Success: The 8-12 week cold period in Step 1 is non-negotiable. I once tried skipping it, and my seedling took three months to sprout and was so weak it died within weeks. If you're short on time, start your stratification in early fall so it completes naturally through winter. Place a small dish of water in your fridge with the bag to maintain humidity without over-moistening.
Planting Depth Matters: That 1-inch planting depth in Step 2 is critical. I planted one seed ½ inch deep by accident, and it took 10 weeks to sprout instead of the usual 3-4 weeks. The seedling struggled to push through the extra soil. If your soil is heavy clay, mix in some perlite to improve drainage—plum seeds rot easily in compacted soil.
Germination Light Trick: Once you see that first green shoot in Step 2, move the pot to a south-facing window immediately. I learned this the hard way when my first seedling grew 4 inches tall before I noticed it was leaning toward the light. Use a small LED grow light for 12-14 hours daily if natural light is insufficient—this prevents leggy growth that weakens the stem.
First-Year Care: The 4-6 inch height in Step 3 is your cue to harden off the seedling before transplanting. Take it outside for 2 hours daily starting 2 weeks before your last frost date, gradually increasing time. I've seen many gardeners rush this step and lose seedlings to late frosts. Also, test your soil pH—most garden centers sell inexpensive test kits for under $10.
Pro Tips for Plant A Plum Tree From Seed
- Here's what I learned after years of growing plum trees from seed—and how to avoid the mistakes I made.
- Stratification Success: The 8-12 week cold period in Step 1 is non-negotiable.
- Planting Depth Matters: That 1-inch planting depth in Step 2 is critical.
Frequently asked questions
Got questions about growing a plum tree from seed? You’re not alone—this method takes patience and know-how! Here are answers to the most common queries to help you succeed.
How long does it take for a plum seed to sprout?
A cold-stratified plum seed typically takes 4–12 weeks to sprout after planting, depending on soil warmth and moisture. Some seeds may take longer—don’t panic! Keep the soil consistently damp and place the pot in a bright, indirect light spot. Patience is key—germination can be unpredictable, but with care, your little plum tree will emerge!
Can I plant plum seeds straight from the fruit without cold stratification?
Nope! Plum seeds need cold stratification (mimicking winter) to break dormancy. Planting them fresh often results in zero sprouts. Instead, follow the cold-stratification steps (like chilling the seeds in a damp paper towel for 6–8 weeks) before planting. It’s a small extra step that makes all the difference!
Will a plum tree grown from seed produce fruit like the parent tree?
Probably not—and that’s normal! Seed-grown plum trees often won’t match the parent’s variety in flavor, size, or fruit characteristics. For reliable fruit, consider grafting a known cultivar onto your seedling later. If you’re growing for the fun of it (or shade!), enjoy the adventure—your tree might surprise you with unique traits!
What should I do if my plum seedling gets pests or diseases?
Keep an eye out for aphids, spider mites, or fungal spots on young leaves. Treat mild infestations with a neem oil spray or insecticidal soap. For fungal issues, improve air circulation and avoid overhead watering. If problems persist, research organic remedies or consult a local nursery. Prevention (healthy soil, proper spacing) is your best defense!
Can I grow a plum tree from seed indoors, or does it need outdoor conditions?
You can start seeds indoors under grow lights during winter, but plum seedlings thrive outdoors once they’re 6–12 inches tall. They need full sun (6+ hours/day) and well-draining soil. If you’re in a cold climate, wait until after the last frost to transplant. Indoor starts give you a head start, but outdoor growing is essential for strong, fruiting trees!
Wrapping up and next steps
Growing a plum tree from seed is a rewarding journey that blends patience with nature’s magic! 🌱 By following these steps—stratifying, planting, and nurturing—you’re not just growing a tree; you’re fostering a future harvest of sweet plums.
Remember, consistency is key, and soon, you’ll watch your tiny seedling transform into a thriving tree.
Ready to take the next step? Once your seedling is strong enough, transplant it outdoors in a sunny spot with well-draining soil. Keep an eye on its growth, and in a few years, you could be enjoying homegrown plums—all from your very first seed! 🍑✨