
Pruning
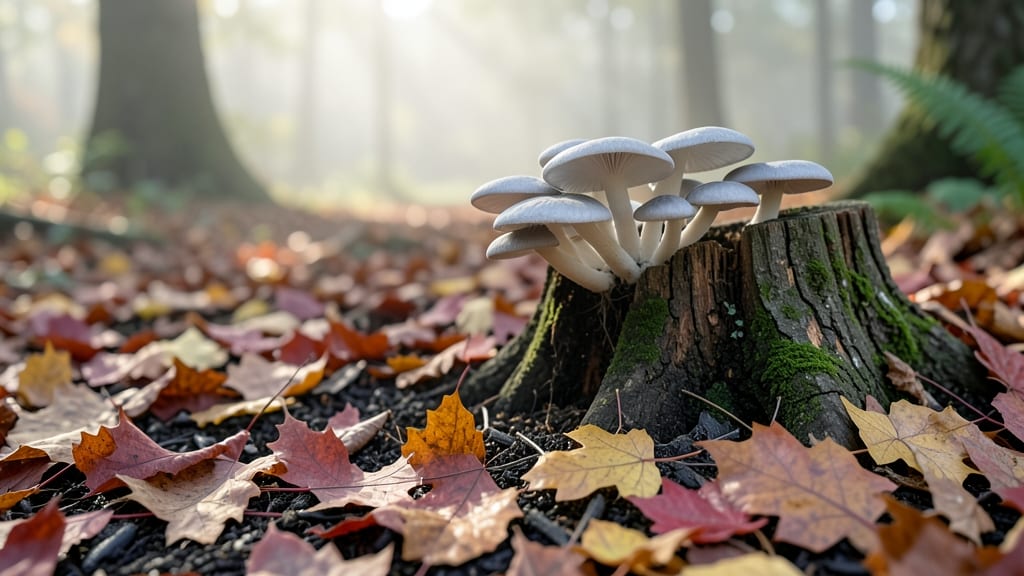
A tree stump house transforms a garden eyesore into a charming, functional centerpiece—with clever storage built right in. 🌳 I still remember the first time I saw one: a weathered stump turned into a tiny home for garden tools, complete with a sloped roof and tiny door.
The rustic appeal hides practicality, making it perfect for small yards or cozy corners.
The best stumps for this project are 4-6 feet in diameter and already decayed enough to hollow out safely. You’ll need basic tools—a handsaw, drill, sandpaper, and non-toxic sealant—to bring out the natural beauty while keeping it sturdy. Even beginners can handle this with patience and the right materials.
What you end up with is a hidden storage solution that doubles as decor—think potting soil, pruners, or even a fairy garden inside. The weathered wood adds warmth to any garden, while the tiny door invites curiosity. Plus, it’s a sustainable way to upcycle something that would otherwise be waste.
Works for front yards, patios, or woodland edges—just adjust the sealant for your climate. Ready to turn that old stump into a garden hero? Let’s get started with the tools and steps you’ll need.
📚 In This Guide
- What you need
- Instructions
- Tips and common mistakes
- Wrapping up and next steps
What you need
- ● Tree stump: 1 (preferably rot-resistant wood like cedar or oak; ensure it’s stable and free of pests).
- ● Exterior siding: 1–2 sheets of cedar shingles or weather-resistant plywood (cut to fit stump dimensions).
- ○ Optional: Stucco or painted wood panels for a polished look.
- ● Roofing: 1–2 corrugated metal sheets or asphalt shingles (size depends on stump diameter).
- ○ Optional: Shake roofing or reclaimed wood planks for a rustic vibe.
- ● Doors/windows: 1 small prehung door (18"–24" wide) or a hinged panel for a custom look.
- ○ Optional: Stained glass inserts or decorative lattice for charm.
- ● Fasteners: Galvanized deck screws (2"–3") or rust-proof nails (50–100 pieces).
- ● Exterior-grade wood glue (for extra reinforcement).
- ○ Insulation (optional): Rigid foam board or spray foam (if climate-controlled).
- ● Decorative touches: Moss, pebbles, or fairy lights for a magical aesthetic.
- ● Chalkboard paint (for a garden planner or notes).
- ● Measuring & marking: Tape measure, pencil, speed square.
- ● Cutting: Circular saw, jigsaw (for curves), or hand saw.
- ● Fastening: Drill/driver, impact driver, hammer.
- ● Finishing: Sandpaper (80–120 grit), caulk gun, paintbrush.
- ● Safety: Work gloves, safety goggles, ear protection.
- ○ Optional: Level, clamps, staple gun (for roofing).
- ● Location: Flat, stable ground (clear debris and level if needed).
- ● Permits: Check local regulations—some areas require permits for structures over 120 sq. ft.
- ● Weather prep: Work on a dry day; avoid rain for 48 hours after sealing.
- ● Stump prep: Sand rough edges and treat with wood sealer if using untreated stump.
Step-by-Step guide to building a tree stump house
Transform that old stump into a charming storage solution with these simple steps.
🪴 Step 1: Prepare the Stump for Construction
Start by cleaning the stump thoroughly with a wire brush to remove loose bark, dirt, and any remaining roots. I like to use a pressure washer on the lowest setting to speed this up—just don't blast too hard or you'll damage the wood. Let it dry completely in the sun for at least 48 hours before proceeding. This ensures the wood is stable and ready for building.
Next, inspect the stump for cracks or soft spots. Fill any small cracks with wood filler and let it dry. For larger cracks, you might need to reinforce with small wooden dowels or screws. The goal is to create a solid base—this is where your entire project rests, so take your time here. Once dry, sand down any rough edges with 80-grit sandpaper to create a smooth surface for attaching materials.
🌿 Step 2: Build the Base Frame
Using your 2x4 lumber, cut four pieces to create a square frame around the stump's opening. The frame should sit flush against the stump's edges, creating a level platform for the house walls. I recommend pre-drilling holes to prevent splitting the wood as you attach it with deck screws. Space the screws about 12 inches apart for maximum stability.
Now, measure and cut additional 2x4s to create vertical supports inside the frame. These will form the walls of your stump house. Attach them to the base frame using L-brackets or corner braces—this ensures the walls stay plumb and square. Here's a pro tip: Use a level to check each vertical piece before securing it permanently. If a piece isn't level, adjust it now before moving forward.
✂️ Step 3: Construct the Walls and Roof
For the walls, I like to use plywood cut to fit between the vertical supports. Attach the plywood to the frame with construction adhesive first, then secure with screws every 8-10 inches around the edges. Leave a small gap at the bottom of the walls to allow for airflow—this prevents moisture buildup inside the house. For the roof, cut plywood to create a sloped or flat top, depending on your design preference.
Attach the roof to the top of the walls using hinges if you want a removable top for easy access to stored items. For extra durability, add a waterproof sealant to the edges of the plywood before screwing the roof into place. This step is where your design really comes to life—take your time arranging the walls and roof to ensure everything fits snugly and looks balanced.
💧 Step 4: Add Finishing Touches and Storage
Once the basic structure is complete, sand all edges and surfaces with 120-grit sandpaper to smooth out any rough spots. Now's the time to add your chosen exterior paint or stain—choose something weather-resistant to protect your stump house from the elements. Let the paint dry completely before moving on. For extra rustic charm, consider adding decorative trim or carved details around the edges.
Inside the stump house, install shelves or compartments using 1x6 lumber or plywood. Customize the storage space to fit your needs—whether it's for gardening tools, small plants, or seasonal decorations. Seal the inside with a non-toxic wood sealant to protect the wood from moisture and pests. Finally, add a small ventilation hole near the top to ensure airflow and prevent condensation buildup.
Tips & tricks for perfect tree stump house construction
Here's what nobody tells you about building a stump house that lasts—and looks stunning.
Stump Prep Secret: After cleaning your stump, give it an extra boost by treating it with a wood preservative before building. This prevents rot and extends the life of your project. In Step 1, when you're letting it dry for the full 48 hours, place it in a spot with good airflow but partial shade to avoid cracking from direct sun exposure.
Frame Stability Hack: In Step 2, when attaching your 2x4 lumber frame, use a stud finder to ensure your screws land in the center of the wood fibers. This prevents splitting and makes your frame stronger. I also recommend marking screw locations with a pencil before drilling—this keeps everything perfectly aligned.
Wall Attachment Tip: For Step 3, when attaching plywood walls, use a caulk gun with construction adhesive first, then screw. This creates a stronger bond than screws alone. Leave that 1/4-inch gap at the bottom for airflow, but seal the top edge with waterproof sealant to prevent rain from seeping in through the roof joints.
Finishing Touch: In Step 4, when painting or staining, apply a clear polyurethane topcoat after your final color dries. This adds an extra layer of protection against weather and makes cleaning easier. For that rustic charm, consider using a stain with a slight sheen—it highlights the wood grain beautifully while still being durable.
Pro Tips for Tree Stump House
- Here's what nobody tells you about building a stump house that lasts—and looks stunning.
- Stump Prep Secret: After cleaning your stump, give it an extra boost by treating it with a wood preservative before building.
- Frame Stability Hack: In Step 2, when attaching your 2x4 lumber frame, use a stud finder to ensure your screws land in the center of the wood fibers.
Frequently asked questions
Got questions about turning a tree stump into a cozy, functional house? You’re not alone! Here are some of the most common queries—and their answers—to help you get started on your rustic project.
How long does it take to build a tree stump house?
Construction time varies based on size, complexity, and your skill level. A small, basic stump house can take 1-3 days for DIYers, while larger or more intricate designs may require 1-2 weeks. Plan for extra time if you’re adding storage, windows, or weatherproofing features.
What’s the average cost to build a tree stump house?
Costs depend on materials and whether you DIY or hire help. Budget $50–$200 for a simple, small stump house using reclaimed wood, screws, and basic tools. Upgrading to durable siding, insulation, or decorative elements can push costs to $300–$800+. Pro tip: Check local salvage yards for affordable wood!
Can I use any tree stump, or are there restrictions?
Most healthy, dead stumps work, but avoid rotten, termite-infested, or chemically treated wood. Opt for hardwoods like oak or maple—they’re sturdy and last longer. If the stump is still attached to the tree, consult a local arborist or check municipal rules before cutting. Safety first!
What are some creative alternatives if I don’t have a tree stump?
No stump? No problem! Try these space-saving ideas:
- Cinder block or pallet bases for a similar rustic look.
- Repurposed barrels or large planters as the foundation.
- Miniature shed designs with hidden compartments.
How do I prevent pests or rot in my tree stump house?
Prevention starts with drying the wood (let it sit for weeks in a dry area) and sealing it with outdoor wood sealant or linseed oil. Elevate the house slightly off the ground with gravel or bricks to improve airflow. Avoid placing it near standing water, and inspect it regularly for signs of pests or mold.
Wrapping up and next steps
Transforming a tree stump into a functional and charming tree stump house is more than just a creative project—it’s a celebration of sustainability and craftsmanship! 🌳✨ Whether you’re storing tools, creating a whimsical garden feature, or adding rustic storage to your outdoor space, this design blends practicality with eye-catching appeal.
With the right materials and a little patience, you’ll have a one-of-a-kind piece that enhances your yard and sparks conversations.
Ready to get started? Gather your supplies, sketch your design, and dive in—your future tree stump house awaits! For extra inspiration, browse DIY stump projects or share your progress with the gardening community. Happy building!