
Pruning
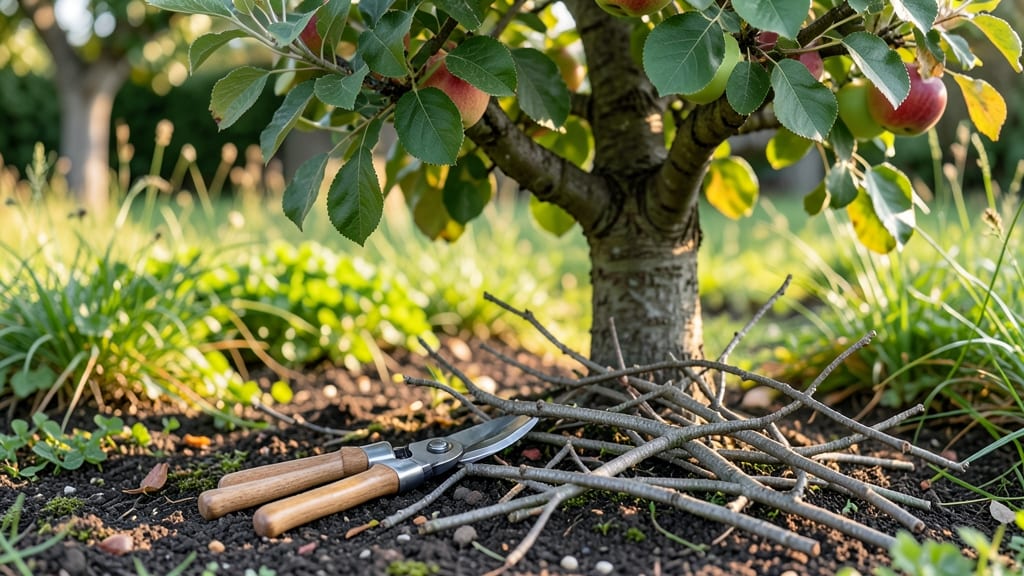
Pruning apple trees in fall isn’t just about shaping branches—it’s your chance to set them up for a healthier winter and a bigger harvest next summer.
I learned this the hard way when my first attempt left the tree looking like a bird’s nest and the fruit sparse the following year. The right cuts now mean stronger wood, fewer diseases, and more energy going to fruit production.
Timing matters most: aim for late fall after leaves drop but before hard freezes, typically November in most climates. You’ll need sharp pruners, a saw for thicker branches, and a clean rag to wipe between cuts—disease lurks on old wounds.
The goal is to remove dead wood, open the canopy for sunlight, and encourage new growth where it matters.
Three simple cuts transform your tree: first, thin out crossing branches to prevent rubbing; second, shorten last year’s growth by one-third to reduce winter damage; third, remove any suckers or water sprouts that steal energy. Afterward, seal larger cuts with pruning paste to prevent pests from moving in.
This method works for both young trees and mature ones, though older trees may need more aggressive pruning. The payoff? Fewer apples lost to disease, easier picking next season, and a tree that looks like it belongs in a storybook. Ready to sharpen those tools?
📚 In This Guide
- What you need
- Instructions
- Tips and common mistakes
- Wrapping up and next steps
What you need
- ● Pruning shears: Bypass pruners (for cuts up to ½ inch thick) – 1 pair (look for sharp, stainless steel blades).
- ● Loppers: For thicker branches (½ to 1½ inches) – 1 pair (choose bypass or anvil types with long handles for leverage).
- ● Pruning saw: For branches over 1½ inches – 1 saw (curved blade for smoother cuts).
- ● Gloves: Heavy-duty, cut-resistant gloves – 1 pair (protects against thorns and splinters).
- ● Disinfectant: 70% isopropyl alcohol or a 10% bleach solution – small spray bottle (prevents disease spread).
- ● Rubbing alcohol or hand sanitizer: For cleaning tools between cuts – travel-sized bottle.
- ● Bucket or trash bag: For collecting pruned branches – 1 large container.
- ○ Ladder (optional): Sturdy, extendable ladder – 1 (if trees exceed 6 feet tall).
- ● Pruning sealant: Wound dressing (like tree paint) – small jar (controversial but useful for large cuts).
- ● Marking spray: Fluorescent paint or tape – small bottle (to mark cuts for later reference).
- ● Work boots: Sturdy, ankle-supportive boots – 1 pair (for uneven terrain).
- ● Safety glasses: – 1 pair (protects eyes from debris).
- ● Notebook & pen: – 1 each (to sketch tree structure or note cuts).
Step-by-step guide to pruning apple trees in fall
Fall is the perfect time to shape your apple trees for stronger winter growth.
Remove Dead, Diseased, or Damaged Branches First
Start by scanning the tree for any branches that are brown, brittle, or showing signs of disease like fungal spots or oozing sap. These branches won’t recover and will only drain energy from healthy growth. Use sharp pruning shears to make clean cuts just outside the branch collar—the swollen area where the branch meets the trunk or another branch.
I always work from the bottom up, removing the worst offenders first. This keeps the tree balanced and prevents overloading the upper branches too early. If a branch is larger than 2 inches thick, use a pruning saw instead of shears to avoid tearing the bark. You’ll know you’ve made the right cut when the branch falls away cleanly without leaving a stub.
Thin Out Crossing or Rubbing Branches
Next, look for branches that cross each other or rub against one another. These create wounds where disease can enter and weaken the tree. Choose the smaller of the two branches to remove, cutting it back to the branch collar. This opens up the canopy, allowing better airflow and sunlight penetration—both critical for preventing fungal issues like apple scab.
Here’s the thing—don’t be afraid to be aggressive with this step. A well-thinned tree produces more fruit and grows stronger over time. If you’re unsure which branch to remove, imagine the tree’s natural shape: the stronger, more upright branch usually wins. You’ll see the difference in just a few years as the tree fills out more evenly.
Lightly Shape the Tree for Balance and Airflow
Now it’s time to refine the tree’s shape. Focus on removing branches that grow inward or downward, as these block light and air from reaching the center. Aim to create an open center with a slightly rounded top—this is called the "vase shape" and is ideal for apple trees. Cut back any branches that grow too close to the trunk or other branches, leaving at least a 6-inch gap.
For young trees, you can be a bit more aggressive with shaping, but for mature trees, keep cuts to no more than 25% of the tree’s total branches. This prevents stress and ensures the tree can still photosynthesize enough to store energy for winter. Step back occasionally to visualize the tree’s structure—you’re sculpting, not hacking.
Tips & tricks for pruning apple trees in fall
Fall pruning sets the stage for a healthier, more productive apple tree next season—here's how to avoid common mistakes and get it right the first time.
Tool Prep: Clean and sharpen your pruning shears and saw before starting. Dull tools crush branches instead of making clean cuts, which can damage the tree and invite disease. I always wipe down blades with rubbing alcohol after each cut to prevent spreading any potential pathogens between branches. This simple step can make all the difference in keeping your tree healthy.
Visualize First: Before making any cuts, step back and examine the tree's overall structure. Imagine how light and air need to move through the branches. The goal is to create an open vase shape that allows sunlight to reach the center. I like to sketch a rough outline of my ideal shape on paper first—it helps me see the big picture before starting. This prevents over-pruning and ensures balanced growth.
Timing Matters: Prune apple trees in late fall after leaf drop but before the ground freezes. This timing allows wounds to heal before winter while avoiding late-season diseases that can spread when trees are vulnerable. If you must prune later, wait until early spring before buds swell. The key is to give the tree time to recover before winter stress sets in.
Sterilize Between Cuts: Disinfect your tools between each major cut, especially when removing diseased branches. I keep a small bottle of bleach solution (1 part bleach to 9 parts water) nearby and dip tools in between cuts. This prevents spreading fungal spores or bacterial infections to healthy parts of the tree. It's a small effort that pays off in a healthier tree next season.
Pro Tips for Pruning Apple Trees In Fall
- Fall pruning sets the stage for a healthier, more productive apple tree next season—here's how to avoid common mistakes and get it right the first time.
- Tool Prep: Clean and sharpen your pruning shears and saw before starting.
- Visualize First: Before making any cuts, step back and examine the tree's overall structure.
Frequently asked questions
When is the exact best time to prune apple trees in fall?
Prune apple trees after leaf drop but before hard frost—typically late October to early November in most U.S. zones. This timing balances disease prevention (fewer fungal spores in cold air) with winter hardening. Avoid pruning too early (warm spells encourage disease) or too late (frost-damaged wood heals poorly).
Can I prune apple trees in winter instead of fall?
Winter pruning (dormant season) is safe but riskier for apple trees. Cold snaps can stress freshly cut wood, and late-winter pruning (Feb–March) may stimulate early growth vulnerable to frost. If you must wait, prioritize structural cuts (removing deadwood) over shaping—save detailed pruning for fall.
What if my cuts bleed or ooze sap after pruning?
Sap bleeding (especially in spring/fall) is normal but harmless. It won’t harm the tree. To minimize mess, prune on a dry day and avoid cutting into wet wood (like after rain). Seal cuts with pruning sealant only if the tree is diseased or in a humid climate.
Will pruning now reduce next year’s apple harvest?
Not if done correctly! Proper fall pruning boosts fruit production by improving air circulation and sunlight penetration. Focus on removing water sprouts, dead branches, and crossing limbs—these cuts redirect energy to fruit-bearing branches. Over-pruning (removing >25% of foliage) may temporarily reduce yield, but balanced cuts enhance long-term health.
How do I know if my apple tree is too cold-hardy for fall pruning?
Most apple varieties (e.g., Honeycrisp, Fuji, Granny Smith) tolerate fall pruning in USDA Zones 4–8. If you’re in Zone 3 or colder, delay until early spring. Watch for brown, mushy wood after cuts—this signals frost damage. In borderline climates, prune on mild days (40–60°F) and avoid late-season cuts.
Do I need special tools for fall pruning?
Basic tools suffice: bypass pruners (for small branches), loppers (up to 2" diameter), and a pruning saw for thick limbs. Sterilize blades with rubbing alcohol between cuts to prevent bacterial spread. Avoid dull tools—clean cuts heal faster!
Wrapping up and next steps
Fall pruning is your secret weapon for nurturing a healthier, more productive apple tree—and with the right cuts, you’ll set the stage for bountiful harvests next season! 🍏 By removing dead wood, thinning crowded branches, and shaping for airflow, you’re not just tidying up—you’re investing in long-term growth.
Now that you’re armed with the 3 key cuts and answers to common questions, there’s only one step left:
- Grab your pruners and schedule your session on a dry, calm day before winter dormancy sets in.
- Watch your tree thrive—and maybe even treat yourself to a fresh-picked apple as your reward! 🌟
Happy pruning—your future orchard will thank you!