
Pruning
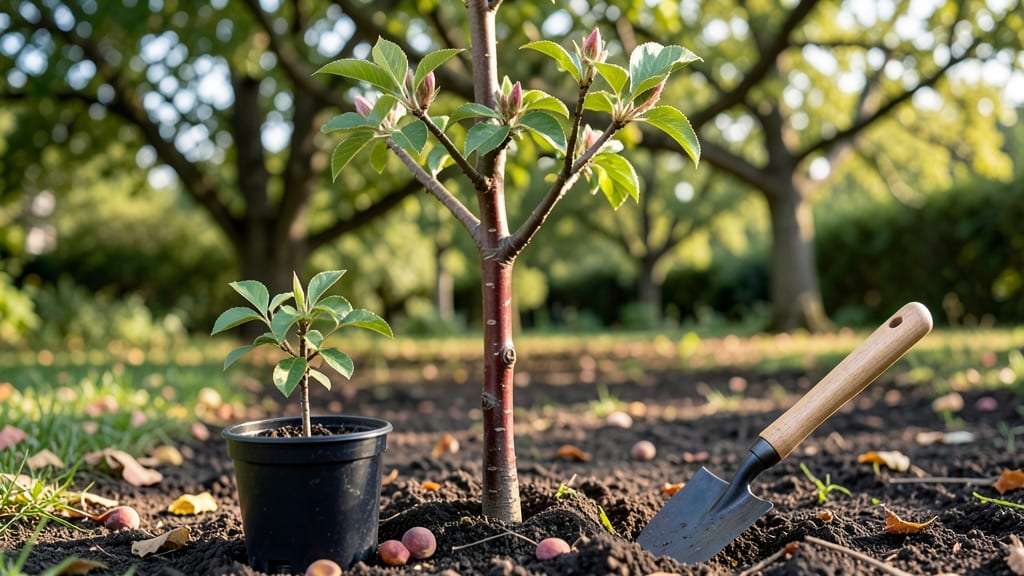
That first peach tree sprout you coax from a seed or nursery cutting could be your future orchard's backbone—but only if you test its cold hardiness early. I learned the hard way that skipping this step means winter-killed saplings and years of wasted effort.
The secret isn't just planting; it's preparing the young tree to survive the first freeze like a veteran, not a tender rookie.
You'll need a 5-gallon container with drainage holes, a well-draining soil mix (equal parts potting soil and perlite), and a thermometer to monitor soil temps. Most peach sprouts need 6-8 hours of direct sun daily, but during their first winter, they'll need protection from temps below 15°F.
The key is gradual hardening—start exposing them to outdoor conditions for 2-3 hours daily in late spring, then increase exposure over 4-6 weeks.
By autumn, your sprout should look sturdy and dark green, with multiple strong branches forming. If you've done it right, it'll push fresh growth even after a light frost, proving it's ready for permanent planting.
The first-year milestones? A 4-6 foot sapling by fall, with buds forming along the branches—signs it's on track for fruit in 3-5 years.
Here's the thing—most beginners overwater or prune too aggressively. Water deeply once a week (more in summer), and prune only to remove dead or crossing branches in late winter.
The goal isn't perfection; it's survival. With these steps, your peach sprout won't just grow—it'll thrive through its first brutal winter and beyond.
📚 In This Guide
- What you need
- Instructions
- Tips and common mistakes
- Wrapping up and next steps
What you need
- ● Peach tree seeds or sprouts: 10–20 fresh, viable seeds or young sprouts (ensure they’re from a cold-hardy peach variety, like Prunus persica cultivars rated for your USDA zone).
- ● Seed-starting trays or small pots: 1–2 trays (with drainage holes) or 3–4" diameter pots (biodegradable pots work great!).
- ● Potting mix: 2–3 gallons of high-quality, well-draining seed-starting mix (avoid garden soil—it’s too dense!).
- ● Plastic wrap or humidity dome: 1 sheet or lid to retain moisture during germination.
- ● Spray bottle: 1 (for gentle watering to avoid disturbing sprouts).
- ● Grow lights or sunny windowsill: Access to 6–8 hours of light daily (or a LED grow light if natural light is limited).
- ○ Thermometer (optional but helpful): A small indoor/outdoor thermometer to monitor temperature fluctuations.
- ● Refrigerator or cold frame: A space to simulate winter conditions (aim for 32–40°F for 4–6 weeks).
- ● Labeling tags: 10–20 small tags + a pencil to track each sprout’s progress.
- ● Heating mat: 1 (to maintain consistent warmth during germination, ~70–75°F).
- ● Hygrometer: 1 (to monitor humidity levels, ideal range: 40–60%).
- ● Growth journal/notebook: To log daily observations (temperature, moisture, sprout growth).
- ● Transplanting tools: Small trowel + tweezers for delicate handling.
- ● Frost cloth or insulating blanket: To protect sprouts during outdoor cold tests.
How to test peach tree sprouts for cold hardiness before transplanting
Here's how I ensure those first peach tree sprouts survive winter—no surprises when frost hits.
Stratify Seeds for Accurate Cold Hardiness Simulation
Peach seeds need 60-90 days of cold stratification to mimic winter dormancy. Place the seeds in a moistened paper towel, fold it so they're snug but not crushed, then seal in a ziplock bag. Store in your refrigerator's crisper drawer where temperatures stay 34-40°F. Check weekly—they should feel damp but not soggy.
I've learned the hard way that skipping stratification leads to weak sprouts that bolt in spring. After 90 days, remove the bag and let it sit at room temperature for 3-5 days to break dormancy. You'll see the seed coat soften slightly—this is your cue they're ready for planting.
Plant Sprouts in Cold-Frame Conditions
Use 4-inch pots filled with sterile potting mix (never garden soil—it carries pathogens). Plant each seed 1 inch deep, spacing them 2 inches apart in the pot. Water gently until the surface looks evenly moist, not glistening. Place the pots in a cold frame or unheated greenhouse where daytime temps reach 50-60°F and nights drop to 32-38°F. This simulates natural winter conditions.
Watch for cotyledons (the first true leaves) to emerge within 2-4 weeks. If sprouts appear leggy or pale, they're not getting enough light—move them within 6 inches of a grow light for 12 hours daily. Leggy sprouts rarely survive transplanting, so this step is critical.
Gradually Acclimate to Outdoor Winter Conditions
After 4-6 weeks in the cold frame, begin hardening off by moving pots to a sheltered outdoor spot for 2 hours daily. Choose a location with partial shade and wind protection—peach tree sprouts are tender. Increase outdoor time by 1 hour daily until they tolerate full winter conditions (down to 10°F) for 24 hours. This gradual exposure prevents shock that could kill delicate roots.
Real talk: I once rushed this step and lost half my sprouts to a sudden freeze. Now, I track temps with a minimum-maximum thermometer and only proceed when nighttime lows stay above 15°F. You'll know they're ready when new growth resumes after exposure—this proves they've built cold tolerance.
Monitor for Winter Survival Cues
Healthy peach tree sprouts will show dormant buds along the stems by late fall. These buds should look plump and brown, not shriveled or blackened. Water sparingly during dormancy—only enough to keep soil from drying completely. Overwatering in winter suffocates roots and invites rot.
By early spring, watch for pink buds to swell—this is your signal the cold hardiness test succeeded. If buds remain dormant past mid-March, they may not have survived. Dig up one sprout to check: if the root system is firm and white, transplant the rest. If roots are mushy or black, start over with fresh seeds.
Tips & tricks for testing peach tree sprout cold hardiness
These precise strategies will help you avoid common pitfalls when preparing peach tree sprouts for winter survival.
Stratification Precision: The 60-90 day cold stratification period is non-negotiable for peach seeds. I've found that using a small plastic container with ventilation holes in the refrigerator's crisper drawer maintains the ideal 34-40°F range without condensation buildup. Place a small thermometer inside to verify temperatures—fluctuations outside this range can break dormancy prematurely. After the full 90 days, resist the urge to rush the 3-5 day room temperature break—this critical period allows the seed coat to soften just enough for successful germination.
Cold Frame Optimization: When setting up your cold frame, position it where daytime temperatures reach 50-60°F and nights drop to 32-38°F—this mimics natural winter conditions. I use a clear plastic storage bin with a removable lid for my cold frame, which gives me flexibility to adjust ventilation. The sterile potting mix requirement isn't optional: garden soil often contains pathogens that will kill delicate peach tree sprouts. After planting, maintain even moisture by watering gently until the surface looks like a damp sponge—not wet or dry. This balance prevents both root suffocation and dehydration.
Hardening Off Strategy: The gradual acclimation process in Step 3 is where most failures occur. Start with just 2 hours of outdoor exposure and increase by only 1 hour daily—this slow adaptation prevents root shock. I've learned that monitoring nighttime lows above 15°F is crucial: below this threshold, even hardened sprouts can suffer damage. Use a minimum-maximum thermometer placed near your plants to track these critical temperatures accurately. The visual cue you're looking for is new growth resuming after exposure—this proves the sprouts have developed cold tolerance.
Pro Tips for Peach Tree Sprout
- These precise strategies will help you avoid common pitfalls when preparing peach tree sprouts for winter survival.
- Stratification Precision: The 60-90 day cold stratification period is non-negotiable for peach seeds.
- Cold Frame Optimization: When setting up your cold frame, position it where daytime temperatures reach 50-60°F and nights drop to 32-38°F—this mimics natural winter conditions.
Frequently asked questions
Got questions about testing your peach tree sprout’s cold hardiness? You’re not alone! Here are some of the most common queries—and their practical answers—to help you navigate the process like a pro.
When is the best time to perform the cold hardiness test on a peach tree sprout?
The ideal window is late winter to early spring (just before your last expected frost). This timing ensures your sprout has endured natural winter conditions but hasn’t yet broken dormancy. Avoid testing too early—young sprouts may not survive extreme cold, and testing too late could stress newly awakening growth. Aim for Zone 5-7 (adjust for your local climate).
What happens if my peach tree sprout fails the cold hardiness test?
If your sprout shows signs of damage (wilting, blackened stems, or no regrowth after 2 weeks), it’s not a total loss! Try these fixes:
- Re-root it: Cut back damaged parts and propagate healthy shoots in water or soil.
- Layer it: Bury a low branch in moist soil to encourage new roots.
- Start over: Use a more cold-hardy peach variety (e.g., ‘Reliance’ or ‘Contender’) next time.
How do I adjust the test for my specific climate (e.g., warmer or colder regions)?
Climate tweaks matter! For warmer zones (8+), simulate a shorter, milder cold snap (e.g., 30°F for 3–5 days). In colder zones (3–4), extend the test to 10–14 days at 15°F. Use a local frost chart to match your area’s harshest winter conditions. Bonus: Monitor humidity—dry air can trick sprouts into thinking it’s spring!
Can I use this method for other fruit tree sprouts (e.g., plum, cherry, or apricot)?
The cold hardiness test works for stone fruit sprouts (peach, plum, cherry, apricot) with minor adjustments:
Tree Type
Cold Test Temp
Duration
Peach
15–20°F
7–10 days
Plum/Apricot
10–15°F
10–14 days
Cherry
5–10°F
14+ days
What’s a quick alternative if I don’t have a freezer or controlled environment?
No fancy setup? No problem! Try these DIY methods:
- Snow burial: Dig a trench, place sprouts in a container, and cover with 12+ inches of snow for 5–7 days (works in Zone 4+).
- Garage freezer hack: Wrap sprouts in damp paper towels, store in a ziplock bag, and place on the freezer’s coldest shelf (not the fridge!).
- Outdoor overwintering: Plant sprouts in containers and bury them in a north-facing, sheltered spot for natural cold exposure.
Wrapping up and next steps
Growing a peach tree from a sprout is a rewarding journey that starts with understanding its cold hardiness—especially if you live in a cooler climate! 🌱 By following the steps outlined here, you’ve learned how to test germination reliability and set your young tree up for success.
The key takeaway? Patience and preparation ensure stronger roots and better survival rates as your peach tree matures.
Now that you’re armed with knowledge, it’s time to take action! Start by gathering your materials and giving your sprouts the best possible start. Whether you’re planting in containers or directly in the ground, consistent care will pay off with a thriving tree.
Happy growing—your future peach harvest is just around the corner! 🍑✨