
Pruning
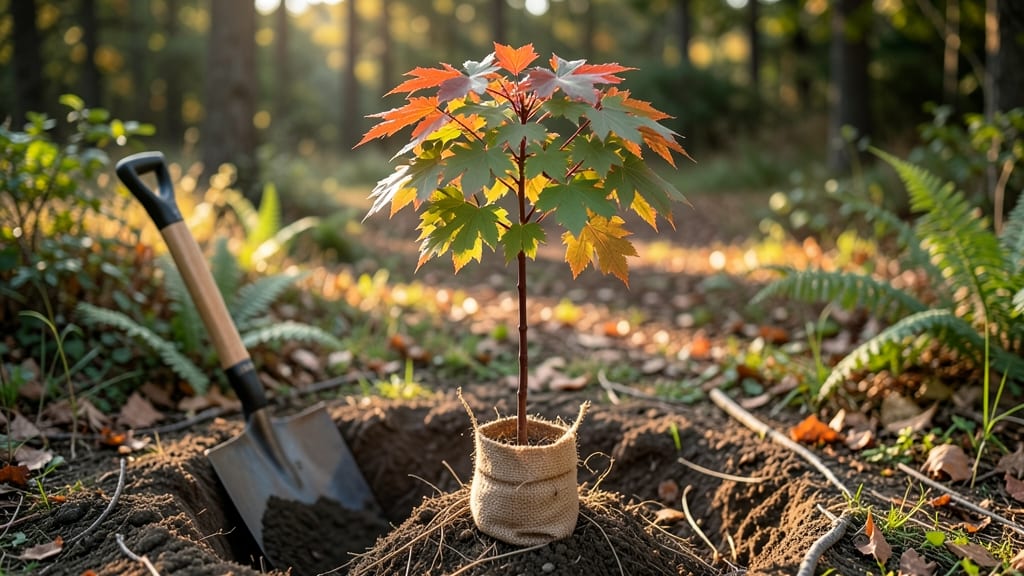
Replanting a maple tree isn’t just possible—it’s a game-changer for saving a struggling specimen. 🌳 I’ve nursed back several maples that looked doomed, and the secret lies in timing, soil prep, and gentle handling of those delicate roots.
Most people rush the process, but maples reward patience with decades of vibrant foliage and sturdy growth.
The right time is everything: aim for late fall or early spring when the tree’s dormant but not yet pushing new leaves. You’ll need a shovel, wheelbarrow, burlap for wrapping roots, and a 5-foot-deep hole with amended soil—maples hate soggy roots but love well-draining earth.
A 2-inch layer of mulch after planting keeps moisture in and weeds out without smothering the trunk.
Once replanted, your maple will need deep watering twice a week for the first year, plus occasional pruning to remove any damaged branches. The first few years are critical—skimp on care, and you’ll end up with a weak, stunted tree.
But get it right, and you’ll have a strong, healthy maple that outlives your grandchildren.
Common mistakes? Overwatering, burying the root flare too deep, or ignoring soil prep. Maple roots are sensitive—treat them like fragile glass, not construction materials. Let’s get your tree thriving again with these foolproof steps.
📚 In This Guide
- What you need
- Instructions
- Tips and common mistakes
- Wrapping up and next steps
What you need
- ● Shovel or spade – A sharp, sturdy digging spade (16–24" blade) for excavating the root ball.
- ● Root pruners or saw – For trimming tangled or damaged roots (if necessary). A pruning saw with a fine-tooth blade works best.
- ● Wheelbarrow or tarp – To transport soil and the root ball (a 5–10 gallon capacity should suffice for small trees).
- ● Grafting tape or burlap wrap – To secure the root ball and prevent soil loss during transport (3–5 feet of tape).
- ● Native or well-draining soil mix – A blend of topsoil, compost, and perlite (50/30/20 ratio) for optimal root health.
- ● Mulch (wood chips or shredded bark) – 3–4 inches of organic mulch to retain moisture and regulate temperature.
- ● Watering can or hose with a gentle spray nozzle – For thorough watering (5–10 gallons per watering session).
- ○ Staking supplies (optional but helpful) – 2–3 wooden stakes (1–2" diameter, 4–6 ft tall) and tree ties for support if the tree is tall or top-heavy.
- ● Root stimulator or mycorrhizal fungi – Boosts root growth and soil health (follow package instructions).
- ● Anti-transpirant spray – Protects leaves from drying out during transplant shock.
- ● Soil test kit – Ensures your new planting site has the right pH and nutrients (ideal pH for maples: 6.0–7.5).
- ● Tree collar protector – Shields the trunk from damage during staking.
How to replant a maple tree: essential steps for healthy regrowth
Here’s the method I’ve used to replant maples with minimal shock—whether you’re moving a young sapling or rescuing a stressed transplant.
🌱 Step 1: Dig the New Hole with Precision
The hole must match the root ball’s size but never deeper—maple roots hate sitting in pooled water. Use a spade to dig a hole twice as wide as the root ball but only as deep as the container or original planting depth. Loosen the sides with your hands or a garden fork to create a backfill that won’t compact.
I always test the hole’s drainage first by filling it halfway with water. If it drains within 10-15 minutes, you’re good. Slow drainage means amending the soil with 2-3 inches of coarse sand mixed into the bottom layer. Maple roots rot quickly in soggy soil, and this step prevents years of decline.
🪴 Step 2: Prepare the Root Ball for Transplanting
Gently remove the tree from its container or burlap wrap, keeping the root ball intact. If roots are circling (a common problem with container-grown maples), use a sharp knife to make 2-3 vertical cuts along the root ball’s perimeter. This encourages outward growth instead of suffocating the roots.
Shake off excess soil but preserve the outer layer—it protects fine feeder roots. For balled-and-burlapped trees, untie the burlap but leave it in place as a temporary root barrier. Soak the root ball for 10-15 minutes before planting to revive any dried roots. You’ll see water bead on the surface when it’s fully rehydrated.
☀️ Step 3: Position and Backfill with Care
Place the tree in the hole so the top of the root ball sits 1-2 inches above ground level. Maple trees settle over time, and burying the trunk too deeply invites rot. Use a level to ensure the tree stands upright—tilted trees grow unevenly and stress the trunk.
Backfill with the native soil you removed (never amended soil), tamping lightly every 2 inches to eliminate air pockets. Water deeply after each layer to help soil settle. Once filled, create a 3-foot-wide watering basin around the base by mounding soil outward. This directs irrigation straight to the roots where it’s needed most.
💧 Step 4: Water and Mulch for Recovery
Give the tree 10 gallons of water immediately after planting, then repeat every 3-4 days for the first month. Deep watering encourages roots to grow outward instead of staying shallow. Check soil moisture by inserting a finger 3 inches deep—if it’s dry, water again. Overwatering now is worse than underwatering; maples hate soggy feet.
Spread 3 inches of mulch (wood chips or shredded bark) over the basin, keeping it 6 inches away from the trunk. Mulch retains moisture and regulates soil temperature, but too much smothers the roots. Replenish mulch annually in spring to maintain that 3-inch layer. Avoid fresh wood chips—they rob nitrogen as they break down, stressing the tree.
⏰ Step 5: Support and Monitor Through the First Year
Stake the tree only if it leans more than 15 degrees—maples grow tall naturally and rarely need support. If staking, use two stakes on opposite sides and a spreader bar to avoid girdling the trunk. Remove stakes after 6-12 months to prevent weak stem development.
Watch for yellowing leaves in the first few weeks—this is normal as roots adjust. But if leaves curl or wilt persistently, the tree may be struggling with transplant shock. Prune only dead or broken branches the first year; new growth is your priority. By spring, you’ll see fresh shoots as a sign the roots have taken hold.
Tips & tricks for perfect maple tree replanting
These little-known details make all the difference when you're replanting maples—trust me, I've seen the difference between thriving trees and those that struggle for years.
Drainage is Non-Negotiable: That 10-15 minute drainage test in Step 1 isn't just about avoiding soggy soil—it's about creating the perfect oxygen-rich environment for new root growth. If your soil drains too slowly, mix that 2-3 inches of coarse sand right into the bottom layer of the hole. This creates a capillary break that prevents water from pooling around the roots, which is especially critical for maples that hate "wet feet." I've seen replanted maples decline within weeks when this step was skipped.
The Root Ball Revival Technique: When you soak the root ball for those 10-15 minutes before planting in Step 2, you're not just wetting the roots—you're reviving them. Look for water beading on the surface as your confirmation. This pre-soaking helps compensate for any root damage that might have occurred during removal. For container-grown trees, I often add a tablespoon of mycorrhizal fungi powder to the water during this soak—it helps establish beneficial root relationships right from the start.
Positioning Precision Pays Off: That 1-2 inches above ground level in Step 3 isn't just a suggestion—it's about preventing girdling as the tree settles. Use a small stick or dowel as a reference when placing the tree to ensure you're maintaining that perfect elevation. I've seen too many replanted maples develop trunk rot because they were buried too deeply. Also, use a carpenter's level for the 15-degree tilt check—your eyes can deceive you when the tree is leaning slightly.
Watering Wisdom: The 10 gallons immediately after planting in Step 4 should be spread evenly around the entire watering basin, not poured in one spot. I use a garden hose with a slow watering setting to distribute it gradually. For the 3-4 day watering schedule, mark your calendar with sticky notes—consistency is more important than exact timing. And that 3-inch deep soil moisture check? Use your knuckle as a reference point—when you can no longer feel moisture at that depth, it's time to water again.
Pro Tips for Replant A Maple Tree
- These little-known details make all the difference when you're replanting maples—trust me, I've seen the difference between thriving trees and those that struggle for years.
- Drainage is Non-Negotiable: That 10-15 minute drainage test in Step 1 isn't just about avoiding soggy soil—it's about creating the perfect oxygen-rich environment for new root growth.
- The Root Ball Revival Technique: When you soak the root ball for those 10-15 minutes before planting in Step 2, you're not just wetting the roots—you're reviving them.
Frequently asked questions
Got questions about replanting your maple tree? You’re not alone! Here are some of the most common concerns—and straightforward answers—to help you succeed.
When is the best time to replant a maple tree?
The ideal window is late fall to early spring (November–March), when the tree is dormant. Avoid replanting during extreme heat or cold, as stress can weaken the roots. If you must replant in summer, choose a cool, overcast day and water thoroughly afterward to reduce shock.
Can I replant a maple tree with bare roots, or should I keep the soil?
Both methods work, but bare-root replanting is best for damaged trees—it lets you inspect roots and trim dead sections. If the root ball is intact, keep the soil moist but not soggy during transport. For large trees, a burlap-wrapped root ball minimizes stress.
What if my maple tree’s leaves turn yellow or wilt after replanting?
Don’t panic! Yellowing (chlorosis) or wilting often signals transplant shock. Improve drainage, water deeply 2–3 times weekly for the first month, and avoid fertilizing for 6–8 weeks. If leaves persistently droop, check for root girdling (circular roots) or pests like aphids.
Are there alternatives if my maple tree won’t survive replanting?
If the tree is too stressed, consider grafting healthy branches onto a sturdy rootstock or planting a new sapling nearby for gradual replacement. For instant shade, opt for fast-growing alternatives like silver maples, oak trees, or even large shrubs (e.g., arborvitae) while the original recovers.
How long does it take for a replanted maple tree to fully recover?
Recovery varies by size: Small saplings may bounce back in 1–2 seasons, while mature trees can take 3–5 years to regain full vigor. Monitor growth, prune dead branches, and mulch 3 inches deep (keep mulch away from the trunk) to support root regeneration.
Wrapping up and next steps
Replanting a maple tree is a rewarding way to give it a second chance at thriving!
By following these steps—from careful extraction to proper soil prep and ongoing care—you’ll set the stage for strong, healthy roots and vibrant growth. Remember, patience and consistency are key: monitor your tree’s progress and adjust as needed.
Now that you’re equipped with the know-how, why not take the next step? Share your replanting journey with fellow gardeners, or explore advanced tree care tips to keep your maple tree flourishing for years to come. 🌳✨