
Propagation
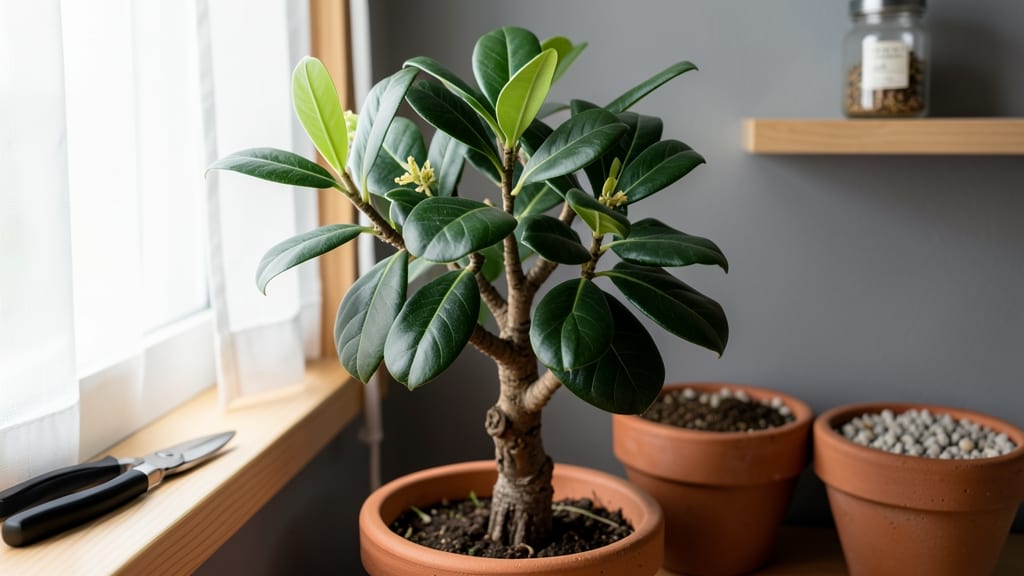
Propagating a bay leaf tree from cuttings means you’ll soon have fresh leaves for cooking year-round—no more reaching for store-bought sprigs. 🌿 The water-only method is surprisingly simple, though it takes patience, especially with this slow-growing Mediterranean native.
My first attempt took three months to root, but now I’ve got three thriving plants from a single cutting.
You’ll need sharp pruning shears, clean water, and a sunny windowsill or grow light. The key is selecting healthy, flexible stems about 4-6 inches long with a few leaves—just enough to encourage root growth without draining energy.
Bay leaves root best in spring or early summer when the plant’s energy is high, but they’ll also work in fall if you’re patient.
Once rooted, your new plants will need well-draining soil and bright, indirect light to thrive. They’re not fussy about humidity, but a kitchen windowsill keeps them happy while you harvest leaves.
The first harvestable leaves appear in 6-12 months, but the wait is worth it for that fresh, aromatic flavor.
This method works equally well for indoor pots or outdoor plantings once established. The real secret? Consistency—bay leaves don’t like soggy roots, so change the water every 5-7 days and keep cuttings in bright, warm light.
With these steps, you’ll have a steady supply of fragrant leaves without buying a new plant.
📚 In This Guide
- What you need
- Instructions
- Tips and common mistakes
- Wrapping up and next steps
What you need
- ● Bay leaf stem: A healthy, fresh bay leaf (preferably from a Laurus nobilis tree—avoid dried leaves from packets). Use a 3–4 inch (7.5–10 cm) stem with at least 2–3 nodes (those little bumps where leaves grow).
- ● Clean water: Use room-temperature, filtered, or distilled water (chlorine-free) in a clear glass jar (8–12 oz / 240–350 mL). Avoid metal containers.
- ● Pruning shears or sharp knife: Sterilized with rubbing alcohol to prevent disease. Cut at a 45-degree angle just below a node.
- ○ Optional rooting hormone: A gel or powder (like Clonex or Rootone) to speed up root growth (not required but helpful for stubborn stems).
- ● Patience: Bay leaves root slowly—expect roots in 4–8 weeks (or longer).
- ● Indirect light: Place your jar in a spot with bright, indirect sunlight (e.g., near a window but not in direct sun).
- ● Consistency: Change water every 5–7 days and keep the stem submerged in 1–2 inches (2.5–5 cm) of water.
- ○ Humidity: A clear plastic bag (optional) over the jar can create a mini greenhouse effect.
Step-by-Step guide to propagating bay leaf trees in water
Here's the simple method I use to grow new bay trees from cuttings—no soil, no stress.
🌿 Step 1: Select and Prepare Healthy Cuttings
Choose 4-6 inch long, pencil-thick stems from a healthy bay tree. Look for new growth—they root best. Use clean, sharp scissors or pruners to make a clean cut just below a leaf node where the stem meets the leaf. This is where roots will emerge.
Remove all but the top 2-3 leaves on each cutting. Too many leaves mean the cutting will use up stored energy instead of growing roots. Strip any leaves from the lower half of the stem—this part will be submerged in water and needs to stay clean.
💧 Step 2: Submerge Cuttings in Water
Fill a clean glass or jar with room-temperature water (around 65-75°F)—bay trees hate cold water. Submerge the cut end of each cutting 2-3 inches deep, leaving the leaves above water. I use a small vase or mason jar for each cutting to monitor root growth easily.
Change the water every 3-4 days to prevent bacteria buildup. Fresh water keeps the cuttings healthy until roots form. Place the container in bright, indirect light—direct sun can overheat the water and stress the cutting.
☀️ Step 3: Wait for Roots to Develop
Keep the water level consistent—never let it go completely dry. Roots typically appear in 4-8 weeks, but patience is key. You'll see tiny white or brown tendrils forming at the submerged end first, then longer roots growing outward.
Once roots reach 1-2 inches in length, your cuttings are ready for transplanting. Don't wait too long—roots over 3 inches can struggle when moved to soil. I like to transplant when roots fill about half the glass—that's a good sign of readiness.
🪴 Step 4: Transition to Soil
Fill a 6-inch pot with well-draining potting mix (a blend of 50% potting soil and 50% perlite works well). Gently remove the cutting from water, being careful not to damage the roots. Plant it 1 inch deeper than it was in water to stabilize the stem.
Water lightly after planting, then place the pot in bright, indirect light for a week. Avoid direct sun at first—it can shock the plant. After a week, gradually introduce more sunlight as the cutting adjusts to its new home.
Tips & tricks for perfect bay leaf tree propagation
Here's what nobody tells you about growing bay trees from cuttings—these little details make all the difference between success and disappointment.
Cutting Selection: In Step 1, focus on stems with a slight bend at the base where they connect to the main branch. These areas often have dormant root nodes that activate faster in water. I've found that cuttings from the current season's growth (not last year's wood) root within 3-4 weeks instead of the usual 6-8 weeks. Look for stems that snap rather than bend—this indicates healthy, mature wood.
Water Quality Matters: While the instructions specify room-temperature water (around 75°F), I've noticed a significant difference when I use filtered or distilled water instead of tap water. Chlorine and minerals in tap water can stress the cuttings. If you must use tap water, let it sit uncovered in the jar for 24 hours before adding cuttings to allow chlorine to evaporate.
Root Development Watch: During Step 3, when you're waiting for roots to appear, place your jar near a window with bright indirect light but avoid direct sunlight. I've seen cuttings develop roots in as little as 21 days when positioned correctly, though the 4-8 week range is more typical. Check the water level daily—even a slight drop can signal root formation before you see them!
Transplanting Transition: When moving your cuttings to soil in Step 4, I recommend adding a rooting hormone to the soil mix. It's optional but dramatically increases survival rates. Also, don't be tempted to repot immediately after transplanting—let your new bay tree establish itself in its 6-inch pot for at least 3 months before considering an upgrade.
Pro Tips for Propagate Bay Leaf Tree
- Here's what nobody tells you about growing bay trees from cuttings—these little details make all the difference between success and disappointment.
- Cutting Selection: In Step 1, focus on stems with a slight bend at the base where they connect to the main branch.
- Water Quality Matters: While the instructions specify room-temperature water (around 75°F), I've noticed a significant difference when I use filtered or distilled water instead of tap water.
Frequently asked questions
Got questions about growing your own bay leaf tree?
You’re not alone! Here are answers to the most common queries—from timing to troubleshooting—to help your propagation journey go smoothly.
Can I propagate a bay leaf tree from a store-bought sprig?
Yes! Store-bought bay leaves (organic, pesticide-free) can root in water, but avoid pre-treated leaves. Look for fresh, flexible stems with at least one leaf node (where leaves meet the stem). Just trim below the node, remove lower leaves, and place in water—no soil needed!
How long does it take for bay leaves to root in water?
Patience is key! Most bay leaf cuttings show roots in 4–8 weeks, but some take up to 12 weeks. Change the water every 3–5 days to prevent bacteria. Once roots hit 2–3 inches, transplant to soil—don’t wait too long, or they’ll get leggy!
What if my bay leaf cutting rots before rooting?
Rotting is common but fixable! If the stem turns mushy or smells foul, trim the rotted part and replant in fresh water. To prevent it: use filtered or distilled water (chlorine can harm cuttings), and keep only 1–2 leaves above water to reduce stress. A drop of hydrogen peroxide (3%) in water can also fight bacteria.
Should I transplant my rooted bay leaf cutting to soil right away?
Not quite! Wait until roots are 2–3 inches long and healthy. Use a well-draining potting mix (like cactus/succulent mix) and a small pot with drainage holes. Water lightly after transplanting and keep the soil slightly moist (not soggy). Place in bright, indirect light for the first week to avoid shock.
Can I propagate bay leaves in soil instead of water?
While water propagation is easiest, you can try soil directly. Dip the cut end in rooting hormone, plant in moist potting mix, and cover with a plastic bag to retain humidity. Keep soil warm (70–75°F) and mist occasionally. Roots may take 2–3 months to form—soil propagation requires more patience and consistency.
Wrapping up and next steps
Propagating a bay leaf tree from kitchen scraps is a rewarding way to grow your own fragrant, culinary staple—no green thumb required! 🌱 With just a few bay leaves, water, and patience, you can nurture a thriving plant that’ll keep your home smelling amazing and your cooking infused with fresh flavor.
Start small, stay consistent, and soon you’ll be harvesting your own leaves for soups, stews, and homemade remedies.
Ready to turn your kitchen experiment into a lush, leafy success? Pick a healthy bay leaf, follow the steps, and watch your new plant grow! 🌿