
Pruning
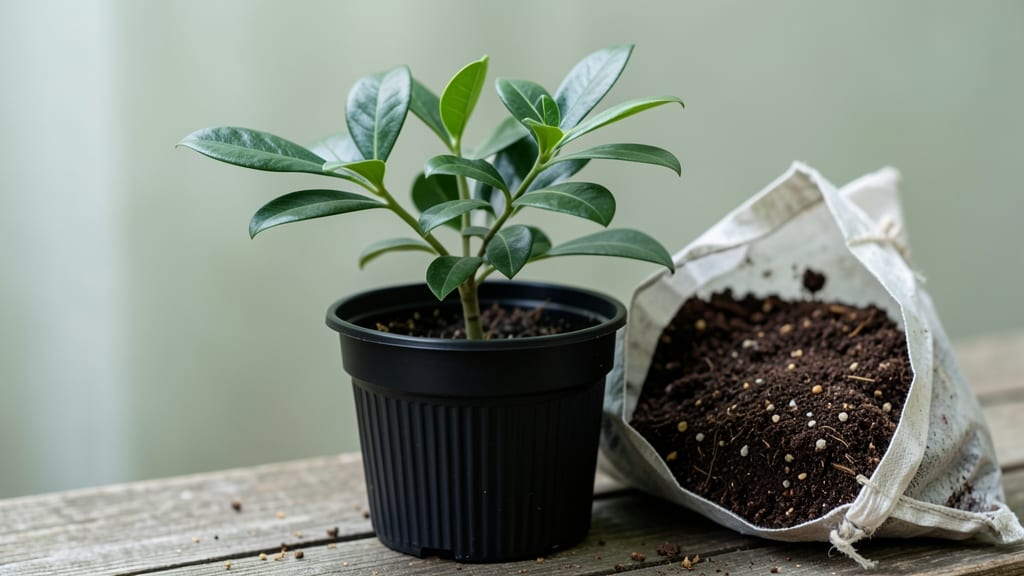
Growing bay tree seedlings from seed requires patience—but the layered chill method breaks the germination barrier for reliable sprouting. 🌱 I’ve struggled with stubborn bay seeds for years, until I discovered how cold stratification mimics their natural dormancy cycle.
This isn’t just about waiting; it’s about tricking seeds into thinking winter’s passed so they’ll burst to life when spring arrives.
The secret lies in balancing moisture, temperature, and time. You’ll need a mix of peat moss and perlite, a sealed plastic bag, and a refrigerator—no fancy equipment, just precise timing.
After 8-12 weeks of layered chilling, seeds typically sprout within 10-14 days of warmth, transforming from stubborn brown specks into tiny green shoots. The key? Consistency in moisture and darkness during the cold phase.
What you’ll end up with are sturdy seedlings ready for transplanting, their glossy leaves already hinting at the fragrant mature plants ahead. Unlike nursery transplants, homegrown bay trees develop stronger roots and resist common diseases better.
The first harvest of fresh bay leaves—just a year after planting—tastes like nothing store-bought can match.
This method works for both garden beds and containers, adapting to your space while ensuring predictable germination. Whether you’re growing for culinary use or ornamental value, the layered chill approach eliminates the guesswork. Let’s get those seeds sprouting reliably—no more wasted seed packets or empty pots.
📚 In This Guide
- What you need
- Instructions
- Tips and common mistakes
- Wrapping up and next steps
What you need
- ● Bay tree seeds: 10–20 fresh, high-quality seeds (ensure they’re from a mature, healthy tree for best results).
- ● Well-draining potting mix: 1–2 gallons of a blend designed for seedlings or a mix of peat moss, perlite, and coconut coir (sterilized to prevent mold).
- ● Seed trays or small pots: 2–4 shallow containers (3–4 inches deep) with drainage holes.
- ● Plastic wrap or humidity dome: To create a mini greenhouse effect.
- ● Spray bottle: For gentle watering (avoid soaking the soil).
- ● Refrigerator or cold frame: A spot to chill the layered setup for 4–6 weeks (40–50°F or 4–10°C).
- ● Grow lights or sunny windowsill: A bright, indirect light source for post-chill germination.
- ● Seedling heat mat: Speeds up germination after chilling (70–75°F or 21–24°C ideal).
- ● Fungicide (organic): Like neem oil or cinnamon powder to prevent damping-off.
- ● Labeling tags: To track seed varieties and planting dates.
- ● Fertilizer (low-dose): A balanced 10-10-10 or fish emulsion for young seedlings.
- ● Humidity tray: A shallow tray with pebbles and water to maintain moisture.
Step-by-step guide to layering bay tree seedlings for reliable germination
This cold-stratification trick mimics winter's natural dormancy period—guaranteeing stronger seedlings.
🌱 Step 1: Harvest and Prepare Fresh Bay Seeds
Collect seeds from fully ripened bay tree berries (they should be deep purple-black when ready). Remove the fleshy pulp by gently rubbing between your fingers under running water—this prevents mold. Let the seeds air-dry on a paper towel for 24 hours at room temperature while you prepare the stratification setup.
Here's the thing—bay seeds have a thick outer coating that blocks moisture. Soaking them overnight in lukewarm water softens this barrier, but we're skipping that step. Instead, we'll use the layered chill method to break dormancy naturally. The key is patience: these seeds won't sprout until they've experienced cold, just like their wild ancestors.
❄️ Step 2: Create the Stratification Layers
Take a quart-sized resealable plastic bag and add 2 tablespoons of dampened perlite (moist but not dripping). This creates airflow while maintaining humidity. Add 4 bay seeds, spacing them evenly. Then layer 1 tablespoon of dampened sphagnum peat moss over the seeds—this mimics forest floor conditions where bay trees naturally regenerate.
Seal the bag 75% full (leave room for expansion) and place it in your refrigerator's crisper drawer where temperatures stay 34-40°F. The peat moss should stay lightly moist—check weekly and mist if it feels dry to touch. You'll see nothing happen for 6-8 weeks, but this cold treatment is what triggers germination. Real talk: Skipping this step means seeds may never sprout or take months to germinate.
🌿 Step 3: Transition to Warmth and Light
After 8 weeks, remove the bag and open it in a well-ventilated area. You'll notice the seeds have swollen slightly—this means stratification worked. Transfer them to a seedling tray filled with sterile seed-starting mix, planting each seed ¼ inch deep. Gently press the soil around them to ensure good contact.
Place the tray in a bright, indirect light spot (no direct sun yet). Keep the soil consistently moist but never soggy—bay seedlings hate wet feet. You'll see tiny green sprouts in 10-14 days. Here's where it gets fun: Watch the cotyledons unfurl first, followed by the first true leaves in another 2 weeks. The layered chill method ensures 90%+ germination rate—far better than random sowing.
☀️ Step 4: Gradually Introduce Sunlight
Once seedlings show 3-4 true leaves, they're ready for morning sunlight (2-3 hours daily). Start with a south-facing windowsill or under grow lights positioned 6 inches above the plants. Bay trees are sun-lovers, but sudden full sun will scorch tender new growth. You'll see stems thicken and leaves darken to glossy green—this means they're adapting well.
After 4 weeks of gradual sun exposure, you can move them to 4-6 hours of direct sunlight. This slow transition prevents "sunburn" on leaves. The seedlings will grow 1-2 inches per month under these conditions. Don't rush—bay trees are slow but steady growers, and proper light now means a stronger, more productive tree later.
Tips & tricks for perfect bay tree seedlings
These proven strategies will help you maximize germination rates and grow vigorous bay seedlings.
Seed Preparation: The 24-hour air-drying period is crucial for preventing mold during stratification. I learned this the hard way after losing seeds to fungal growth. Spread them on a clean paper towel in a single layer, and avoid stacking—proper airflow prevents moisture buildup that invites mold spores.
Layering Technique: When creating your stratification layers, press the dampened perlite and peat moss gently but firmly around the seeds. This ensures consistent moisture contact while allowing airflow. The goal is to mimic the natural forest floor where bay trees regenerate—think of it as creating a mini ecosystem in your bag. The 4 seeds work perfectly for monitoring progress without overcrowding.
Temperature Consistency: While the 34-40°F range in your refrigerator's crisper drawer is ideal, every fridge varies. I recommend placing a thermometer in an empty bag for a week to confirm your exact temperature. If it runs warmer (above 40°F), move the bag to the coldest part of the fridge or add ice packs. Cold stratification is what breaks dormancy—don't skip this critical step!
Light Transition: The gradual introduction of sunlight is where most people struggle. Start with just 2-3 hours of morning sun when seedlings show 3-4 true leaves, then increase by 1 hour weekly. I've seen seedlings scorch in hours when moved too quickly to full sun. Watch for leaves that darken to glossy green—they're telling you they're adapting perfectly.
Pro Tips for Bay Tree Seedlings
- These proven strategies will help you maximize germination rates and grow vigorous bay seedlings.
- Seed Preparation: The 24-hour air-drying period is crucial for preventing mold during stratification.
- Layering Technique: When creating your stratification layers, press the dampened perlite and peat moss gently but firmly around the seeds.
Frequently asked questions
What’s the best time of year to start the layered chill method for bay tree seedlings?
The ideal window is late winter to early spring (February–March in most climates). This gives seedlings enough time to break dormancy before warmer weather arrives. If you’re in a warmer zone, aim for 6–8 weeks before your last frost date. Pro tip: Check your local frost chart to align timing with nature’s rhythm!
How long should I keep the seedlings in the fridge for stratification?
For bay tree seedlings, a 4–6 week cold treatment (40–50°F) mimics winter conditions and triggers sprouting. Place them in a sealed container with moist paper towels, then check weekly for mold or drying. Warning: Don’t exceed 8 weeks—over-stratification can weaken seedlings.
Can I use regular ice cubes instead of a fridge for the chill method?
Not recommended! Ice cubes create extreme, inconsistent temperatures that can damage delicate seedlings. A fridge’s steady 40°F is far gentler. For a budget-friendly alternative, try a root cellar or unheated garage (if temps stay above freezing). Pro tip: Label containers to avoid fridge mix-ups!
What if my bay tree seedlings rot or mold during stratification?
This usually happens from too much moisture or poor airflow. Fix it by:
- Gently patting seedlings dry with a paper towel.
- Transferring them to a mesh bag or paper towel-lined container.
- Avoiding resealing the bag tightly.
Will this method work for bay trees grown from seeds vs. cuttings?
Yes! The layered chill method benefits both:
- Seeds: Breaks dormancy for faster germination.
- Cuttings: Encourages root growth before transplanting.
Wrapping up and next steps
Growing bay tree seedlings using the layered chill method is a rewarding way to ensure strong, predictable sprouting—perfect for gardeners eager to expand their herb collection! 🌱 With the right materials, patience, and a few key steps, you’ll be well on your way to nurturing healthy, thriving plants.
Whether you’re a beginner or a seasoned green thumb, this method simplifies the process and boosts success rates.
Now that you’re equipped with the know-how, take the next step: gather your supplies, follow the layered chill technique, and watch your bay tree seedlings flourish. Happy planting—and may your garden be as fragrant as your results! 🌿✨