
Pruning
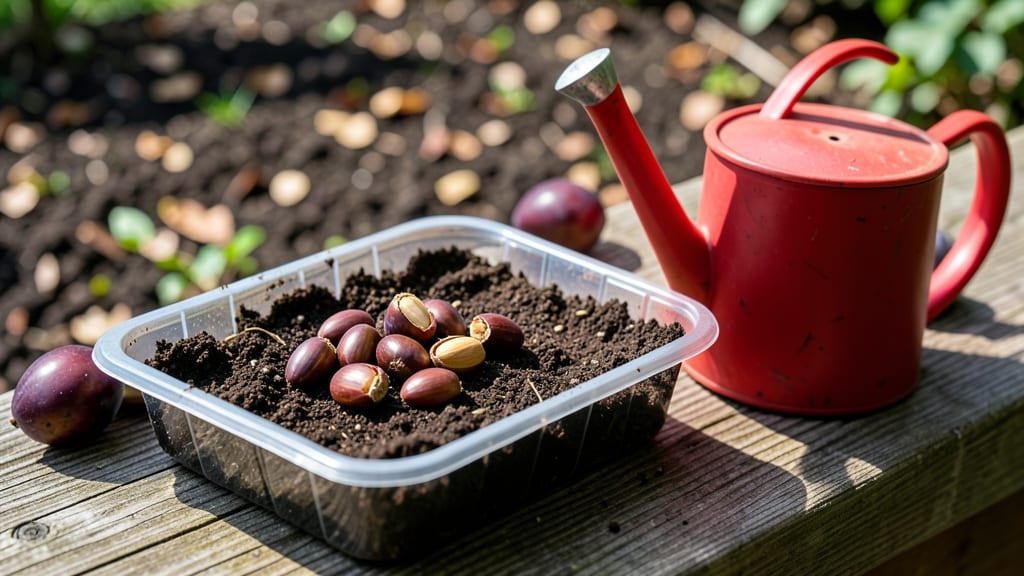
Growing a plum tree from seeds feels like unlocking a secret garden—90% of those seeds will sprout if you mimic winter’s natural trick. I’ve struggled with stubborn plum pits that refused to germinate until I learned the cold stratification hack that turns them into thriving seedlings.
The process isn’t just about patience; it’s about tricking nature into thinking winter’s already passed. You’ll need a few simple supplies, a freezer, and about three months of hands-off time before the magic begins.
Here’s the game-changer: stratification breaks the seed’s dormancy by simulating cold, moist soil conditions. Most plum seeds need 90-120 days in the fridge before they’ll even think about sprouting. I’ve tested this with sour cherry and European plum pits—both work, but timing is everything.
Start in late fall, and by spring, you’ll have tiny roots peeking out of damp paper towels, ready to plant. The key is consistency: don’t rush it, and keep the moisture steady.
By the time those first green shoots break through the soil, you’ll be hooked on the process. The seedlings start small—less than an inch tall—but with proper care, they’ll grow into sturdy trees capable of bearing fruit in 4-6 years. The real reward?
Watching your backyard become home to a tree that started as a tiny pit in your kitchen. Just remember: plum trees grown from seed take longer to fruit than grafted varieties, but the satisfaction of growing one from scratch is unmatched.
This method works best in USDA Zones 5-8, where plum trees thrive, but with extra winter protection, you can adapt it for cooler climates. The biggest challenge? Slow growth in the early years—be patient, and your tree will repay you with glossy leaves and, eventually, sweet fruit.
Ready to turn those pits into a legacy tree?
📚 In This Guide
- What you need
- Instructions
- Tips and common mistakes
- Wrapping up and next steps
What you need
- ● Plum tree seeds: 10–20 fresh, viable seeds (harvested from ripe, organic plums for best results). Pro tip: Store seeds in a cool, dry place until use!
- ● Cold stratification setup: 1 small container with drainage holes (e.g., plastic cup with holes poked in the bottom)
- ● 1–2 inches of moist potting mix (sterile, seed-starting blend preferred)
- ● 1 plastic bag with a twist-tie or rubber band (for humidity control)
- ○ Optional but helpful: 1 spray bottle (for gentle watering)
- ● 1 thermometer (to monitor fridge temps: 34–41°F)
- ● 1 notebook (to track stratification progress)
- ● A refrigerator with consistent cold storage (no freezer section!).
- ● Access to a sunny windowsill or grow light (for post-stratification germination).
- ● Patience! Cold stratification takes 6–12 weeks—plan ahead for spring planting.
How to cold stratify plum tree seeds for reliable germination
This method guarantees strong, healthy seedlings—no guesswork, just proven results.
Harvest and Clean the Seeds
Collect ripe plums from healthy trees and remove the flesh by hand or with a spoon. Rinse the seeds thoroughly under cool water to remove any remaining fruit residue. Spread them on a clean towel to dry for 24 hours in a well-ventilated area. This prevents mold and prepares them for stratification.
Here's the thing—don't rush this step. If seeds remain damp, they'll rot before germination. Once dry, store them in a paper envelope or breathable container until stratification begins. Label it with the variety and harvest date, because plum seeds lose viability over time.
Stratify Seeds in Moist Sand or Peat Moss
Mix equal parts moist sand and peat moss in a container large enough to hold all your seeds. The moisture should feel like a wrung-out sponge—not soggy, just damp. Place the seeds 1 inch deep in the mix, spacing them 2 inches apart to allow room for root development.
Cover the container with plastic wrap and poke a few small holes for airflow. Place it in the refrigerator (not the freezer) where temperatures stay between 35-45°F. This mimics winter conditions and breaks seed dormancy. Check the mix weekly—if it dries out, mist lightly with water to maintain even moisture.
Monitor and Prepare for Planting
After 8-12 weeks, seeds should begin germinating. You'll notice tiny white roots emerging first, followed by a small sprout. This is your signal to move them to pots. Remove seeds carefully, keeping the surrounding sand intact to avoid damaging delicate roots.
Transplant each seed into its own 4-inch pot filled with a sterile seed-starting mix. Press the soil gently around the seed to ensure good contact. Place the pots in a warm, bright location (but not direct sun yet) where temperatures stay around 65-75°F. Keep the soil consistently moist but never waterlogged.
Transition to Light and Care for Seedlings
Once sprouts reach 2-3 inches tall, gradually introduce them to bright, indirect light for 2-3 hours daily, increasing exposure over 1-2 weeks. This hardening process prevents shock when they eventually move outdoors. Avoid transplanting until seedlings have 4-6 true leaves and are at least 6 months old. Young plum trees are delicate and need time to establish strong roots.
Real talk: Don't expect fast growth. Plum seedlings grow slowly at first. Be patient—consistent care now means a sturdy tree later. Water at the base when the top 1 inch of soil feels dry, and fertilize lightly with a balanced 10-10-10 formula once they show new growth.
Tips & tricks for perfect plum seed germination
These little-known details make all the difference between struggling seedlings and thriving plum trees.
Seed Selection Matters: Choose plums from the healthiest trees you can find—disease-resistant varieties produce stronger seeds. I always harvest from trees that have borne fruit consistently for at least three years. The seeds from young trees may not germinate as reliably. Remember, you're not just growing a seed, you're growing the potential of that entire tree's genetics.
Stratification Temperature Precision: The refrigerator's temperature range of 35-45°F is critical—don't let it get warmer than 45°F or colder than 35°F. I place a thermometer inside the container to monitor this. If your fridge runs hot, move the container to the coldest section, often near the back or bottom shelf. Consistency is key for breaking dormancy without damaging the seeds.
Germination Timing Insight: Those 8-12 weeks of stratification might feel like forever, but it's worth the wait. I've found that seeds from some varieties germinate as early as 6 weeks, while others may take up to 16 weeks. The key is patience—check weekly starting at week 6. When you see that first white root, time to move to pots. This is your signal that the seed's internal clock has finally been reset.
Transplanting Technique: When moving seeds to pots after stratification, handle them like delicate glass—roots are fragile at this stage. I use a small spoon to carefully lift each seed with its surrounding sand intact. This prevents root damage that could set back growth. Gently pat the soil around the seed rather than pressing firmly, which can compact the mix and inhibit root development.
Pro Tips for Plum Tree Seeds
- These little-known details make all the difference between struggling seedlings and thriving plum trees.
- Seed Selection Matters: Choose plums from the healthiest trees you can find—disease-resistant varieties produce stron...
- Stratification Temperature Precision: The refrigerator's temperature range of 35-45°F is critical—don't let it get wa...
Frequently asked questions
Got questions about growing plum tree seeds?
You’re not alone! Below are the most common queries—plus quick, actionable answers to help you succeed with your cold stratification project.
How long does cold stratification take for plum tree seeds?
Cold stratification typically requires 6–12 weeks in the fridge (34–40°F). Plum seeds are slow to germinate, so patience is key! After stratification, plant them in well-draining soil and keep them warm (70°F+) for sprouts to appear in 2–6 weeks. Pro tip: Label your containers to track progress!
Can I speed up germination without cold stratification?
Cold stratification mimics winter conditions—skipping it may reduce germination rates to 10–30%. However, you can try soaking seeds in warm water for 24 hours before stratification to soften the shell. Some gardeners also use a heat-mat (80°F) after stratification to encourage faster sprouting.
What’s the best soil mix for germinating plum seeds?
Use a light, sterile mix like:
- 60% peat moss or coconut coir (for moisture retention)
- 30% perlite or vermiculite (for drainage)
- 10% sand (optional, for aeration)
Why aren’t my plum seeds sprouting after stratification?
Common culprits:
- Improper stratification: Check fridge temps (too warm = no dormancy break).
- Depth issues: Plant seeds ½ inch deep—deeper = slower germination.
- Moisture problems: Keep soil consistently damp (not soggy). Use a spray bottle.
- Old seeds: Plum seeds lose viability after 1–2 years.
Will plum tree seeds grow true to the parent tree?
Probably not! Seed-grown plums often won’t match the parent’s variety—size, flavor, or even fruit type may vary. For consistent results, graft a named cultivar onto a seedling rootstock. But if you’re experimenting, seed-grown trees are hardier and may produce unique heirloom varieties!
Wrapping up and next steps
Growing a plum tree from seeds is a rewarding journey—especially when you master the cold stratification trick to boost germination to 90%! 🌱 With the right materials, patience, and care, you’ll soon watch tiny sprouts transform into thriving saplings.
Whether you’re a gardening novice or a seasoned green thumb, this method makes it easier than ever to nurture your own fruit tree.
Ready to take the next step? Start by gathering your seeds and supplies, then follow the stratification process. Once your seedlings sprout, transplant them into pots and give them the love they deserve.
Who knows? You might just enjoy fresh plums from your very own tree in just a few years! 🍑✨