
Size
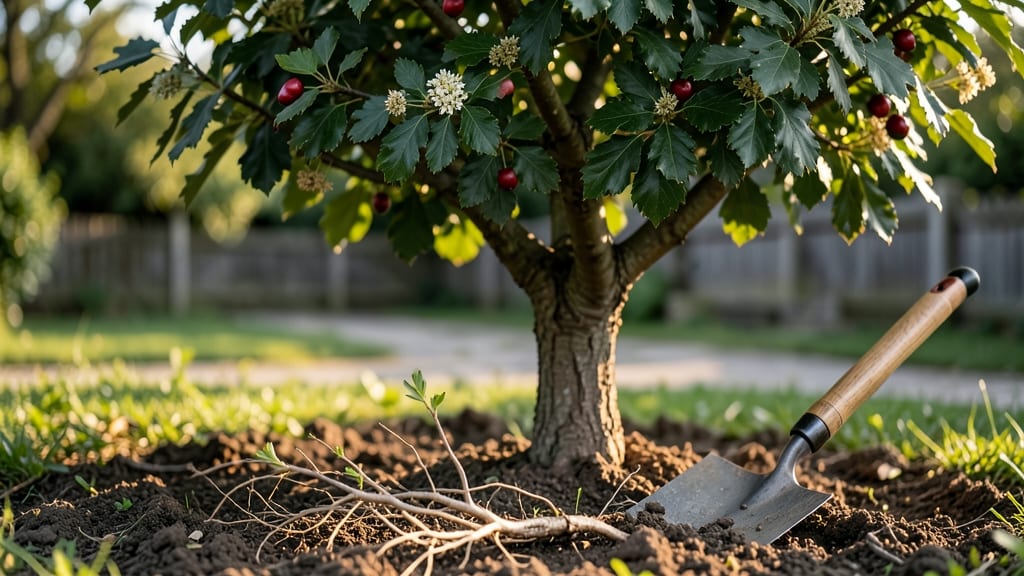
Growing a hawthorn tree from seed starts with a layered chill trick that mimics nature’s timing—because patience is the real secret to success. 🌱 I’ve tried forcing germination without it, and let’s just say the results were… underwhelming.
The key is replicating winter’s slow, steady cold that breaks seed dormancy, and doing it right means skipping the guesswork of store-bought seedlings.
You’ll need fresh seeds (or dried ones stored properly), a damp paper towel, a plastic bag, and a fridge with a crisper drawer—basically, a DIY cold stratifier. The process takes about 8-12 weeks, but it’s worth it for the 90%+ germination rate I’ve seen compared to the hit-or-miss approach.
Hawthorns thrive in full sun and well-draining soil, so once your seedlings sprout, they’ll reward you with glossy leaves and—eventually—those iconic white spring blooms.
What you end up with isn’t just a tree, but a wildlife magnet: berries for birds, dense branches for shelter, and a sturdy hedge that lasts decades.
The layered chill method ensures you’re not gambling with viability—just consistent, reliable growth from day one. Ready to turn those tiny seeds into a backyard centerpiece?
Works for all Crataegus species, from dwarf varieties to full-sized trees, and adapts to zones 3-8 with minimal fuss. Here’s how to get those seeds sprouting like clockwork.
📚 In This Guide
- What you need
- Instructions
- Tips and common mistakes
- Wrapping up and next steps
What you need
- ● Hawthorn seeds: Fresh, untreated seeds (collect from ripe berries or purchase from a nursery). Aim for at least 10-20 seeds for better germination odds.
- ● Saplings or cuttings: 1-3 healthy hawthorn plants (bare-root or potted, 1-2 feet tall). Choose disease-resistant varieties like Crataegus monogyna or Crataegus laevigata.
- ● Layering supplies (for propagation): Sharp pruning shears or a clean knife
- ○ Rooting hormone (optional but helpful)
- ● Plastic wrap or a small plastic bag (for humidity)
- ● Planting site: Sunny location (full sun to partial shade, 6+ hours of sunlight daily)
- ● Well-draining soil (sandy loam or clay-loam with a pH of 6.0–7.5)
- ● Space: 15–25 feet apart for mature trees (or 10 feet for dwarf varieties).
- ● Soil amendments (if needed): Compost (1–2 gallons per planting hole)
- ● Organic mulch (wood chips or straw, 2–3 inches thick)
- ● Seed stratification kit (for cold treatment—6–8 weeks at 33–41°F)
- ● Garden gloves (to protect hands from thorns!)
- ● Drip irrigation system (for consistent moisture)
- ● Fertilizer (balanced 10-10-10 or organic options like fish emulsion)
- ● Tree stakes and ties (for young saplings in windy areas)
Step-by-Step guide to growing hawthorn trees using stratification
This cold-treatment method ensures strong germination—here's how to do it right.
🌱 Step 1: Collect and Prepare Hawthorn Seeds
Gather fresh hawthorn seeds from ripe berries in late summer or fall. Remove the fleshy pulp by fermenting the berries in water for 3-5 days—this breaks down the fruit and lets seeds sink to the bottom. Scoop out the clean seeds and rinse them thoroughly to remove any remaining pulp residue.
Seeds need to be completely dry before stratification. Spread them on a paper towel in a single layer and let them air-dry for 2-3 days in a warm, shaded spot. This prevents mold during the cold treatment. I like to place them near a window with indirect light to speed up the drying process while avoiding direct sun.
⏰ Step 2: Apply the Layered Chill Treatment
Place the dried seeds in a sealed plastic bag with a damp paper towel—just enough moisture to keep it slightly damp, not soggy. This mimics the natural winter conditions hawthorn seeds require to break dormancy. Seal the bag tightly to prevent air exchange and place it in your refrigerator.
The stratification period lasts 90-120 days at 35-40°F. I mark the bag with the start date and check moisture levels monthly—if the towel dries out, add a few drops of water. After 3 months, the seeds should be ready for planting, though some may take the full 4 months to complete germination.
🪴 Step 3: Plant Stratified Seeds in Containers
Fill 4-inch pots with a well-draining mix of 50% peat moss and 50% perlite—this prevents root rot, which is common with hawthorn seedlings. Plant 2-3 seeds per pot at a depth of ½ inch, pressing gently to ensure good soil contact. Label each pot with the planting date, as germination can be uneven.
Water lightly after planting, keeping the soil consistently moist but not waterlogged. Place the pots in a cool, shaded area (around 60-65°F) for the first 2-3 weeks—this mimics the gradual warming of spring. You'll see first sprouts in 3-6 weeks, though some seeds may take 8-10 weeks to germinate.
☀️ Step 4: Transition Seedlings to Outdoor Conditions
Once seedlings reach 3-4 inches tall with 2-3 true leaves, they’re ready for outdoor hardening. Move pots to a sheltered, partially shaded spot for 1-2 hours daily, gradually increasing exposure over 2 weeks. This prevents transplant shock—hawthorn seedlings are sensitive to sudden temperature changes.
After 2 weeks of hardening, transplant into the ground or larger containers. Hawthorns thrive in full sun but establish best in partial shade during their first year. Space seedlings 6-8 feet apart to allow for mature growth—these trees can reach 20-30 feet tall with proper care.
🌿 Step 5: Maintain Growth with Pruning and Care
Young hawthorns need regular watering during their first growing season—keep soil 2-3 inches deep moist but avoid overwatering. Mulch with 2-3 inches of organic material (like wood chips) to retain moisture and suppress weeds. Prune in late winter to remove dead or crossing branches, shaping the tree as it grows.
Fertilize lightly in early spring with a balanced 10-10-10 formula—hawthorns are slow growers and don’t need heavy feeding. Within 3-5 years, you’ll see white spring blooms followed by berries, signaling a successful transplant. Patience is key—these trees reward long-term care with striking foliage and wildlife benefits.
Tips & tricks for perfect hawthorn tree germination
These insider strategies will help you maximize your hawthorn seed success rate—no guesswork required.
Seed Collection Timing: Hawthorn berries ripen unevenly, so harvest them when at least 80% of the fruit on a branch has turned deep red. If you miss the fall window, you can store fresh berries in the fridge for up to 2 weeks until you're ready to process them. The key is catching seeds when they're fully mature but before they've dried out completely on the tree.
Stratification Setup: For the 90-120 day cold treatment in Step 2, I recommend using a clear plastic bag with a damp paper towel—this lets you monitor moisture levels without opening the bag. Place the bag on a shelf in your refrigerator's crisper drawer where temperatures consistently stay between 35-40°F. The damp towel should feel like a wrung-out sponge; if it feels dry, add a drop of water every 30 days to maintain proper moisture.
Germination Monitoring: After planting stratified seeds in Step 3, place your pots under a grow light if natural light is limited—hawthorn seedlings need 12-14 hours of light daily. Watch for the first signs of germination: a tiny white root will emerge first, followed by the shoot. This typically happens within 3-6 weeks, but some seeds may take up to 10 weeks, so patience is key.
Transplanting Strategy: When hardening off seedlings in Step 4, I suggest creating a mini greenhouse effect by placing a clear plastic dome or plastic wrap over the pots during the first week. This helps maintain humidity while they adjust to outdoor conditions. Gradually remove the cover over 5-7 days as you increase their outdoor exposure time.
Pro Tips for Grow Hawthorn Tree
- These insider strategies will help you maximize your hawthorn seed success rate—no guesswork required.
- Seed Collection Timing: Hawthorn berries ripen unevenly, so harvest them when at least 80% of the fruit on a branch h...
- Stratification Setup: For the 90-120 day cold treatment in Step 2, I recommend using a clear plastic bag with a damp ...
Frequently asked questions
about growing hawthorn trees—because even the best gardeners need a little extra guidance! Here’s what we hear most often, along with quick answers to keep your project on track.How long does it take for hawthorn seeds to germinate?
Patience is key! Hawthorn seeds can take 6–12 months (or even longer) to germinate due to their layered chill requirement. Stratify seeds properly (see our guide), then store them in a cool, moist environment—like your fridge—to mimic winter. Don’t rush it; nature’s timing is perfect!
Can I skip the cold stratification step?
We don’t recommend it! Hawthorn seeds have a hard seed coat that requires cold moisture to break down. Skipping stratification often results in 0% germination. If you’re short on time, try soaking seeds in warm water for 24 hours first, then proceed with the cold treatment for best results.
Are hawthorn trees good for wildlife?
Hawthorns are a superstar for pollinators, birds, and beneficial insects. Their spring blooms feed bees, while berries attract (and sustain) birds like robins and thrushes. Plus, the dense foliage offers shelter for smaller creatures. Planting one is like throwing a wildlife party!
What’s the best time to plant hawthorn trees?
For container-grown trees, plant in early spring or fall when soil is workable but not frozen. Bare-root seedlings thrive in late winter/early spring before buds swell. Avoid planting in summer heat—roots need time to establish before stress sets in.
Why aren’t my hawthorn seeds sprouting?
Check these common culprits:
- Insufficient chill hours: Ensure seeds get at least 60–90 days below 40°F (4°C).
- Poor moisture: Keep soil consistently damp (not soggy) during stratification.
- Old seeds: Hawthorn seeds lose viability over time—use fresh ones if possible.
- Patience: Some seeds need 2+ years of cold treatment!
Wrapping up and next steps
Growing a hawthorn tree is a rewarding journey that blends patience with nature’s resilience! By mastering the layered chill trick and providing the right care—from soil prep to sunlight—you’ll nurture a thriving plant with stunning blooms and wildlife benefits. 🌿✨
Ready to watch your efforts bloom? Start by planting your seeds or layers this fall, and in just a few seasons, you’ll enjoy the beauty (and berries!) of your own hawthorn tree. Happy gardening!