
Pruning
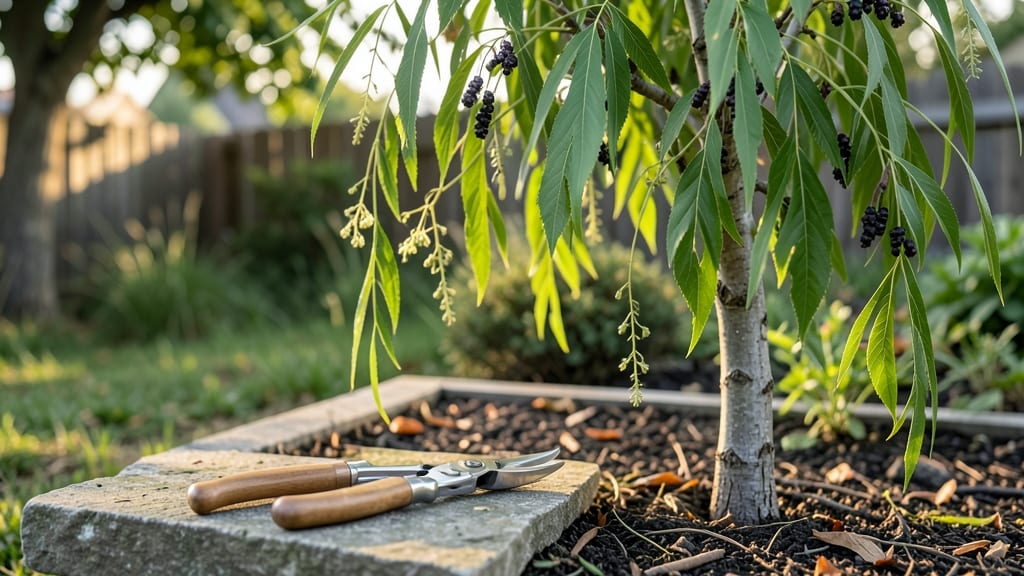
Trimming weeping mulberry trees transforms them from wild, sprawling messes into elegant, cascading masterpieces that neighbors will envy. 🌿 I’ve spent years perfecting the technique—because one wrong cut can turn that graceful weeping shape into a tangled disaster.
The key isn’t just when you prune (though timing matters), but how you shape the branches to encourage that signature, flowing silhouette.
You’ll need sharp bypass pruners, a sturdy ladder, and a clear day—no wind or rain. Start by removing dead or crossing branches first, then focus on thinning out the outer growth to let light reach the inner canopy.
Weeping mulberries respond best to gradual shaping over time, so don’t rush it. Think of it like sculpting: every cut should serve a purpose, whether it’s opening up the center or encouraging denser foliage along the branches.
The payoff is worth the effort: a tree that stays compact, produces more vibrant foliage, and resists disease by allowing better airflow. After trimming, give the cuts a light coat of pruning sealant to prevent sap from dripping everywhere (trust me, it’s sticky).
Within weeks, you’ll see fresh growth filling in those gaps, and by next season, your tree will look like it was designed by a pro.
This method works year-round, though late winter or early spring is ideal for major shaping. Even a small trim in summer keeps the tree manageable. The secret? Patience—weeping mulberries reward careful, consistent care with that dreamy, fountain-like form. Ready to turn your tree into a showstopper?
📚 In This Guide
- What you need
- Instructions
- Tips and common mistakes
- Wrapping up and next steps
What you need
- ● Pruning shears: Bypass pruners (sharp, 6-8" blades) for small branches.
- ● Loppers: 1 pair (8-12" blades) for medium branches (1-2" thick).
- ● Pruning saw: 1 curved-tooth saw (for branches 2-4" thick).
- ● Extension pole saw: 1 (for high branches, 10-15' reach).
- ● Gloves: 1 pair of heavy-duty, cut-resistant gloves (leather or synthetic).
- ● Safety glasses: 1 pair (to protect against debris).
- ● Disinfectant: 70% isopropyl alcohol or pruning sealant (to prevent disease).
- ● Heavy-duty trash bags: 2-3 bags (for collecting debris).
- ○ Ladder (optional but helpful): Sturdy, extendable ladder (if tree exceeds 10' tall).
- ● Hand pruners: Compact bypass pruners for fine-tuning small cuts.
- ● Rubbing alcohol wipes: For quick disinfection between cuts.
- ● Tree wound dressing: (Controversial—skip if your tree is healthy!).
- ● Work boots: With ankle support for stability on uneven ground.
- ● Budding knife: For precise cuts near growth points (advanced users).
Step-by-Step guide for trimming weeping mulberry trees
Here's how to keep your tree's elegant form while encouraging healthy, lush growth.
🌿 Step 1: Assess the Tree's Structure and Growth Habits
Start by examining the tree's natural shape and growth patterns. Weeping mulberries grow best with an open, airy canopy that lets light filter through. Look for areas where branches cross or rub against each other—these will need priority attention. I always begin by identifying the tree's central leader (main vertical trunk) and any dominant horizontal branches that define its graceful silhouette.
Check for dead, diseased, or weak branches by gently bending them. If they snap easily or have no green leaves, they're candidates for removal. Healthy branches should bend slightly and have vibrant foliage. Pay special attention to the lower branches—they often bear the heaviest fruit loads and may need thinning to prevent breakage.
✂️ Step 2: Prune for Airflow and Light Penetration
Begin trimming in late winter or early spring before new growth starts. Use clean, sharp pruners to make cuts just outside the branch collar—the swollen area where the branch meets the trunk. This ensures proper healing. Start by removing any dead, diseased, or crossing branches first, cutting them back to their origin point.
For thicker branches over ½ inch in diameter, make the cut on the underside of the branch to prevent water from pooling. Thin out about 20-30% of the canopy to improve airflow and sunlight exposure. Focus on removing branches that grow inward or upward, which can create a dense, unbalanced look. Remember, weeping mulberries respond well to selective pruning—you don't need to remove large sections at once.
🌱 Step 3: Shape the Canopy for Graceful Growth
Now it's time to refine the tree's natural weeping form. Step back frequently to visualize the overall shape. For a more open look, selectively remove some of the longer, lower branches to encourage upward growth in the center. This creates a balanced, tiered appearance that highlights the tree's elegant drooping habit.
If you want to maintain a more compact shape, focus on trimming the outer branches to control the tree's width. Avoid cutting back into old wood—weeping mulberries produce new growth from the tips, so always prune just above a leaf bud or lateral branch. Here's the thing—this tree thrives on patience. Heavy pruning can stress it, so aim for subtle refinements each year rather than drastic changes.
💧 Step 4: Clean Up and Monitor Growth
After pruning, remove all cut branches and debris from the area to prevent disease. Sterilize your tools with rubbing alcohol between cuts to avoid spreading pathogens. Water the tree deeply after pruning to help it recover, especially if you've made significant cuts. The roots will need to support new growth, so keep the soil consistently moist for the first few weeks.
Watch for new growth in spring—that's your signal everything is working. You'll see fresh leaves emerging from the pruned areas within 4-6 weeks. If you notice any dieback or unusual growth patterns, it might indicate stress from over-pruning. Weeping mulberries are forgiving, but they do best with gentle, regular maintenance rather than aggressive shaping.
Tips & tricks for perfect weeping mulberry tree trimming
Here's what nobody tells you about keeping your weeping mulberry looking its absolute best.
Timing Secret: Late winter or early spring is your sweet spot for pruning because the tree is still dormant but about to burst with new growth. I've learned the hard way that pruning too early can leave branches vulnerable to cold damage, while waiting too long risks encouraging unwanted growth. If you miss this window, summer trimming is still possible, but focus only on removing dead or diseased branches—never shape the canopy during active growth periods.
Branch Selection Strategy: When you're thinning that 20-30% of the canopy in Step 2, prioritize branches that cross others or grow inward. These are the ones that create that unbalanced, tangled look. I always look for the "thin and weak" branches first—they're easier to remove and won't leave big gaps. For thicker branches over ½ inch, make your cut on the underside to prevent water from pooling at the wound, which can lead to rot. This might seem like a small detail, but it makes a huge difference in how quickly the tree heals.
Visualization Technique: Step back frequently during Step 3 to visualize your tree's shape. I like to imagine it as a graceful waterfall—each branch should flow naturally to the next. If you're struggling to see the big picture, take photos from different angles first. This helps you plan which branches to keep and which to remove. Remember, weeping mulberries have a natural tendency to grow downward, so you're not trying to force an unnatural shape—just enhance what's already there.
Recovery Care: After pruning, the 4-6 week recovery period is just as important as the cuts themselves. I've found that deep watering immediately after pruning helps the tree recover faster, especially if you've made significant cuts. Keep the soil consistently moist for those first few weeks, but don't overwater—weeping mulberries hate soggy roots. You'll know you're doing it right when you see fresh leaves emerging from the pruned areas. If you don't see new growth within that timeframe, it might be a sign you've been too aggressive with your cuts.
Pro Tips for Trimming Weeping Mulberry Trees
- Here's what nobody tells you about keeping your weeping mulberry looking its absolute best.
- Timing Secret: Late winter or early spring is your sweet spot for pruning because the tree is still dormant but about to burst with new growth.
- Branch Selection Strategy: When you're thinning that 20-30% of the canopy in Step 2, prioritize branches that cross others or grow inward.
Frequently asked questions
Got questions about trimming your weeping mulberry tree? You’re not alone!
Here are the most common concerns—and straightforward answers—to keep your tree thriving with minimal stress.
When is the best time to trim a weeping mulberry tree?
The ideal window is late winter or early spring (just before new growth starts), but you can also trim lightly in summer to control shape. Avoid heavy pruning in fall—it can stimulate tender growth vulnerable to frost. Pro tip: If you must prune in summer, do it after flowering to preserve energy for fruit production.
How much can I trim off without harming the tree?
Weeping mulberries are resilient, but never remove more than 25–30% of the canopy in one season. Over-pruning stresses the tree and can lead to sparse foliage or weak branches. For dramatic reshaping, spread cuts over 2–3 years. Focus on thinning out dense areas rather than shearing.
Why does my weeping mulberry bleed sap after trimming?
Sap bleeding (especially in late winter/early spring) is normal but can attract pests like ants. To minimize it:
- Use sharp, clean tools to make quick cuts.
- Avoid pruning on warm, sunny days—cool, overcast mornings reduce sap flow.
- Seal cuts only if the branch is large (>2 inches)—use pruning sealant sparingly.
The tree will heal within a few weeks!
Can I shape a weeping mulberry into a standard tree instead?
Yes! While weeping mulberries are naturally pendulous, you can train it upright with patience:
- Start young—prune upward-growing branches to encourage a central leader.
- Use stakes or ties to guide branches into a vertical shape.
- Expect some droop—this species resists rigid upright forms.
Alternative: If you prefer a strict standard tree, consider grafting a non-weeping mulberry cultivar onto your existing tree.
Should I worry about pests after trimming?
Pruning can temporarily attract pests like aphids or scale insects, but healthy trees usually bounce back. Monitor for:
- Sticky residue (honeydew) on leaves = aphids.
- White fluffy spots = mealybugs.
Spray with neem oil or introduce ladybugs if needed. Prevention tip: Always sterilize tools with rubbing alcohol between cuts to avoid spreading disease.
Bonus: Quick Troubleshooting Table
| Problem | Likely Cause | Fix |
|---|---|---|
| Yellowing leaves after pruning | Over-pruning or nutrient shock | Fertilize with balanced 10-10-10 and water deeply |
| Branches dying back | Fungal infection (e.g., powdery mildew) | Prune infected branches 1 inch below damage; spray copper fungicide |
| No new growth in spring | Late pruning or cold damage | Wait until bud break; avoid pruning until next dormant season |
Wrapping up and next steps
Trimming your weeping mulberry tree doesn’t have to be a daunting task—with the right tools, timing, and techniques, you can cultivate a stunning, healthy canopy that graces your landscape year-round. 🌿 Whether you’re shaping it for aesthetics, managing growth, or ensuring safety, consistency is key.
Now that you’re armed with expert tips and answers to common questions, roll up your sleeves and get pruning!
Ready to take the next step? Mark your calendar for seasonal trims, gather your tools, and enjoy the rewarding process of nurturing your tree’s natural beauty. Happy gardening! 🌟