
Pruning
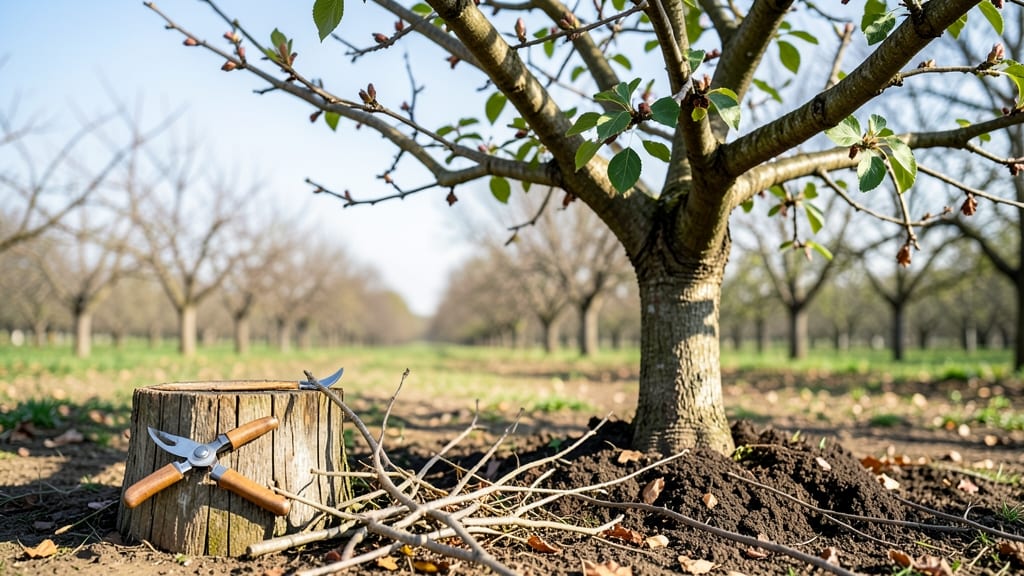
The right cuts now mean a bountiful harvest for years to come. ✂️ Trimming apple trees isn't just about shaping—it's about unlocking stronger branches, better fruit production, and a tree that lives longer.
I've learned the hard way that skipping these cuts leads to crowded limbs, weak growth, and fewer apples by midsummer.
Most gardeners focus only on winter pruning, but I've found that three strategic cuts—dormant season shaping, summer thinning, and post-harvest cleanup—keep trees thriving year-round. You only need basic tools: sharp pruners, loppers for thicker branches, and a saw for any limbs over 2 inches thick.
The process takes about 2-3 hours total, spread across the seasons.
What you'll end up with is a tree that produces larger, healthier fruit and resists disease better. Branches grow stronger, sunlight reaches all parts of the canopy, and you avoid the heartbreak of apples rotting on crowded limbs.
The key is making clean cuts at the right time—no guesswork, just science-backed timing.
Works for backyard orchards, urban homesteads, or even a single tree in your front yard. Let's get those branches looking sharp and your future harvests even bigger.
📚 In This Guide
- What you need
- Instructions
- Tips and common mistakes
- Wrapping up and next steps
What you need
- ● Pruning shears (bypass pruners): Sharp, high-quality shears (e.g., Felco or Corona) for clean cuts on branches up to ½-inch in diameter.
- ● Loppers: For branches ½-inch to 2-inches thick—look for ratcheting or bypass styles for precision.
- ● Pruning saw: A curved-tooth saw for thicker branches (2+ inches). Avoid cheap tools that tear wood.
- ● Disinfectant (70% isopropyl alcohol or bleach solution): Clean tools between cuts to prevent disease spread.
- ● Rubbing alcohol or hand sanitizer: Keep your hands germ-free while working.
- ● Gloves: Heavy-duty gardening gloves to protect from thorns and blisters.
- ● Ladder or step stool: For reaching higher branches safely (ensure it’s stable and rated for your weight).
- ● Twine or zip ties: To secure branches temporarily during trimming.
- ● Heavy-duty trash bags: For collecting pruned branches and debris.
- ● Pruning sealant: Only use on large cuts (>1-inch diameter) to prevent disease entry (avoid on small cuts—it’s unnecessary!).
- ● Tree wound paint: Controversial but some swear by it for older trees—research first!
- ● Work boots or closed-toe shoes: Protect your feet from dropped tools or sharp debris.
- ● Safety glasses: If working near your face or in windy conditions.
- ● Notebook & pen: To sketch your tree’s structure or note cuts for future reference.
- ● Know your tree’s age & variety: Young trees (structured thinning. Research your apple tree’s specific needs!
- ● Check the weather: Trim on a dry, cool day (avoid rainy or windy conditions).
- ● Safety first: Wear long sleeves and pants to avoid scratches from thorns.
- ● Timing matters: For dormant pruning (late winter), wait until buds swell but before leaves emerge.
Step-by-Step guide to pruning apple trees for optimal health
Mastering these three cuts transforms your tree’s structure and fruit production.
✂️ Step 1: Winter Dormancy Pruning (Late February to Early March)
Start when the tree is fully dormant but before buds begin swelling. This is the best time to remove dead, diseased, or crossing branches—they’re easy to spot against bare wood. I always begin with vertical cuts just outside the branch collar, the swollen area where the branch meets the trunk. Use sharp, clean pruning shears to avoid tearing bark.
Look for branches growing inward or rubbing against others—these compete for energy and create entry points for disease. Remove 1/3 of the tree’s total growth during this cut, focusing on branches thicker than 1/4 inch. Thinner branches can be snapped off by hand, but thicker ones need proper pruning cuts. Leave the cuts smooth and angled slightly away from the branch collar to prevent water pooling.
Here’s the thing—don’t overdo it. A well-pruned apple tree should still have a full canopy after this cut. If you’re unsure, step back and visualize the tree’s shape. You’re sculpting, not deforesting. I like to leave 3-5 main scaffold branches evenly spaced around the trunk for balanced growth.
☀️ Step 2: Summer Thinning Cut (June to Early July)
This is where you fine-tune fruit production. Wait until fruitlets are pea-sized—about 6-8 weeks after bloom—before making cuts. Your goal is to thin clusters so remaining fruit gets maximum sunlight, air circulation, and nutrients. I use my fingers to gently twist off small fruit clusters, but for larger ones, I make a clean cut just above a bud or leaf cluster with sharp pruners.
Focus on overcrowded branches where fruit clusters compete for space. Remove every other cluster along a branch, leaving the healthiest-looking fruit. If a branch has too many fruitlets, thin until you see 4-6 inches of space between clusters. This prevents the tree from overproducing small, poor-quality fruit and reduces disease risk from crowded, damp fruit.
Real talk: This step feels counterintuitive—you’re removing fruit when you want more. But trust me, the remaining fruit will be larger, sweeter, and ripen more evenly. Plus, the tree won’t get stressed trying to support too many apples. After thinning, give the tree a deep watering to help it recover.
✂️ Step 3: Light Summer Pruning (Late July to August)
This final cut is all about shaping and maintenance. Wait until new growth has hardened off—you’ll see it turn from bright green to a deeper, more mature shade. Look for suckers (shoots growing from the base or trunk) and water sprouts (fast-growing vertical shoots). These steal energy from fruit production, so remove them completely at the base.
Next, address any dead or diseased branches that might have appeared since winter. Make clean cuts just outside the branch collar, just like in Step 1. For branches that are too long or leggy, cut back to a bud facing outward to encourage bushier, more productive growth. Avoid heavy pruning now—just 10-15% of the tree’s total growth is enough to keep it balanced.
This is also the time to open up the canopy slightly if the center of the tree is too dense. Remove branches that block light from reaching the interior—this improves air circulation and reduces humidity, which cuts down on fungal diseases like apple scab. Finish by sanitizing your tools with rubbing alcohol to prevent spreading any lingering pathogens.
Tips & tricks for perfect apple tree pruning
These targeted strategies will help you prune like a seasoned orchardist—no guesswork required.
Branch Collar Precision: The branch collar is your guidepost for clean cuts. Look for that swollen area where the branch meets the trunk—this is nature's seal. When making your vertical cuts in Step 1, angle them slightly away from the branch collar to prevent water from pooling. I've seen too many pruning wounds fail because of this simple detail. Use a sharp pruning saw for branches thicker than 1/4 inch to avoid tearing the bark, which creates entry points for disease.
Seasonal Timing Visual Cues: For Step 2's summer thinning, wait until fruitlets reach pea-size—about 6-8 weeks after bloom. To check, hold a fruitlet between your thumb and forefinger; it should be roughly the size of a small marble. This timing ensures you're thinning when the tree can handle it without stress. In Step 3, new growth is ready when it turns from bright green to a deeper, more mature shade—like switching from neon to forest green. This hardened-off stage means the cuts won't stimulate new, vulnerable growth.
Canopy Visualization Technique: Before making any cuts, step back and visualize your tree's final shape. In Step 1, aim for 3-5 main scaffold branches evenly spaced around the trunk. Think of them as spokes on a wheel—equal distance from the center (trunk) and from each other. For Step 3's light pruning, open up the canopy by removing branches that block light from reaching the interior. You're creating a dome shape that allows sunlight to penetrate all the way to the center, which is where most fruit develops.
Tool Sanitization Protocol: After each pruning session, especially in Step 3, sanitize your tools with rubbing alcohol. I keep a small bottle in my tool belt for quick cleanups between cuts. This simple step prevents spreading fungal spores like apple scab from one branch to another. Think of it like washing your hands between handling different meats in the kitchen—just as critical for preventing cross-contamination in your orchard.
Pro Tips for Trimming Apple Trees
- These targeted strategies will help you prune like a seasoned orchardist—no guesswork required.
- Branch Collar Precision: The branch collar is your guidepost for clean cuts.
- Seasonal Timing Visual Cues: For Step 2's summer thinning, wait until fruitlets reach pea-size—about 6-8 weeks after bloom.
Frequently asked questions
Got questions about keeping your apple trees healthy with the right cuts? Here’s what you need to know—from timing to tools and everything in between!
When is the best time to trim apple trees?
The ideal times are late winter or early spring (just before buds swell) for dormant-season pruning, or summer (after harvest) for light shaping. Avoid trimming in fall—it invites disease. For young trees, prioritize structure early!
What tools do I need for trimming apple trees?
You’ll want:
- A sharp bypass pruner (for small branches)
- Loppers (for thicker limbs)
- A pruning saw (for large branches)
- Disinfectant (to clean tools between cuts and prevent disease)
- Gloves and safety goggles (for protection)
How much can I trim off an apple tree?
Never remove more than 25% of the tree’s canopy in one season—this stresses the tree. For young trees, focus on removing dead, diseased, or crossing branches first. Mature trees benefit from light annual pruning (5–10%) to maintain airflow and fruit production.
What if my apple tree is bleeding after pruning?
Don’t panic! Bleeding sap (a watery fluid in spring) is normal and harmless—it’s the tree’s way of healing. If cuts are too large, they may ooze more, but the tree will recover. To minimize it, prune on dry days and avoid trimming when buds are swelling.
Can I use hedge trimmers instead of pruners?
Nope! Hedge trimmers tear bark and create jagged cuts, which invite pests and disease. Apple trees need clean, angled cuts (about ¼ inch above a bud) made with sharp pruners. For large hedges, use a pruning saw instead.
Wrapping up and next steps
Trimming your apple trees isn’t just about keeping them tidy—it’s about unlocking their full potential! 🌳 By mastering the three strategic cuts (winter, summer, and post-harvest), you’ll boost fruit production, improve air circulation, and extend the life of your trees.
Remember, consistency and patience are key, and every snip brings you closer to a bountiful harvest.
Ready to take action? Grab your pruners, review your notes, and schedule your first cut—this season’s the perfect time to start. Your future apple harvest (and happy trees!) will thank you.