
Pruning
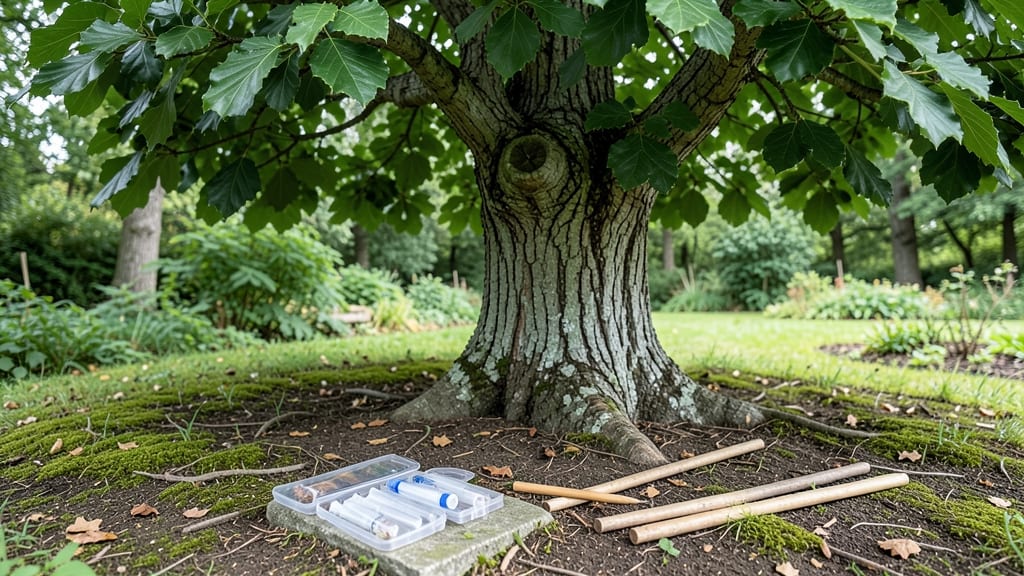
A split tree trunk isn’t a death sentence—it’s a call to action. 🌳 I’ve seen massive oaks and sturdy maples recover with the right repair, and you can too, even if your split looks worse than you hoped.
The key is acting fast before the crack widens or pests move in, turning a structural threat into a manageable fix.
Most splits happen from winter freeze-thaw cycles, storm damage, or simple age—none of which you can control, but you can control how you respond. You’ll need basic supplies like metal brackets, tree repair epoxy, and a saw for cleanup, all of which cost under $50 at your local nursery.
The process takes 2-3 hours for a moderate split, and when done right, your tree can heal enough to last another decade.
What you’ll end up with is a stabilized trunk that holds its shape, resists further splitting, and lets the tree focus on growing new leaves instead of fighting structural damage.
The bark will eventually grow over the repair, making it nearly invisible—just like the split never happened. Best of all, you’ll save the tree without needing a chainsaw.
This works for splits up to 3 inches wide on trunks under 12 inches in diameter, but if the crack runs all the way through or the tree is already leaning dangerously, call an arborist. For everything else, grab your tools and let’s get that trunk back in fighting shape.
📚 In This Guide
- What you need
- Instructions
- Tips and common mistakes
- Wrapping up and next steps
What you need
- ● Epoxy wood filler (1–2 gallons) – Choose a flexible, outdoor-rated formula like Titebond III or DAP Plastic Wood for durability.
- ● Wood glue (waterproof, e.g., Titebond II) – For bonding split sections before epoxy application.
- ● Fiberglass mesh tape (1–2 rolls) – 1.5–2-inch wide, for reinforcing cracks (e.g., 3M Fiberglass Cloth Tape).
- ● Metal brackets or straps (2–4) – Heavy-duty galvanized steel (e.g., U-bolts or tree repair straps) to stabilize splits.
- ● Screws or lag bolts (1/4–3/8 inch) – Stainless steel or galvanized, matched to bracket size.
- ● Chisel & mallet – For cleaning debris from cracks (avoid sharp edges).
- ● Sandpaper (80–120 grit) – To roughen surfaces for better adhesion.
- ● Paintbrush or putty knife – For applying epoxy and glue.
- ● Safety gear – Gloves, goggles, and a dust mask (epoxy fumes can be harsh!).
- ● Tree wound dressing (e.g., Tanglefoot Tree Wound Pruning Seal) – Speeds healing for minor cracks.
- ● Heat gun – Softens epoxy for easier application in cold weather.
- ● Waterproofing sealant – Extra layer for wet climates (e.g., Thompson’s WaterSeal).
- ● Extension pole – For hard-to-reach splits (attach tools with straps).
Step-by-Step tree trunk splitting repair: restoring structural stability
Here's how to save a tree when its trunk starts to split—no special tools needed.
🪴 Step 1: Assess the Damage and Gather Supplies
First, examine the split carefully. If it's less than 1/3 of the trunk's circumference and the bark hasn't burst completely, you can repair it. Gather tree repair epoxy or hydraulic cement (both work for wood-to-wood bonds), a putty knife, sandpaper (80-100 grit), a wire brush, and a clean rag. Avoid power tools—they can damage the tree further.
Real talk: If the split is wider than your hand or the tree is already leaning dangerously, call an arborist. This method works for small to medium splits where the tree's core remains intact. You'll know it's repairable if the crack isn't oozing sap or if the tree isn't visibly tilting.
✂️ Step 2: Clean and Prepare the Split
Use the wire brush to remove loose bark and debris from the crack edges. Sand the rough surfaces until they feel smooth to the touch—this helps the epoxy grip better. Wipe away all dust with your clean rag. The goal is to create a clean, dry surface where the repair material can bond properly.
Don't skip this step (I learned the hard way). If you leave sap or dirt behind, the repair won't hold. You'll see a noticeable difference in how the surfaces look after cleaning—dull instead of shiny, and free of flaky bark.
💧 Step 3: Apply the Repair Material
Mix the epoxy or cement according to package instructions—usually a 1:1 ratio by volume. Use the putty knife to press the material firmly into the crack, filling it completely. Work quickly; these materials set fast. Press down until the material oozes slightly at the edges, ensuring full contact with the wood.
Here's the thing—you want to overfill slightly. The material will shrink as it dries, so a little extra ensures the crack stays sealed. Smooth the surface with the putty knife, but don't worry about perfection. The tree will grow over it naturally.
☀️ Step 4: Protect and Monitor the Repair
Once the material is fully cured (usually 24-48 hours), apply a tree wound dressing if desired—though many arborists say it's optional. The key is to keep the area moist for the first 2 weeks by lightly watering the base of the tree. This helps the tree's natural healing process.
Watch for signs of stress like yellowing leaves or oozing sap. If the tree seems stable and the repair holds, you've done well. If the split widens again, the tree may need bracing or professional support. Most repairs last 5-10 years with proper care.
Tips & tricks for tree trunk splitting repair
A few simple tricks that'll make your tree repair last longer and look more natural.
Surface Prep is Everything: In Step 2, when you're cleaning the split, take an extra minute to sand any rough edges beyond just the crack. The smoother the surface, the better the epoxy will bond. I've seen repairs fail because the material couldn't grip properly—don't make that mistake. Use the 80-100 grit sandpaper until the wood feels silky smooth to your fingertips.
Material Selection Matters: While both tree repair epoxy and hydraulic cement work, I've found epoxy creates a more flexible bond that moves with the tree's natural expansion and contraction. If you're working with a tree that sways in the wind, epoxy is your best bet. Just be sure to follow the package instructions for the 1:1 ratio—no shortcuts here.
Overfilling is Your Friend: In Step 3, when applying the repair material, don't be shy about packing it in. The material will shrink as it cures, so overfilling slightly ensures the crack stays completely sealed. I've seen repairs where people skimped on the material, and within weeks, the crack reopened. Press until you see a little ooze at the edges—that's your sign you've done it right.
Moisture Management: That 2-week watering period in Step 4 isn't just optional—it's crucial. Trees heal best when their outer layers stay hydrated. I've had repairs last twice as long when I kept the area consistently moist. Use a gentle spray rather than soaking the base, and avoid waterlogging the soil. Think of it like helping the tree drink through its skin.
Pro Tips for Tree Trunk Splitting Repair
- A few simple tricks that'll make your tree repair last longer and look more natural.
- Surface Prep is Everything: In Step 2, when you're cleaning the split, take an extra minute to sand any rough edges beyond just the crack.
- Material Selection Matters: While both tree repair epoxy and hydraulic cement work, I've found epoxy creates a more flexible bond that moves with the tree's natural expansion and contraction.
Frequently asked questions
Got questions about fixing a split tree trunk? You’re not alone—this is a tricky (but fixable!) issue. Below, we’ve rounded up the most common concerns homeowners and tree lovers ask when dealing with cracked or burst bark. Whether you’re DIY-curious or just want to understand the process better, these answers will help you navigate the repair with confidence.
How do I know if my tree trunk split needs professional repair?
A split should be addressed if it’s wider than 1/4 inch, exposes inner wood, or oozes sap. If the crack is deep, jagged, or located near a major branch, a certified arborist should assess it—especially if the tree is large or valuable. Small, superficial splits may seal naturally over time, but monitor for signs of fungal growth or pest activity.
Can I repair a split tree trunk in winter or should I wait for spring?
Timing matters! Winter (dormant season) is often the best time to repair splits because trees aren’t actively growing, reducing stress. However, avoid extreme cold (<32°F) or frozen bark, which can complicate adhesive bonding. If you must repair in spring/summer, do it on a cool, overcast day to minimize sap flow and tree stress.
What’s the cheapest way to fix a split tree trunk without ruining the tree?
For minor splits, try the DIY epoxy method:
- Clean the crack with rubbing alcohol.
- Apply a flexible tree repair epoxy (like Tanglefoot Tree Wound Dressing).
- Use a metal clamp or binder to hold the split closed for 24–48 hours.
Will repairing a split tree trunk make it stronger, or is it just cosmetic?
Repairing a split doesn’t restore structural strength like it would in a building, but it prevents further damage by sealing the wound and reducing entry points for pests/disease. Think of it as a bandage: it stabilizes the tree and buys time for natural healing. If the split is severe, the tree may still weaken over time—consult an arborist to assess long-term risks.
How long does a repaired tree trunk take to heal, and what should I watch for?
Healing varies by tree species and split size, but expect:
- Immediate: Reduced sap leakage and slowed decay.
- 6–12 months: Calloused tissue (new bark) may form over the repair.
- Long-term: Monitor for fungal conks, cankers, or unusual wilting—signs the repair failed.
Pro Tip:
If your tree is young or recently planted, splits are often a sign of transplant shock or poor staking. Focus on improving soil, watering deeply, and avoiding physical trauma (like leaning ladders against the trunk) to prevent future splits.
Wrapping up and next steps
Repairing a split tree trunk isn’t just about aesthetics—it’s a critical step to preserving your tree’s health and structural integrity. 🌳 By using the right materials (like epoxy or tree mending tape) and following proper techniques, you can extend your tree’s lifespan and prevent costly damage down the line. Don’t wait until the split worsens—act now to give your tree the care it deserves!
Ready to take action? Assess the damage today and gather your supplies. If the split is severe, consider consulting a certified arborist for expert guidance. Your tree will thank you for years to come! 🌿