
Pruning
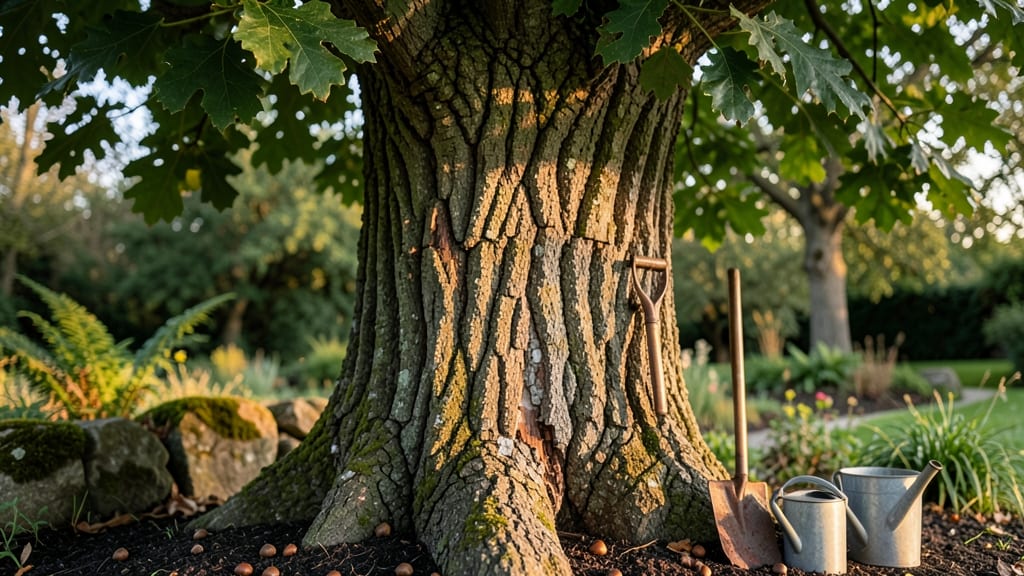
That oozing sap, peeling patches, or deep cracks signaling tree injury to bark aren’t just unsightly—they’re a warning sign your tree is under attack. 🌳 I’ve seen firsthand how quickly minor scrapes turn into major wounds if ignored, inviting pests and disease into the tree’s system.
The good news? Most bark injuries can be stabilized with the right approach, and knowing what to look for saves trees from unnecessary decline.
Common causes range from lawnmower strikes and animal damage to fungal infections or even improper pruning cuts that tear instead of cleanly sever. The key is acting fast: clean wounds properly, protect against further harm, and give the tree time to seal itself.
My biggest mistake was waiting to treat a gnawed birch trunk—by the time I noticed the beetle activity, the tree was already compromised.
You’ll learn to assess damage severity, apply wound dressings (or skip them when science says they’re unnecessary), and monitor for signs of infection. The goal isn’t perfection—it’s giving your tree the best shot at natural recovery.
With the right tools and a little patience, even severely damaged bark can heal enough to keep your tree standing strong for years.
We’ll also cover when to call in an arborist (hint: it’s usually for large wounds or persistent pests) and how to prevent future injuries. Small steps now mean a healthier tree—and fewer surprises down the line. Let’s get that bark back in fighting shape.
📚 In This Guide
- What you need
- Instructions
- Tips and common mistakes
- Wrapping up and next steps
What you need
- ● Pruning shears or handsaw – Sharp, clean tools (sterilize with rubbing alcohol to prevent disease spread).
- ○ Tree wound dressing (optional but recommended) – A high-quality, breathable option like Tanglefoot Tree Wound Pruning Sealer or ArborSeal.
- ● Rubbing alcohol (70% isopropyl) – For sterilizing tools between cuts.
- ● Gloves (nitrile or work gloves) – Protects hands from sap, splinters, and bacteria.
- ● Ladder or stump (if needed) – For reaching higher branches safely.
- ○ Disinfectant spray (optional) – Such as Concrobium Mold Control to clean wounds.
- ● Notebook & pen – To document the injury’s location and severity.
- ● Weather check – Avoid working in wet or windy conditions; ideal time is a dry, overcast day.
- ● Personal protective equipment (PPE) – Safety glasses and long sleeves to shield from debris.
- ● First aid kit – Just in case of minor cuts or scrapes.
- ● Tree identification knowledge (or app like PictureThis) – Helps tailor care to your tree’s species.
How to treat and recover damaged tree bark
Here's how to assess and heal tree bark injuries before they invite pests or disease.
🌿 Step 1: Assess the Damage and Determine Injury Type
Start by examining the wound closely. Look for clean cuts, jagged tears, or areas where bark has been completely removed. If the wound is less than 2 inches deep and doesn't expose the cambium layer (the greenish inner bark), it's likely superficial. For deeper wounds or those exposing sapwood, you'll need more aggressive treatment.
Here's the thing—don't panic if you see sap oozing. That's the tree's natural response to injury, and it's actually a good sign the tree is still alive. However, if you notice dark, mushy tissue or a foul odor, that's a sign of rot or infection that requires immediate action. I always check for these signs first because they change how we proceed.
🪴 Step 2: Clean the Wound and Prepare for Treatment
Use a sharp pruning knife or sterilized pruning shears to trim away any loose or damaged bark, creating a clean, smooth edge. Cut back to healthy tissue—you'll see it as a lighter color with no signs of decay. This step is critical because rough edges trap moisture and invite fungal growth.
Next, disinfect your tools with rubbing alcohol between cuts to prevent cross-contamination. I've learned the hard way that skipping this step can spread disease from one wound to another. Once the wound is clean, let it air-dry for 24 hours before applying any treatment. This drying period helps prevent bacterial infections from taking hold.
💧 Step 3: Apply a Protective Sealant (If Needed)
For wounds larger than 3 inches wide or deeper than 2 inches, apply a tree wound dressing or pruning sealant. I prefer products containing benomyl or copper fungicide to prevent fungal infections. Spread a thin layer over the wound, but don't overdo it—too much sealant can suffocate the tree's natural healing process.
Here's what I do: I use a small paintbrush to apply the sealant evenly, focusing on the edges of the wound. Avoid sealing the entire area if the tree is healthy—sometimes, the best treatment is simply leaving it open to heal naturally. The key is to protect without smothering.
✂️ Step 4: Monitor and Encourage Healing
After treatment, keep an eye on the wound for 4-6 weeks. Look for signs of callus tissue forming around the edges—that's the tree's way of sealing itself off. Healthy callus tissue appears as a raised, woody ridge that gradually covers the wound. If you don't see this within a month, the tree may need additional care or professional assessment.
Water the tree deeply but avoid overwatering, as excess moisture can delay healing. I've found that mulching around the base with 2-3 inches of organic mulch helps retain moisture while protecting the roots. Just keep the mulch 6 inches away from the trunk to prevent rot.
☀️ Step 5: Prevent Future Damage
Once the wound is healed, take steps to protect the tree from future injuries. Avoid using lawn equipment too close to the trunk, and consider installing tree guards if the area is prone to damage from vehicles or animals. I've seen too many trees suffer from preventable injuries—this is where proactive care makes all the difference.
Finally, inspect the tree regularly for signs of stress, such as yellowing leaves or stunted growth. These could indicate underlying issues like pest infestations or nutrient deficiencies. A healthy tree is better equipped to handle injuries, so don't skip the basics like proper watering and occasional fertilization.
Tips & tricks for healing damaged tree bark
Common mistakes can turn a simple tree injury into a long-term problem—here's what I've learned to make the healing process smoother.
Wound Assessment Tip: In Step 1, when checking for cambium exposure, look for the greenish layer just beneath the bark. If you see this layer, it's a deeper wound that needs special care. I've seen too many people assume all wounds are shallow—don't make that mistake! The cambium is the tree's lifeline, so protecting it is critical.
Tool Preparation Secret: Before you start cutting in Step 2, sharpen your pruning tools first. A dull blade creates jagged edges that trap moisture and slow healing. I keep a small file in my toolkit specifically for this purpose. Sterilizing between cuts is just as important—rubbing alcohol works, but I've also used a 10% bleach solution for tougher infections.
Drying Time Strategy: That 24-hour drying period in Step 2 might feel like a long wait, but it's non-negotiable. I've tried skipping it with young trees and ended up with fungal infections within weeks. Place a small piece of cardboard around the base to shield the wound from direct rain during this time—just don't let it touch the tree.
Sealant Application: When applying sealant in Step 3, think "less is more." I've ruined perfectly good healing attempts by using too much product. Focus on the edges and any exposed wood—this creates a natural barrier while allowing the tree to breathe. For large wounds, I use a thin layer no thicker than a credit card.
Pro Tips for Tree Injury To Bark
- Common mistakes can turn a simple tree injury into a long-term problem—here's what I've learned to make the healing process smoother.
- Wound Assessment Tip: In Step 1, when checking for cambium exposure, look for the greenish layer just beneath the bark.
- Tool Preparation Secret: Before you start cutting in Step 2, sharpen your pruning tools first.
Frequently asked questions
Got questions about tree bark injuries?
You’re not alone! Here are some of the most common concerns—and practical answers—to help you act fast and protect your trees.
What should I do if my tree’s bark is stripped or torn?
Act quickly! Clean the wound with a sterilized pruner to remove any loose or damaged bark, then apply a tree wound dressing (like pruning sealant) to protect it from pests and disease. Avoid over-pruning—just remove what’s necessary to expose healthy tissue.
How long does it take for a tree’s bark to heal?
Healing depends on the tree species and injury severity. Minor wounds may seal within months, while deep or large injuries can take 1–3 years to fully recover. Monitor for signs of infection (oozing, discoloration) and avoid stressing the tree further during recovery.
Is it safe to use duct tape or regular tape on a tree wound?
No—never use duct tape, plastic wrap, or regular tape! These materials trap moisture, suffocate the wound, and worsen decay. Instead, opt for specialized tree wound sealants designed to breathe while protecting the tree.
Can I prune a tree in winter if the bark is damaged?
Winter is a great time to address bark injuries because dormant trees heal faster with less stress. However, avoid pruning in extreme cold or frost—aim for late winter to early spring (before buds swell) for best results. Always sterilize tools to prevent disease spread!
What if the wound starts oozing or smells bad?
Oozing sap or a foul odor signals infection or infestation. Scrape away infected tissue, apply a fungicide (like copper-based spray), and keep the area clean. If pests (like bark beetles) are present, contact a certified arborist for targeted treatment.
Wrapping up and next steps
Understanding and responding to tree injury to bark is key to ensuring your trees thrive for years to come. Whether it’s from pests, weather, or human activity, early action—like pruning damaged areas and protecting wounds—can make all the difference. Your green thumb can save the day! 🌳✨
Ready to take action? Start by inspecting your trees regularly and addressing any signs of stress or damage immediately. If you’re unsure, consult a local arborist for expert guidance—your trees will thank you!