
Pruning
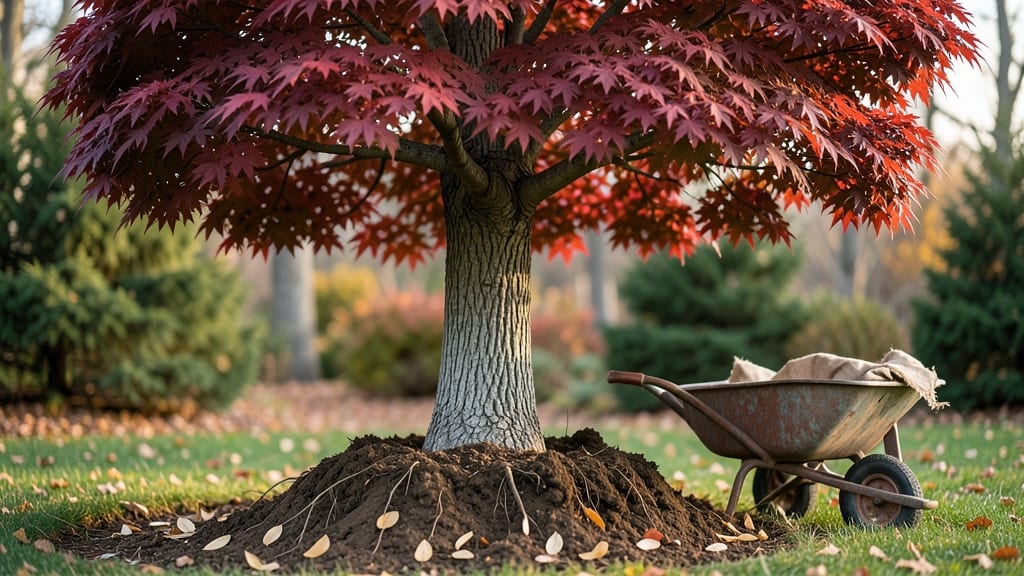
Relocating a mature tree isn't as intimidating as it sounds when you do it right. 🌳 I've moved several trees in my yard—some as old as 15 years—and learned that timing, root care, and gentle handling make all the difference between a thriving transplant and a sad loss.
The best time to move a tree is late fall or early spring, when the ground is moist but not frozen. You'll need basic tools: a sharp spade, wheelbarrow, burlap, twine, and root stimulator.
The key is preparing the root ball carefully—dig a wide trench around the tree, then lift it with the soil intact to minimize damage.
After transplanting, water deeply and stake only if necessary (over-staking can cause girdling). Within a few weeks, you'll see new growth as the roots establish. The first year is critical, but with the right approach, your tree will look like it never moved.
For larger trees or tricky spots, don't hesitate to call an arborist. Even experienced gardeners know when to ask for help—some trees are just too valuable to risk. The payoff? A healthy, established tree in exactly the right place.
📚 In This Guide
- What you need
- Instructions
- Tips and common mistakes
- Wrapping up and next steps
What you need
- ● Shovel or spade: A sharp-edged, round-point shovel (24–36 inches wide) for digging—rent or borrow one if needed!
- ● Pruning shears or handsaw: For trimming roots and branches (clean, sterilized blades only).
- ● Wheelbarrow or tarp: To transport soil and roots (a 4–6 ft tarp works well for sliding roots).
- ● Burlap or landscape fabric: 3–4 ft wide, to wrap roots and prevent soil loss during transport.
- ○ Root stimulator or mycorrhizal fungi: A powder or gel to encourage root growth (optional but helpful).
- ● Watering hose or bucket: With a spray nozzle for gentle hydration.
- ● Stakes and twine: 4–6 wooden or metal stakes (1–2 ft long) and twine or zip ties to secure the tree temporarily.
- ● Gloves and knee pads: Heavy-duty gardening gloves and knee pads for comfort.
- ● Timing: Relocate trees in early spring or fall (avoid extreme heat or frost).
- ● Tree size: Smaller trees (6–10 ft tall) are easiest; larger trees may need a professional arborist.
- ● Soil prep: Test the new location’s soil pH and drainage (amend if needed with compost or sand).
- ● Permits: Check local regulations—some areas require permits for tree relocation.
- ● Helper(s): A second person makes lifting and securing roots much easier!
- ● Mark the root ball: Use a spray paint to outline the root zone before digging for precision.
- ● Keep roots moist: Water the tree 2–3 days before relocation to hydrate the roots.
- ● Mulch well: Apply 2–3 inches of mulch around the base after transplanting to retain moisture.
Step-by-Step guide for transplanting a tree without root shock
Here's how to move a tree safely—keeping roots intact and stress minimal.
🌱 Step 1: Prepare the New Location and Dig the Transplant Hole
The right hole size makes all the difference. Dig a hole twice as wide as the tree's root ball but only 12-18 inches deep—any deeper risks suffocating roots. Work the soil in the hole with a shovel or hands, loosening it to 12-15 inches deep so roots can spread easily.
Here's the thing—don't amend the entire hole with fresh soil or compost. Instead, mix 20% compost into the original soil you removed. This prevents nutrient overload while still improving drainage. Test the hole's depth by placing the tree's root ball inside—it should sit 2-3 inches higher than the surrounding ground. This prevents water pooling around the trunk.
🌿 Step 2: Prune Roots and Lift the Tree Carefully
Start by circling the tree's trunk with a handsaw or pruning shears to cut through any large roots that spiral around the base. These "girdling roots" strangle the tree over time. Prune only the most aggressive ones—you don't need to remove every root. Then, dig a trench 12-18 inches deep around the tree, stepping back every 12 inches to avoid cutting roots deeper than necessary.
Use a wheelbarrow or tarp to lift the tree from the trench. Keep the root ball intact—if soil crumbles, you've gone too deep. Wrap the root ball in burlap or a tarp if moving more than 50 feet, and keep it moist by misting occasionally. The goal is to minimize root exposure to air, which dries them out fast. If you see roots curling or drying, soak them in a bucket of water for 10-15 minutes before replanting.
💧 Step 3: Position and Backfill the Tree
Lower the tree into the hole, ensuring the root flare—the bulge where roots meet the trunk—is visible above the soil line. This prevents the trunk from sinking too deep, which can cause rot. Once positioned, backfill with the amended soil you mixed earlier, tamping it down gently with your hands or a shovel to remove air pockets. Stop when the hole is half full—this lets you adjust the tree if needed.
Water the tree deeply after backfilling to settle the soil. Then, add a 2-3 inch layer of mulch around the base, keeping it 6 inches away from the trunk to prevent moisture buildup. Mulch helps retain soil moisture and regulates temperature, but too much can smother roots. I like to use wood chips or shredded bark—they break down slowly and improve soil structure over time.
☀️ Step 4: Stake and Water for Recovery
Stake the tree only if it's tall or top-heavy—most small trees don't need support. If you do stake, use two flexible stakes placed diagonally from the tree, tied loosely with soft fabric strips (never wire, which can cut into the trunk). The stakes should hold the tree steady but allow some sway in the wind, which strengthens the trunk naturally.
Water the tree deeply every 2-3 days for the first 4-6 weeks, then taper to weekly watering once new growth appears. You'll know it's getting enough water when the soil around the root zone stays moist but not soggy. Avoid overhead watering—it can spread disease. Instead, use a soaker hose or water at the base. Real talk: Overwatering is the #1 killer of newly transplanted trees, so let the top 2 inches of soil dry out between waterings.
Tips & tricks for stress-free tree transplanting
Moving a tree without causing damage takes careful planning—and these tricks will help you avoid common pitfalls while keeping your tree healthy.
Hole Preparation Secret: When digging your 12-18 inch deep hole, use a shovel to create vertical sides rather than sloping them. Vertical walls prevent soil from collapsing during backfilling, which gives roots better contact with the amended soil. I also recommend loosening the soil to 12-15 inches deep—this mimics natural root growth patterns and helps roots establish faster. The 20% compost mix should be thoroughly incorporated, not just sprinkled on top.
Root Handling Technique: In Step 2, when lifting the tree, work with a partner if possible—especially for larger trees. The 10-15 minute soaking time for drying roots is critical, but don't overdo it. Roots should be damp, not soggy. I've seen people wrap roots in wet burlap, which actually increases moisture loss during transport. Instead, wrap them in damp (not wet) burlap and keep the root ball covered until planting.
Positioning Check: That 2-3 inch elevation above ground level in Step 3 is non-negotiable for young trees. I've transplanted dozens and can tell you—trees planted too deep suffocate from poor oxygen flow to the roots. After backfilling halfway, give the tree a gentle tug to test stability before adding more soil. This prevents settling issues later that could uproot your tree.
Mulching Wisdom: The 2-3 inch mulch layer should cover the root zone but never touch the trunk. I use wood chips because they break down slowly, adding organic matter over time. A common mistake is piling mulch too high—this creates a moisture barrier that can rot roots. Also, avoid fresh mulch right after transplanting; wait until the tree shows new growth before adding more.
Pro Tips for Relocate A Tree
- Moving a tree without causing damage takes careful planning—and these tricks will help you avoid common pitfalls while keeping your tree healthy.
- Hole Preparation Secret: When digging your 12-18 inch deep hole, use a shovel to create vertical sides rather than sloping them.
- Root Handling Technique: In Step 2, when lifting the tree, work with a partner if possible—especially for larger trees.
Frequently asked questions
Got questions about relocating a tree? You’re not alone—tree transplanting can feel tricky! Below are answers to the most common concerns to help you plan with confidence.
When is the best time of year to relocate a tree?
The ideal window is late fall to early spring (dormant season), when trees aren’t actively growing. Avoid extreme heat or frost, as roots need time to establish without stress. For tropical or evergreen species, aim for cooler, rainy months to reduce transplant shock.
How do I know if my tree is the right size to move?
Small to medium trees (under 15–20 feet tall) with a trunk diameter of 3–6 inches are easiest to relocate. Larger trees require professional help due to root ball size and weight. Test flexibility: Gently wiggle the base—if it resists, roots may be too deep for DIY efforts.
What if my tree’s roots are damaged during transplanting?
Prune 10–20% of the root ball if roots are circling or overly dense, but avoid cutting healthy roots. Water deeply before and after moving to hydrate roots. Use a root stimulator or mycorrhizal fungi to speed recovery. Monitor for wilting—if it persists, consult an arborist.
Can I relocate a tree myself, or should I hire a pro?
DIY works for small, healthy trees with proper tools (like a tree spade or burlap wrap). For mature trees, hire an arborist—they use air spades, cranes, or root barrier techniques to minimize damage. Pro tip: Ask about guarantees on survival rates!
How long until my transplanted tree looks healthy again?
Most trees show new growth in 6–12 months, but full recovery can take 2–5 years, depending on species and care. Key signs of success: Firm trunk, vibrant leaves, and no leaf drop. Mulch, water consistently, and avoid pruning for at least a year.
Still unsure? Start with a soil test or consult your local cooperative extension service for species-specific advice!
Wrapping up and next steps
Relocating a tree might seem daunting, but with the right tools, timing, and care, you can give your tree a fresh start while keeping it thriving. 🌳 Remember, patience and preparation are key—whether you’re transplanting a young sapling or a mature specimen.
The effort you put in now will pay off with a healthier, happier tree for years to come!
Ready to take the next step? Start by assessing your tree’s needs, gathering supplies, and scheduling the move during the ideal season. If you’re unsure, don’t hesitate to consult a local arborist for expert guidance. Happy transplanting!