
Pruning
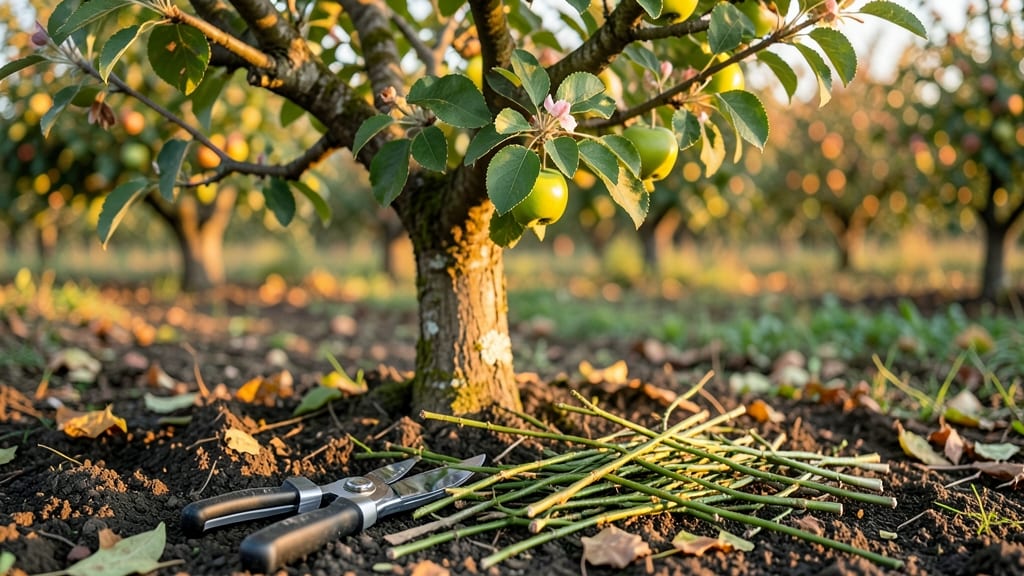
Pruning an apple tree in early spring isn’t just about shaping—it’s about setting the stage for a season of vibrant growth and bountiful fruit.
I remember the first time I saw my neglected tree bloom into a productive powerhouse after just four strategic cuts, and the difference was night and day.
The key is timing: prune when buds swell but before leaves unfurl, and you’ll encourage energy to flow into new branches instead of wasted wood.
You only need a few basic tools—a sharp bypass pruner, loppers for thicker branches, and rubbing alcohol to sterilize cuts. The real magic happens with the cuts themselves: remove dead wood first, then thin out crowded branches to let sunlight and air circulate.
This isn’t rocket science—just four simple cuts that transform a tangled mess into an open, airy structure ready to fruit. The payoff? Fewer diseases, stronger branches, and apples that actually ripen instead of rotting on the tree.
What you’ll end up with is a tree that looks like it belongs in a postcard—neat, healthy, and full of promise. The branches will stretch toward the sun, the blossoms will be thicker, and next summer’s harvest will be the best you’ve ever seen.
This isn’t guesswork; it’s a repeatable process that works every time you do it right. Once you’ve mastered these four cuts, you’ll wonder how you ever struggled with pruning before.
The best part? These same principles work for young trees, mature orchards, and even neglected trees that haven’t been pruned in years. Whether you’re a first-time gardener or a seasoned grower, this method keeps things simple without sacrificing results.
Let’s get those branches looking sharp and your tree ready to produce like never before.
📚 In This Guide
- What you need
- Instructions
- Tips and common mistakes
- Wrapping up and next steps
What you need
- ● Pruning shears (bypass or anvil type) – Choose sharp, clean shears (7–10 inches) for clean cuts. Disinfect with rubbing alcohol between cuts to prevent disease spread.
- ● Loppers – For thicker branches (1–2 inches in diameter). Opt for bypass loppers for precision.
- ● Pruning saw – For branches thicker than 2 inches. A curved-tooth saw minimizes tear-out.
- ● Gloves (cut-resistant) – Protect your hands from thorns and rough bark. Look for gardening gloves with reinforced palms.
- ● Ladder or step stool – Reaches up to 6–8 feet safely. Ensure it’s stable and non-slip.
- ● Rubbing alcohol (70% isopropyl) or bleach solution – For sterilizing tools between cuts.
- ○ Tree wound paint or pruning sealant – Optional but helpful for larger cuts (over ½ inch) to prevent disease.
- ● Disposable bags or bucket – Collect pruned branches for cleanup.
- ● Weather check – Prune on a dry, cloudy day (avoid frost or extreme heat).
- ● Safety glasses – Shields eyes from debris.
- ● Long sleeves/pants – Protects against scratches and sun exposure.
- ● First-aid kit – Just in case of minor cuts or scrapes.
- ● Water & snacks – Hydration breaks keep you energized!
- ● 🔥 Sharpen your tools first—dull blades crush branches, causing damage.
- ● 🌡️ Work early in the morning or late afternoon to avoid stressing the tree.
- ● ✨ Map your cuts beforehand
Step-by-Step guide for pruning an apple tree in spring
Here's how to refresh your tree's shape while boosting fruit production—no fancy tools needed.
Identify and Remove Dead or Diseased Branches
Start by scanning the tree for any branches that are brown, brittle, or showing signs of disease like fungal spots or oozing sap. These branches won’t produce fruit and could spread problems to healthy wood. Use clean, sharp pruning shears to make your cuts—dull tools tear wood, inviting infections.
Cut just outside the branch collar, the swollen area where the branch meets the trunk. Avoid leaving stubs, as they can rot and attract pests. If a branch is larger than 2 inches in diameter, use a pruning saw instead. Work methodically from the bottom up, removing up to 25% of the tree’s total branches in this first pass.
Thin Out Crowded Branches for Better Airflow
Next, focus on the tree’s interior. Look for branches that cross each other or grow inward—they’ll rub and create wounds that weaken the tree. Remove one of the two crossing branches, always cutting back to the branch collar. Aim to create an open center with sunlight reaching the inner branches.
If you see "water sprouts" (fast-growing vertical shoots), snip them off at their base. These saplings drain energy from fruit production. Thin branches should make up about 10-20% of your total cuts. Step back often to visualize the tree’s shape—you’re sculpting, not just hacking.
Shape the Tree’s Skeleton for Future Growth
Now, refine the tree’s framework by shortening overly long branches. Focus on the main scaffold branches—these are the thick, sturdy limbs that form the tree’s structure. Cut back to a bud that faces outward on the branch, about ¼ inch above it. This encourages new growth in the right direction.
For branches that are too tall, make your cut just above a outward-facing bud to maintain an open, balanced shape. Avoid "topping" the tree by cutting the very top—this triggers weak, bushy regrowth. Instead, aim for a natural, rounded canopy that lets sunlight reach the lower branches.
Clean Up and Protect the Tree
After pruning, gather all the clippings and dispose of them in a sealed bag or burn them—never leave them on the ground, as they can harbor diseases. Sterilize your tools with rubbing alcohol or a bleach solution to prevent spreading pathogens between cuts.
Apply a thin layer of pruning sealant to cuts larger than ½ inch in diameter to prevent moisture loss and infection. Water the tree deeply afterward to help it recover. Avoid heavy fertilization right after pruning—let the tree focus on healing before pushing new growth.
Tips & tricks for pruned apple tree revival
Here's what nobody tells you about pruning—these simple tricks will help your apple tree thrive after the cuts.
Timing is Everything: Late winter or early spring, just before buds swell, is the absolute best time to prune. This gives your tree time to heal before the growing season kicks in. If you missed the window, avoid pruning in late summer or fall, as new growth won't have time to harden off before winter. I've seen trees stressed by late-season pruning, so don't make my mistake!
The 25% Rule: Never remove more than 25% of the tree's branches in a single session, as specified in Step 1. This prevents shock and maintains the tree's ability to produce fruit. If your tree looks particularly overgrown, spread the pruning over two years rather than trying to do it all at once. Think of it like a haircut—you wouldn't cut all your hair off in one day!
Branch Collar Matters: Always cut just outside the branch collar—the swollen area where the branch meets the trunk—as mentioned in Step 1. This is where the tree's natural healing begins. Cutting too close to the trunk creates wounds that heal poorly and can invite disease. I've seen so many trees with ugly scars from improper cuts, so pay attention to this detail!
Sterilize Your Tools: After each cut, especially when dealing with diseased branches, sterilize your tools with rubbing alcohol or a bleach solution as mentioned in Step 4. This prevents spreading pathogens between cuts. I keep a small bottle of rubbing alcohol in my tool belt for quick cleanups between branches. It's a small step that makes a big difference in keeping your tree healthy.
Pro Tips for Pruned Apple Tree
- Here's what nobody tells you about pruning—these simple tricks will help your apple tree thrive after the cuts.
- Timing is Everything: Late winter or early spring, just before buds swell, is the absolute best time to prune.
- The 25% Rule: Never remove more than 25% of the tree's branches in a single session, as specified in Step 1.
Frequently asked questions
Got questions about pruning your apple tree? You’re not alone! Here are answers to the most common concerns—whether you're a first-timer or a seasoned gardener looking for a quick refresher.
When is the best time to prune an apple tree?
The ideal window is late winter or early spring—just before buds swell but before new growth starts. This timing promotes faster healing and minimizes disease risk. Avoid pruning in fall, as wounds take longer to seal in cooler weather.
How do I know if I’m over-pruning my apple tree?
Over-pruning shows in stunted growth, fewer flowers/fruit, or excessive water sprouts. A good rule: Never remove more than 25% of the tree’s canopy in one season. If you’re unsure, start conservatively and observe the tree’s response.
Will pruning reduce my apple harvest?
Not if done correctly! Pruning actually boosts fruit quality by improving airflow (reducing rot) and directing energy to larger, sweeter apples. However, heavy pruning in fruit-bearing years may temporarily lower yield—balance is key.
Can I prune an apple tree in summer instead?
Summer pruning is possible but riskier. Focus on removing water sprouts or diseased branches to avoid stressing the tree. Avoid major cuts—wait for late winter/early spring for optimal results.
What if my cuts bleed or ooze?
Sap bleeding is normal! It won’t harm the tree. To minimize mess, prune on a dry day and seal larger cuts (>1 inch) with pruning sealant. Most trees stop "weeping" after a few days.
Pro Tip:
Label your pruning cuts with a sharp pencil to track progress over seasons. This helps you spot patterns (like recurring weak branches) and refine your technique year after year!
Wrapping up and next steps
Pruning your apple tree in spring isn’t just about shaping—it’s about revitalizing growth, boosting fruit production, and keeping your tree healthy for years to come. 🌱 With just four simple cuts, you’ve taken a proactive step toward a thriving orchard.
Remember, patience and consistency are key, so keep an eye on your tree’s progress and repeat this process annually.
Ready to see those branches flourish? Grab your pruners and get started! If you’re eager to learn more, explore our guide on seasonal tree care for year-round success. Happy pruning!