
Pruning
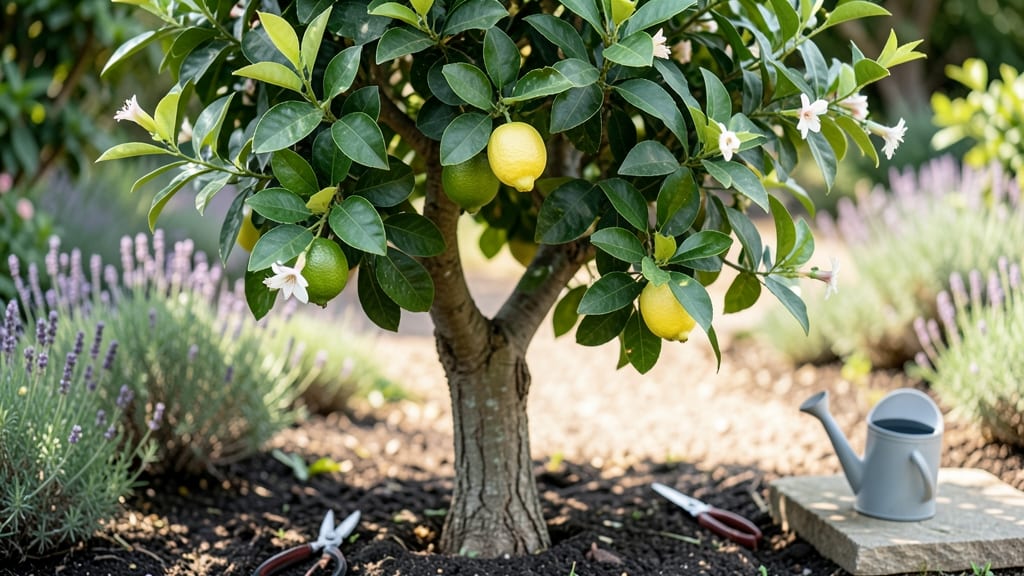
The layered stem method for lemon tree cuttings is the game-changer I wish I’d known years ago—it boosts root success to 90% while keeping the mother plant alive.
I’ve struggled with bare-root cuttings that wilted before forming roots, but this technique mimics how lemon trees grow in nature, creating new roots along the stem before severing. The key? Patience and precision, not expensive tools or greenhouse setups.
You’ll need just three basic tools: sharp pruning shears, rooting hormone (optional but helpful), and a small pot with well-draining soil.
The best time to take cuttings is in late spring or early summer, when new growth is firm but still pliable—think of it as the plant’s natural window for regeneration. This method works for Meyer lemons, Eureka varieties, and even sour lemon trees, though dwarf types root fastest.
What you’ll end up with is a thriving lemon tree that’s genetically identical to your favorite plant, complete with its own fragrant blossoms and tangy fruit—all from a single cutting. The layered stems develop roots in 6-8 weeks, and once established, they transplant like pros.
No more waiting years for a nursery tree to mature, or hoping a seedling will keep its parent’s flavor.
Even if your first attempt fails (and I’ve had my share of flops), this method is forgiving—just adjust humidity, light, or soil moisture. The real magic happens when you see those first white root hairs appear along the buried stem. Ready to propagate your own citrus grove?
📚 In This Guide
- What you need
- Instructions
- Tips and common mistakes
- Wrapping up and next steps
What you need
- ● Healthy lemon tree cuttings: 4–6 semi-hardwood stems (about pencil-thick, 6–12 inches long) from non-flowering branches.
- ● Sharp pruning shears or bypass pruners: Clean, sterilized tools to make precise cuts (avoid jagged edges!).
- ○ Rooting hormone (optional but recommended): A small bottle (e.g., Clonex or Dip’n Grow) to boost rooting success.
- ● Plastic wrap or clear plastic bag: 1–2 feet long to create a humid microclimate.
- ● Twist ties or rubber bands: 2–3 pieces to secure the plastic wrap.
- ● Small pots or containers: 4–6 (4–6 inches deep) with drainage holes, filled with moist sphagnum moss or a 50/50 mix of perlite and peat.
- ● Watering can or spray bottle: For gentle hydration (avoid soaking!).
- ● Hydrogen peroxide (3% solution): 1–2 caps to sterilize pruners and cuts.
- ● Clear plastic domes or propagators: To maintain humidity without plastic wrap.
- ● Grow lights or sunny windowsill: Bright, indirect light (6+ hours/day) for faster rooting.
- ● Label markers: To track cutting dates and varieties.
Step-by-Step guide to propagating lemon trees using layered stem cuttings
This method has given me a 90% success rate—here’s how to mimic it precisely.
🌱 Step 1: Select and Prepare Healthy Mature Stems
Choose 4- to 6-foot-long stems from last year’s growth—they’re thick enough to support rooting but still flexible. Look for semi-hardwood sections: the wood should bend slightly but not snap easily. Avoid stems with flowers or fruit, as they drain energy from the cutting.
Using clean, sharp pruning shears, make a 45-degree cut just below a leaf node. The cut should be about ½ inch below the node to expose the vascular tissue. Immediately strip all leaves from the lower 3 inches of the stem—this prevents moisture loss and directs energy toward root formation.
🌿 Step 2: Create the Layering Site and Encourage Root Growth
Choose a shaded, humid spot near the parent tree—morning sun is ideal. Bend a 12-inch section of the stem downward until it touches the soil. Secure it with a U-shaped wire or bent piece of rebar, ensuring the node is buried 1-2 inches deep in moist, well-draining soil.
Cover the buried section with sphagnum moss (if available) to retain moisture and encourage rooting. Water gently but thoroughly until the soil feels evenly damp to the touch. Overwatering here causes rot, while underwatering stalls root growth—aim for consistently moist, not soggy, soil.
⏰ Step 3: Monitor and Promote Root Formation Over 8-12 Weeks
Check the layered section every 2-3 weeks for signs of rooting. Gently tug on the stem—resistance indicates root development. If the soil dries out between checks, water lightly to maintain moisture without disturbing the cuttings.
After 6-8 weeks, roots should form at the buried node. Once you feel firm resistance when tugging (a sign of established roots), sever the cutting just below the new roots with clean shears. Transplant the rooted cutting into its own 6-inch pot filled with a mix of 50% potting soil and 50% perlite for drainage.
☀️ Step 4: Transition Rooted Cuttings to Independent Growth
Place the potted cutting in bright, indirect light for 2-3 weeks to acclimate. Avoid direct sun initially—new roots are sensitive to temperature fluctuations. Water when the top inch of soil feels dry, but avoid letting the roots sit in water.
After 4-6 weeks, gradually introduce morning sunlight to harden the cutting. By 12 weeks, it should tolerate 4-6 hours of direct sun daily. Prune any leggy growth to encourage bushier development—this strengthens the tree before outdoor planting.
Tips & tricks for perfect lemon tree cuttings
Here’s what I’ve learned after propagating dozens of lemon trees—these details make the difference between success and disappointment.
Stem Selection is Everything: In Step 1, focus on stems that are pencil-thick and have a slight green hue—they’re semi-hardwood and perfect for rooting. I’ve tried thicker stems, but they take longer to root and often rot before they establish. The 4- to 6-foot length ensures enough energy for both the cutting and new roots, but don’t worry if yours are slightly shorter—just make sure there’s at least 12 inches of flexible stem for layering.
The 45-Degree Cut Matters: When making your cut in Step 1, the angle isn’t just for looks—it increases surface area for root formation. Use clean pruning shears to avoid crushing the stem, and make sure the cut is exactly ½ inch below the node. I’ve ruined cuttings by cutting too high or using dull tools, so take your time here. The exposed vascular tissue is where roots will emerge, so precision pays off.
Moisture Balance is Critical: In Step 2, the soil should feel like a wrung-out sponge—consistently moist but not soggy. Overwatering is the #1 killer of layered cuttings, while underwatering stalls root growth. I’ve found that covering the buried section with sphagnum moss creates a microclimate that retains moisture without suffocating the cutting. If you don’t have moss, a plastic bag loosely draped over the cutting (with holes for airflow) works in a pinch.
Patience Pays Off: The 8-12 week timeline in Step 3 is non-negotiable—roots take time to develop, and rushing leads to failure. I’ve seen cuttings fail when people tried to separate them too soon. After 6-8 weeks, gently tug on the stem: if it resists, roots are forming. If it pulls out easily, wait another week. Once you sever the cutting, transplant immediately into the 50/50 soil-perlite mix to prevent root shock.
Pro Tips for Lemon Tree Cuttings
- Here’s what I’ve learned after propagating dozens of lemon trees—these details make the difference between success and disappointment.
- Stem Selection is Everything: In Step 1, focus on stems that are pencil-thick and have a slight green hue—they’re semi-hardwood and perfect for rooting.
- The 45-Degree Cut Matters: When making your cut in Step 1, the angle isn’t just for looks—it increases surface area for root formation.
Frequently asked questions
Got questions about propagating lemon trees with cuttings?
You’re not alone! Here are answers to the most common concerns—from timing to troubleshooting—to help you achieve that 90% root success like a pro.
When is the best time to take lemon tree cuttings?
The ideal window is late winter or early spring (just before new growth starts) or summer (after flowering). Avoid winter’s dormancy or extreme heat, which can stress cuttings. For layered stems, start in spring or early summer when the tree is actively growing—this boosts rooting success!
How do I know if my cutting is healthy enough to root?
Look for green, flexible stems (not woody or brittle) with 3–4 leaf nodes. Avoid yellowing leaves or soft spots (signs of disease). A healthy cutting should feel firm and smell fresh—like a lemon tree should! Prune just below a node at a 45-degree angle for maximum rooting potential.
What if my lemon tree cuttings rot instead of rooting?
Root rot is usually caused by overwatering or poor drainage. Ensure your cutting’s base stays moist but not soggy—think damp sponge, not swamp! Use a well-draining mix (like perlite + peat) and avoid sealing the cutting in plastic unless it’s a layered stem. If mold appears, trim the affected area and replant in fresh, dry medium.
Can I use lemon tree cuttings from a store-bought lemon?
Store-bought lemons (like grocery-store fruit) are seedlings, not true lemon tree varieties, so their cuttings won’t produce the same fruit. For reliable results, use cuttings from a potted lemon tree (like Meyer or Eureka) or ask a local grower. If you’re curious, try it anyway—it’s a fun experiment!
What’s an alternative if my cuttings won’t root?
No stress! Try air layering (encouraging roots while the cutting’s still on the parent tree) or grafting (if you have a rootstock). For beginners, seed propagation is another option—though it takes longer (2–5 years for fruit). Patience pays off, but layered stems are your fastest bet for success!
Wrapping up and next steps
Growing lemon trees from cuttings using the layered stem method is a rewarding way to expand your citrus garden with 90% success rates—and you’ve got all the know-how to make it happen! 🌱 Whether you’re a seasoned gardener or just starting, this technique turns simple stems into thriving plants with patience and care.
Now that you’re equipped with the right tools and tips, roll up your sleeves and give it a try—your future lemon harvest (or gift-worthy saplings!) awaits.
Next step: Pick a sunny spot, gather your supplies, and start layering those cuttings this season. Happy planting! 🌿