
Pruning
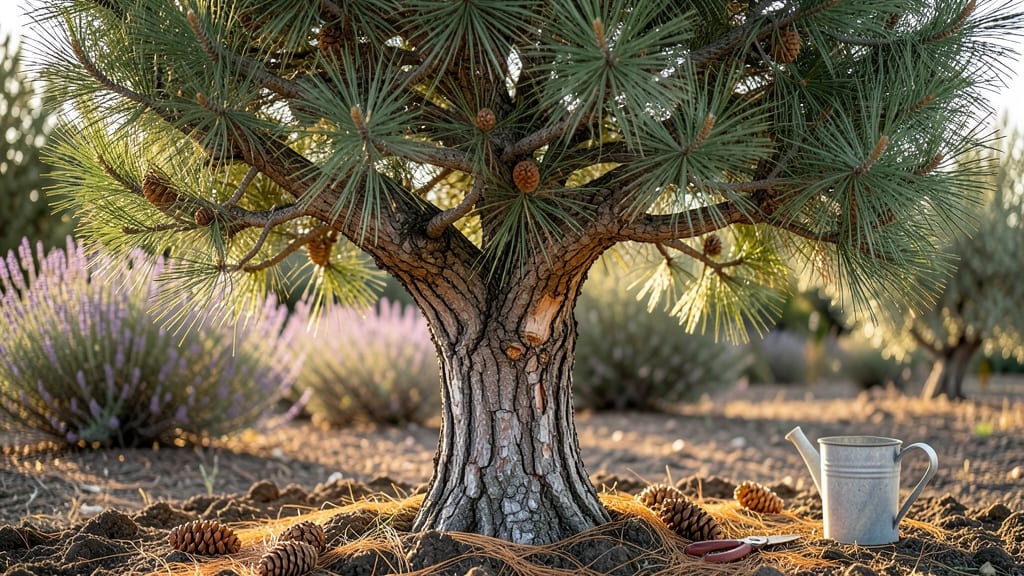
The Italian pine tree thrives when pruned in late winter, unlocking its hidden potential—stronger branches, fuller growth, and fewer winter hazards. I learned the hard way that skipping this step leads to weak limbs and messy cones everywhere.
The key is timing: dormant season pruning (December through February) when the tree isn’t actively growing, so it recovers faster and puts energy into new, sturdy growth.
You’ll need sharp pruning shears, a ladder if branches are high, and a clear day to avoid spreading pine pitch. Focus on removing dead, crossing, or diseased branches first—they’re the easiest to spot when the tree is bare.
For thicker branches, make clean cuts just outside the branch collar, and avoid leaving stubs that can attract pests. My first attempt left ugly stubs, but now I nail it every time.
What you’ll end up with is a tree that looks healthier from a distance and handles storms better. The pruned branches encourage new, vibrant growth in spring, and you’ll notice fewer pine cones littering your yard.
Plus, it’s satisfying to see how much more sunlight reaches the lower branches after a good pruning session.
This method works for both Pinus pinea (stone pine) and Pinus nigra (Austrian pine), though the latter grows faster and may need more frequent pruning. If you’re in a windy area, prune slightly more aggressively to reduce storm damage.
The results are worth the effort—your Italian pine will thank you with stronger branches and a fuller canopy.
📚 In This Guide
- What you need
- Instructions
- Tips and common mistakes
- Wrapping up and next steps
What you need
- ● Pruning shears or loppers: Bypass pruners (for small branches, ¼"–½" thick) and loppers (for branches ½"–2" thick). Choose sharp, stainless-steel blades to avoid crushing.
- ● Pruning saw: A curved-tooth handsaw or folding pruning saw for branches thicker than 2". Look for a non-slip grip and durable blade.
- ● Extension pole: A 3–6 ft telescoping pole with a saw or shears attachment for high branches (safety first! 🚧).
- ● Disinfectant (70% isopropyl alcohol or bleach solution): Clean tools between cuts to prevent disease spread (1 part bleach to 9 parts water).
- ● Heavy-duty gloves: Cut-resistant and grip-enhancing (e.g., Mechanix or gardening gloves with padding).
- ● Safety glasses: Protect your eyes from debris—ANSI Z87.1 rated is ideal.
- ● Ladder (if needed): A stable, non-slip ladder rated for your height and weight (e.g., aluminum extension ladder). Never stand on wobbly surfaces!
- ● Trash bags or bucket: Collect pruned branches for disposal or composting.
- ● Pine pitch cleaner: A scraper or putty knife to remove sticky resin from tools after pruning.
- ● Tree sealant: Pruning sealant (like Tanglefoot Tree Wound Pruning Seal) for cuts larger than ½" to reduce disease risk.
- ● Work vest or apron: Keeps tools organized and protects your clothes.
- ● Knee pads: For comfort if you’re working on the ground.
- ● Spray bottle with soapy water: Quick tool cleaning between cuts.
- ● Camera or phone: Document your tree’s progress before/after pruning!
- ● Choose a dry, calm day (avoid rain or high winds).
- ● Check local pruning regulations—some areas restrict tree work without permits.
- ● Have a plan: Sketch your tree’s structure or use the "Open Center" method for Italian pines.
- ● Wear closed-toe shoes and avoid loose clothing to prevent snags.
Step-by-step instructions for pruning Italian pine trees in dormant season
Here’s how to shape your Italian pine for long-term health—no guesswork, just proven techniques.
Assess Branches for Removal
Start by walking around your tree and scanning for branches that need attention. Look for dead, diseased, or crossing branches—these are your top priorities. Dead branches snap easily when bent; diseased ones may have discolored needles or oozing sap. Crossing branches rub against each other, creating wounds that invite pests and rot.
Next, identify any branches growing inward or downward—they’ll compete with healthier growth and block sunlight from reaching the lower canopy. Use a small flag or stick to mark these branches temporarily. I always work in sections, so I don’t overwhelm myself or the tree.
Gather Tools and Prepare the Workspace
Before you begin, sharpen your pruning tools—dull blades tear wood instead of making clean cuts. Use a bypass pruner for branches up to ¼ inch thick and a pruning saw for anything thicker. For larger limbs, a pole saw with a curved blade makes the job easier from the ground.
Clear the area beneath the tree of debris, rocks, or anything that could get in the way. Lay down a tarp if your yard has dry grass or mulch that could catch fire from sparks. I also wear gloves and safety glasses—pine needles and resin can irritate skin and eyes.
Make Clean Cuts at the Right Angle
For branches up to ½ inch thick, cut just outside the branch collar—the swollen area where the branch meets the trunk. Make your cut at a 45-degree angle, slanting away from the trunk. This angle helps water shed and prevents rot from pooling. Avoid leaving stubs; they’re entry points for disease.
For larger branches, use the three-cut method to avoid tearing the bark. First, make an undercut about 6-12 inches out from the trunk on the underside of the branch. Then, cut from the top about 2 inches farther out. Finally, make a final cut just outside the branch collar, allowing the branch to fall naturally.
Thin the Canopy for Better Airflow
Italian pines benefit from selective thinning to improve light penetration and airflow. Focus on removing 10-20% of the total foliage to avoid stressing the tree. Start at the outer canopy and work your way inward, removing branches that are too dense or growing in the wrong direction.
Watch for water sprouts—fast-growing, vertical shoots that steal energy from the tree. These are easy to spot because they’re often bare or have sparse needles. Snip them off at the base. After thinning, step back and visualize the tree’s shape—you want an open, balanced silhouette that lets sunlight reach the lower branches.
Clean Up and Monitor Recovery
After pruning, collect all debris and dispose of it properly—don’t leave branches or needles on the ground, as they can harbor pests. Sterilize your tools with rubbing alcohol or a 10% bleach solution to prevent spreading disease between cuts.
Over the next few weeks, keep an eye on the tree for signs of stress, like yellowing needles or oozing sap. If you see excessive sap, the cuts may have been too large or too close to the trunk. Water deeply if your area has experienced dry spells, but avoid overwatering—Italian pines prefer well-draining soil and can rot if soggy.
Tips & tricks for pruning Italian pine trees in dormant season
Pruning your Italian pine during dormancy sets the stage for a healthier, more resilient tree. Here's how to avoid common pitfalls and get professional results.
Tool Selection Matters: The right tools make all the difference. For branches up to ¼ inch thick, a sharp bypass pruner is essential—it creates clean cuts that heal faster. For thicker branches, a pruning saw with a curved blade gives you better control and reduces tearing. I've made the mistake of using dull tools, which can crush the branch instead of cutting cleanly, leading to slow healing and potential disease entry points.
Visualizing the Final Shape: Before making any cuts, step back and visualize the tree's final shape. Italian pines respond well to an open, airy structure that allows sunlight to reach all branches. Focus on creating a balanced silhouette where no single branch dominates the others. I always sketch a rough outline on paper first—it helps me stay focused on the big picture rather than getting lost in individual cuts.
Safety First: Working with trees always carries some risk, so prioritize safety. Wear gloves to protect your hands from pine needles and resin, and safety glasses to shield your eyes from debris. Clear the work area thoroughly—pine needles and resin can create slip hazards, and rocks or other obstacles can trip you up. I've seen too many people rush this step and end up with scrapes or worse. Take your time to prepare the workspace properly.
Monitoring Recovery: After pruning, keep a close eye on your tree for signs of stress. Yellowing needles or excessive sap flow can indicate that the cuts were too large or too close to the trunk. Water deeply if your area has been dry, but avoid overwatering—Italian pines prefer well-draining soil. I check my trees weekly for the first month after pruning, adjusting my watering schedule as needed based on their response.
Pro Tips for Italian Pine Tree
- Pruning your Italian pine during dormancy sets the stage for a healthier, more resilient tree.
- Tool Selection Matters: The right tools make all the difference.
- Visualizing the Final Shape: Before making any cuts, step back and visualize the tree's final shape.
Frequently asked questions
Got questions about keeping your Italian pine tree (Pinus pinea) thriving with the right pruning? Here are some of the most common concerns—and answers—to help you navigate dormant-season care like a pro.
When is the best time to prune an Italian pine tree?
The ideal window is late fall to early spring (November–March) while the tree is dormant. This minimizes stress, reduces sap loss, and prevents pests from invading fresh cuts. Pro tip: Avoid pruning in summer—heat and humidity can slow recovery.
How much can I trim without harming the tree?
Italian pines tolerate light shaping but avoid aggressive cuts. Never remove more than 25% of the foliage in a single session. Focus on dead branches, crossing limbs, and overgrowth. Over-pruning weakens the tree’s ability to photosynthesize and store nutrients.
Will pruning attract pests like bark beetles?
Pruning can increase risk if cuts are large or improperly made. To prevent pests:
- Use sterilized tools (rubbing alcohol or bleach solution).
- Avoid pruning during peak beetle activity (late spring–summer).
- Seal cuts with pruning sealant (optional for small wounds).
Can I prune an Italian pine tree in its first year?
Newly planted Italian pines rarely need pruning in Year 1—focus on establishing roots first. If you spot dead or damaged branches, trim them sparingly with clean cuts. Wait until the tree is at least 2–3 years old for structured shaping.
What if my tree’s branches keep growing back after pruning?
Italian pines are resilient, and regrowth is normal! If you’re unhappy with the results, adjust your approach:
- Use sharp, bypass pruners for cleaner cuts.
- Prune just above a bud (not into the trunk).
- Thin out dense areas instead of topping.
Are there alternatives to traditional pruning for Italian pines?
Yes! Consider:
- Coppicing: Cut branches back to the main trunk (great for shaping).
- Pollarding: Remove all branches at a specific height (advanced technique).
- Natural shaping: Let the tree grow organically and only remove hazards.
Wrapping up and next steps
Pruning your Italian pine tree during the dormant season isn’t just about shaping—it’s about setting the stage for a vibrant, resilient tree that thrives year-round. 🌿 By following the right techniques, timing, and tools, you’ll promote stronger branches, prevent disease, and even encourage lush foliage.
Whether you’re a seasoned gardener or just starting, this blueprint gives you the confidence to tackle the task like a pro.
Ready to give your Italian pine the care it deserves? Grab your tools, mark your calendar for late winter, and roll up your sleeves! Your tree—and your future shade—will thank you. 🌳✨