
Pruning
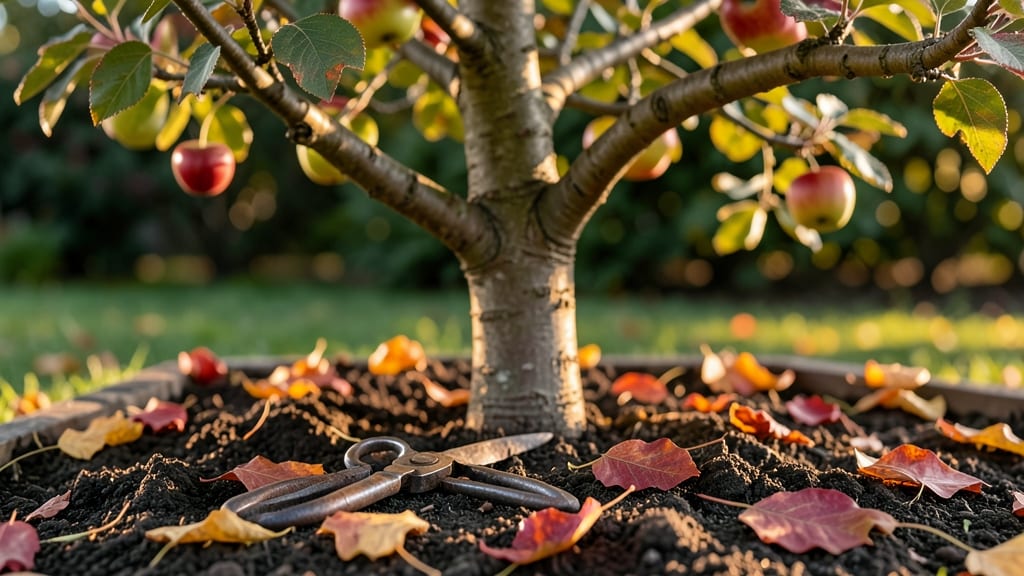
Trimming apple trees in the fall isn’t just about cleanup—it’s your chance to shape next year’s harvest before winter sets in. I’ve learned that skipping this step means weaker branches, fewer blossoms, and apples that never quite reach their full potential.
The key is timing: wait until after leaves fall but before hard frost, usually between late November and early January in most zones.
You’ll need sharp pruners, a pruning saw for thicker branches, and disinfectant to prevent disease spread. My first mistake? Using dull tools that tore bark instead of making clean cuts. A 10-inch extension pole also saves your back when reaching high branches.
And don’t forget gloves—apple tree thorns have a way of reminding you why they’re called "wild" even in cultivated varieties.
What you’re really doing is sculpting the tree’s future. Remove dead, crossing, or diseased wood first—those are the easy wins. Then open the canopy by thinning out crowded branches to let sunlight reach the center.
Aim for a rounded shape with no limbs growing straight up; these are the ones that break under snow or fruit weight. Every precise cut now means more energy for fruit production come spring.
Regional tweaks matter: In warmer climates like Zone 8-10, you might trim as late as January; in colder zones, finish by late December to avoid winter dieback.
And here’s the secret I wish I’d known sooner—smaller cuts heal faster, so avoid removing more than one-third of a branch’s diameter at once. Your tree will thank you with stronger growth and a heavier harvest next summer.
📚 In This Guide
- What you need
- Instructions
- Tips and common mistakes
- Wrapping up and next steps
What you need
- ● Pruning shears (bypass or anvil type) – Sharp, clean blades (2-3 pairs for medium/large branches). Pro tip: Test sharpness by slicing a twig—if it crushes instead of cuts, it’s dull!
- ● Loppers – For branches ½” to 2” thick (1-2 pairs with bypass blades preferred).
- ● Pruning saw – For branches thicker than 2” (aluminum or carbon steel, 8-10” blade).
- ● Gloves – Heavy-duty, cut-resistant (nitrile or leather) to protect hands from thorns and debris.
- ● Disinfectant (70% isopropyl alcohol or bleach solution) – 1 part bleach to 9 parts water (for sterilizing tools between cuts).
- ● Rubbing alcohol or hand sanitizer – For quick tool disinfection in the field.
- ○ Pruning sealant (optional but helpful) – For cuts larger than ½” (use a low-VOC option like Tanglefoot Tree Wound Pruning Seal).
- ● Ladder or step stool – Extendable (12-16’ for tall trees) with non-slip feet.
- ● Heavy-duty trash bags or bucket – For collecting pruned branches (1-2 bags or a 5-gallon bucket).
- ● Sharpie or permanent marker – To mark cuts for future reference (if needed).
- ● Pole pruner – For high branches (extendable up to 20’).
- ● Safety goggles – To shield eyes from debris.
- ● Ear protection – If using a chainsaw for very thick branches.
- ● Tree pruning rope or zip ties – For temporary support if large branches are removed.
- ● Spray bottle with water – To clean tools between cuts and reduce sap buildup.
- ● Notebook & pen – To sketch a quick map of your tree’s structure post-prune.
Step-by-step guide for fall apple tree pruning
Here's how I prepare apple trees for winter—clean cuts, better structure, and fewer surprises next spring.
Inspect and Identify Problem Areas
Start by examining the entire tree from all angles. Look for dead, diseased, or crossing branches—these are your top priorities. Dead wood is easy to spot: it's brittle, snaps when bent, and has no bark. Diseased branches often show discolored patches, oozing sap, or fungal growth. Crossing branches (where two limbs grow toward each other) create weak crotches that split under fruit weight.
I also check for suckers—those vigorous shoots sprouting from the base or graft union. These drain energy from the main tree. Mark these areas with a small flag or piece of tape so you don't miss them when you're actually cutting. The goal here is to remove anything that weakens the tree's winter resilience.
Gather Tools and Sanitize
Before you make a single cut, gather your tools: sharp bypass pruners for branches under ½ inch thick, loppers for ½ to 1½ inch branches, and a pruning saw for anything larger. I always sanitize my tools with 70% rubbing alcohol or a 10% bleach solution to prevent spreading disease between cuts. Wipe down blades thoroughly—this is non-negotiable, especially when working with apple trees prone to fire blight or other bacterial infections.
Check your tool sharpness by making a clean cut through a small branch. If the blade crushes rather than slices, it's time to sharpen. Dull tools tear bark, creating larger wounds that heal poorly. I keep a small file in my tool bag for quick touch-ups mid-session. Also, oil your hinges if you notice stiffness—this ensures smooth operation when you're working high up.
Remove Dead, Diseased, and Crossing Branches First
Begin with the 3 D's: dead, diseased, and damaged wood. Cut these out completely down to the collateral bud (the outward-facing bud just below the branch collar). This prevents disease from spreading to healthy tissue. For diseased branches, bag them immediately and dispose of them in the trash—not the compost—since pathogens can survive decomposition.
Next, address crossing branches. When two limbs grow toward each other, one must go. Choose the branch that's smaller, weaker, or growing downward. Make your cut just outside the branch collar at a 45-degree angle, leaving a smooth surface. Avoid leaving stubs—these attract pests and fail to heal properly. I like to make my cuts just beyond a bud or lateral branch to encourage new growth in the right direction.
Thin the Canopy for Airflow and Light
Apple trees need good airflow to prevent fungal diseases like apple scab. Step back and look at the canopy as a whole—aim to remove 20-30% of the smallest branches to open it up. Focus on branches that are crowded, rubbing against others, or growing inward. These are the ones that block sunlight and trap moisture.
For each branch you remove, make your cut at the branch collar (the swollen area where the branch meets the trunk). Avoid "topping" the tree by cutting back to a stub—this creates a weak, unsightly growth point. Instead, remove entire branches that compete with the tree's natural structure. You'll see a noticeable difference in next year's fruit set and overall tree health.
Shape for Winter and Encourage Next Year's Growth
Now's the time to refine the tree's shape. Apple trees benefit from an open-center or central leader form, depending on their age. For young trees, encourage a strong central leader by removing competing vertical stems. For mature trees, maintain an open vase shape to allow sunlight to reach all branches. I like to step back every few cuts to visualize the tree's future silhouette.
Finally, look for water sprouts—those fast-growing, vertical shoots that steal energy. These should be cut back to a lateral bud. Avoid heavy pruning now—save major structural work for late winter when the tree is dormant. Your goal is to lighten the load without stressing the tree as it prepares for winter. A well-pruned apple tree will enter dormancy stronger and produce better fruit next season.
Tips & tricks for perfect fall apple tree pruning
These essential insights will help you transform your apple tree into a winter-ready powerhouse with fewer mistakes and better results.
Tool Sharpness Matters: Never underestimate how dull tools compromise your work. Before you start, test your pruners by making a clean cut through a small branch—if the blade crushes instead of slices, sharpen immediately. Dull tools tear bark, creating wounds that take years to heal and invite disease. I keep a small file in my tool bag for quick touch-ups mid-session, especially when working high up where reaching for sharpening tools is difficult.
Disease Prevention Strategy: In Step 3, when removing diseased branches, bag them immediately and dispose of them in the trash—not compost. Apple trees are particularly vulnerable to fire blight and other bacterial infections, which can survive composting. After each cut, wipe your tools with rubbing alcohol or bleach solution. This simple step prevents cross-contamination between healthy and infected branches, saving you from potential springtime disappointments.
Visualizing the Canopy: Step back frequently during Step 4 to visualize your tree's future shape. The goal is to create an open center or central leader form, depending on the tree's age. For young trees, remove competing vertical stems to establish a strong central leader. For mature trees, maintain an open vase shape that allows sunlight to reach all branches. This isn't just about aesthetics—proper light penetration leads to better fruit production and fewer disease issues next season.
Seasonal Timing Insight: Fall pruning is ideal because the tree's energy is already slowing down for winter, reducing stress from cuts. However, avoid pruning too late in the season when frost threatens. The tree needs time to heal wounds before dormancy sets in. If you're working in late fall, prioritize removing dead and diseased wood first—these cuts are less stressful for the tree than structural pruning.
Pro Tips for Trim Apple Trees In The Fall
- These essential insights will help you transform your apple tree into a winter-ready powerhouse with fewer mistakes a...
- Tool Sharpness Matters: Never underestimate how dull tools compromise your work. Before you start, test your pruners ...
- Disease Prevention Strategy: In Step 3, when removing diseased branches, bag them immediately and dispose of them in ...
Frequently asked questions
Got questions about fall apple tree trimming? You’re not alone! Here are answers to the most common concerns—so you can prune with confidence and keep your tree thriving.
When is the exact best time to trim apple trees in fall?
Late fall, after leaf drop but before hard frost (typically November through early December), is ideal. This timing helps wounds heal before winter while avoiding late-season growth that won’t harden off. Pro tip: Avoid trimming when temperatures dip below 40°F (4°C)—it stresses the tree!
Can I trim apple trees in winter instead of fall?
Yes, but winter (dormant season) is actually preferred for heavy pruning. Fall trimming is best for light shaping or removing diseased branches. Winter cuts (Dec–Feb) reduce disease spread and let you see the tree’s structure clearly. Just avoid trimming during extreme cold snaps!
What if I accidentally cut too much—will my tree survive?
Apple trees are resilient, but never remove more than 25% of the canopy in one season. Heavy cuts can stress the tree, reduce fruit production, and invite pests. If you’ve over-trimmed, focus on smaller cuts next year and fertilize to encourage recovery. Warning: Severe pruning may also delay flowering!
Do I need special tools for fall pruning, or will regular pruners work?
Basic hand pruners and loppers are fine for small branches, but invest in a sharp bypass pruner (not anvil) for clean cuts. For thicker branches (over 2 inches), use a pruning saw. Pro tip: Sterilize tools with rubbing alcohol between cuts to prevent spreading disease!
Will trimming in fall affect next year’s apple harvest?
Not if done correctly! Fall trimming improves next year’s yield by removing dead wood, increasing airflow, and shaping the tree for better sunlight exposure. Just avoid heavy cuts near fruit-bearing branches—focus on outward-facing growth to encourage fruit production.
Wrapping up and next steps
Trimming your apple trees in the fall is a game-changer for healthier growth and bountiful harvests next season! 🍏 By following these steps—removing dead wood, thinning crowded branches, and shaping the canopy—you’ll set your tree up for success. Remember, the key is patience and precision: take your time, use sharp tools, and always prioritize the tree’s long-term health.
Now that you’re armed with the know-how, grab those pruners and get to work! 🌳 Start small if you’re new to pruning, and soon, you’ll be a pro at keeping your apple trees thriving. Happy trimming—and here’s to a fruitful future! 🍎✨