
Pruning
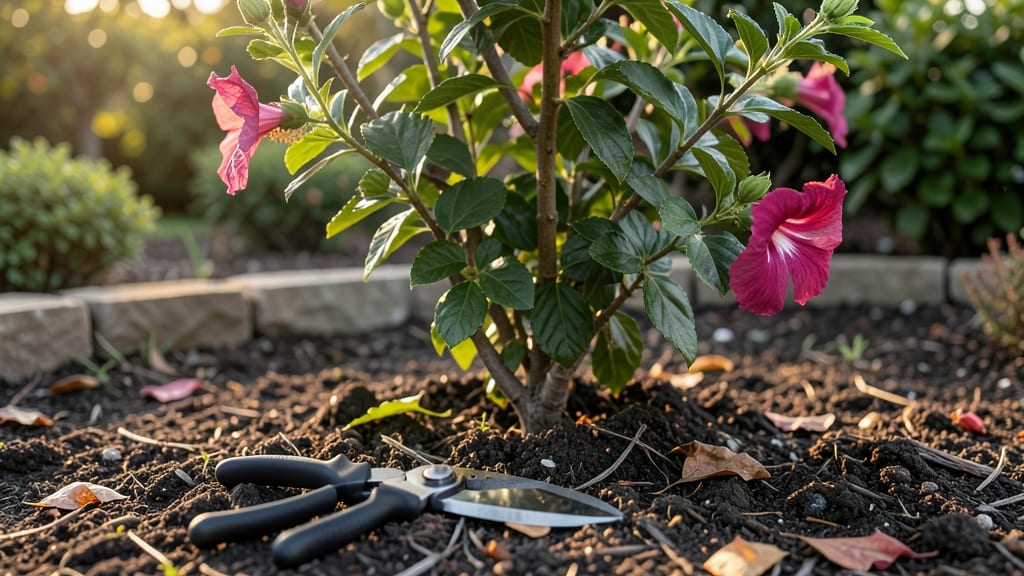
Cutting back your hibiscus tree in late winter or early spring isn’t just about shaping—it’s about waking up those dormant buds and setting the stage for a summer full of bold, velvety blooms. 🌺 I’ve learned the hard way that pruning too late or too aggressively can leave you with a leggy, sparse plant by July, so timing and technique matter more than you’d think.
The secret is in those three targeted cuts: removing dead wood, thinning crowded branches, and shaping for airflow. You’ll need sharp pruners, a clean cutting surface, and about 30 minutes—no fancy tools required.
The payoff? A bush that bursts with flowers instead of struggling to support its own weight.
After pruning, your hibiscus will reward you with thicker stems, more branches, and blooms that last from June through frost. Just avoid the urge to hack back more than a third of the plant at once—hibiscus are resilient but not reckless. A little precision goes a long way.
This method works for both tropical and hardy hibiscus, whether you’re dealing with a towering patio plant or a compact dwarf variety. Let’s get those cuts right so your plant can shine all season.
📚 In This Guide
- What you need
- Instructions
- Tips and common mistakes
- Wrapping up and next steps
What you need
- ● Pruning shears – Bypass-style, sharp, and sterilized (for clean cuts). Size: 6-8 inches (for small to medium branches).
- ● Loppers – Bypass or anvil-type (for thicker branches, 1-2 inches in diameter). Quantity: 1 pair.
- ● Pruning saw – For branches thicker than 2 inches. Type: Curved or folding saw with a fine-tooth blade.
- ● Garden gloves – Heavy-duty, cut-resistant (to protect hands from thorns and sap). Material: Nitrile or leather.
- ● Disinfectant (70% isopropyl alcohol or bleach solution) – To sterilize tools between cuts and prevent disease spread.
- ● Rag or paper towels – For wiping tools and hands clean.
- ● Trash bags or bucket – To collect pruned branches and debris. Size: Large enough to hold at least 5 gallons of clippings.
- ● Ladder (if needed) – Sturdy, non-slip, and tall enough to reach the highest branches safely. Type: Extension ladder or step ladder.
- ● Hand pruners with a crimping tool – For sealing larger cuts (reduces sap bleeding and disease risk).
- ○ Tree wound dressing (optional) – Only use if your hibiscus is prone to infection. Type: Horticultural sealant (avoid thick coatings).
- ● Safety glasses – To protect eyes from debris and sap splatter.
- ● Work boots or closed-toe shoes – For extra foot protection.
- ● Hose or spray bottle – To rinse tools and clean sap off hands post-pruning.
Step-by-step guide for pruning your hibiscus tree
Here's the straightforward method I use every spring to wake up my hibiscus and set it up for a season of bold blooms.
✂️ Step 1: Remove Dead or Damaged Wood First
Start by scanning your hibiscus for any branches that look brown, brittle, or completely devoid of leaves. These are your first targets—they're not coming back, and keeping them only stresses the plant. Use sharp pruning shears to make clean cuts just above a leaf node or outward-facing bud.
I like to work from the bottom up, cutting away any dead wood I find. This isn't just about looks—removing dead branches prevents disease from spreading to healthy parts of the plant. If you're unsure whether a branch is dead, scratch the bark with your fingernail. If it's green underneath, it's still alive and should stay put.
✂️ Step 2: Thin Out Overcrowded Branches
Next, focus on the interior of the plant where branches might be growing too close together. These crowded stems compete for sunlight and nutrients, which weakens both. Look for branches that cross each other or grow directly inward toward the center of the tree.
When thinning, I remove about one-third of the oldest branches first. This opens up the center for better airflow and light penetration. Make your cuts at a 45-degree angle just above an outward-facing bud or leaf node. This encourages new growth to sprout in the right direction, away from the center of the plant.
✂️ Step 3: Shape and Encourage New Growth
Now it's time to shape the hibiscus into its ideal form. I like to keep mine slightly wider at the bottom and narrower at the top, which gives it that classic vase shape. Start by cutting back any branches that are growing too long or leggy—these are often the ones that bloomed the most last season.
For each cut, aim to reduce the branch length by about one-third to one-half. This might sound drastic, but hibiscus trees respond incredibly well to this kind of pruning. Always cut just above a leaf node or bud that's facing the direction you want new growth to go. You'll see fresh, vibrant leaves emerging within 2-3 weeks—that's your sign the plant is responding well.
💧 Step 4: Post-Pruning Care for a Strong Recovery
After you've finished pruning, give your hibiscus a good drink of water to help it recover from the shock of all those cuts. I water deeply right after pruning, making sure the soil is moist 6 inches down. This encourages the roots to push out new growth to support the fresh shoots.
For the next 2-3 weeks, keep an eye on your hibiscus. It might look a bit bare at first, but that's normal. New growth will start to appear from the buds you left behind. Avoid fertilizing right after pruning—wait until you see new leaves emerging before adding any nutrients. This gives the plant time to focus on recovery rather than growth.
Tips & tricks for perfect hibiscus tree pruning
Here's what nobody tells you about making your hibiscus thrive after pruning—these little details make all the difference.
Timing is Everything: The best time to prune your hibiscus is right after the last frost in spring, when new growth is just starting to appear. I've learned the hard way that pruning too early can expose tender new buds to cold snaps, while waiting too long means you'll be cutting back next year's blooms. Aim for late March to early April in most climates—this gives your plant the full growing season to recover and bloom.
Tool Prep Matters: Before you even touch your hibiscus, sharpen your pruning shears with a file or sandpaper. Dull blades crush stems instead of making clean cuts, which can damage the plant and invite disease. I also like to wipe down my tools with rubbing alcohol between cuts to prevent spreading any potential pathogens from dead wood to healthy branches. A clean cut heals faster and looks professional.
Visual Cues for Healthy Cuts: When making your cuts in Step 2 and Step 3, look for the "leaf node" or "bud" just below where you're cutting—it should be facing outward. This isn't just a technical detail; it's how you control where your hibiscus grows next. Think of it like giving your plant directions: you're telling it "grow this way" by how you make each cut. The 45-degree angle helps water run off the cut, preventing rot.
Post-Pruning Observation: After you've finished and watered deeply, keep a close eye on your hibiscus for the next 2-3 weeks. The first sign of recovery will be tiny new leaves pushing through the buds you left behind. If you don't see these within 3 weeks, your cuts might have been too severe—next time, aim for slightly less aggressive pruning. This is your plant's way of saying "thank you" for the fresh start!
Pro Tips for Cutting Back Hibiscus Tree
- Here's what nobody tells you about making your hibiscus thrive after pruning—these little details make all the differ...
- Timing is Everything: The best time to prune your hibiscus is right after the last frost in spring, when new growth i...
- Tool Prep Matters: Before you even touch your hibiscus, sharpen your pruning shears with a file or sandpaper. Dull bl...
Frequently asked questions
Got questions about giving your hibiscus tree a fresh start? Here are some of the most common concerns—and straightforward answers—to help you prune with confidence!
When is the best time to cut back a hibiscus tree?
The ideal time is late winter or early spring (before new growth starts). This timing ensures your hibiscus has the entire growing season to recover and bloom beautifully. Avoid pruning in fall or winter, as cold stress can weaken the plant.
How much can I trim off my hibiscus tree?
For most hibiscus varieties, you can safely remove up to one-third of the plant’s height in a single session. Focus on dead, diseased, or overcrowded branches first, then shape the tree by cutting back to healthy buds or joints. Avoid over-trimming—this can reduce flowering.
Will pruning my hibiscus tree reduce its flowers?
Not if done correctly! Pruning encourages more blooms by promoting airflow and sunlight penetration. Just avoid shearing (cutting randomly) and instead target 3 key cuts: removing dead wood, thinning crowded branches, and shaping for balance. Patience pays off—your hibiscus will reward you!
What if my hibiscus tree doesn’t bloom after pruning?
Lack of blooms could mean a few things:
- Over-pruning: If you trimmed too aggressively, give it time (up to a year) for new growth to establish.
- Nutrient deficiency: Feed with a balanced fertilizer (high in phosphorus) after pruning.
- Light issues: Hibiscus needs 6+ hours of sunlight daily. Check its location!
Can I propagate cuttings from my pruned hibiscus branches?
Hibiscus cuttings root easily in water or soil. After pruning, select 4–6 inch healthy stems, strip lower leaves, and place in water or moist potting mix. Keep in bright, indirect light and change the water weekly. Roots usually form in 2–4 weeks—perfect for expanding your hibiscus collection!
Wrapping up and next steps
Pruning your hibiscus tree in spring isn’t just about aesthetics—it’s a renewal ritual that boosts health, encourages vibrant blooms, and keeps your plant thriving for years. By mastering the three targeted cuts (deadwood removal, shaping, and flowering branch trimming), you’re giving your hibiscus the care it deserves. 🌸
Now that you’re equipped with the right tools and techniques, there’s no better time to roll up your sleeves and get pruning! Start by assessing your tree, then take it step by step—your hibiscus will thank you with lush foliage and stunning flowers. Happy pruning!
🔹 Next step: Mark your calendar for late spring or early summer to repeat the process and keep your hibiscus in peak condition.