
How To
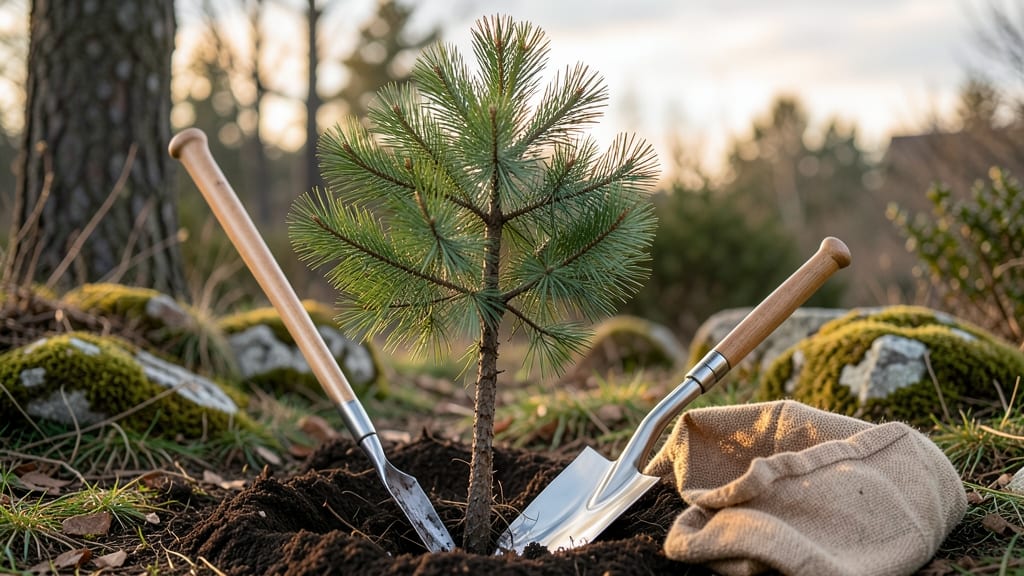
Transplanting a pine tree the right way means the difference between a thriving shade provider and a sad, yellowing stump in a year. ✂️ I’ve moved pines from cramped urban lots to sunny backyards—and the key isn’t brute strength, but patience and prep work.
Most people rush the timing or ignore root ball size, and that’s when you lose trees.
The best time to move pines is in early spring or late fall, when they’re dormant but still have moisture in their roots. You’ll need a shovel wider than the root ball, burlap for wrapping, a wheelbarrow, and a hose with a gentle spray nozzle.
The goal? Keep the root system intact and minimize stress. Even mature pines recover well if you handle them carefully.
📚 In This Guide
- What you need
- Instructions
- Tips and common mistakes
- Wrapping up and next steps
What you need
- ● Shovel or spade – A sharp, heavy-duty digging spade (18–24" wide) for mature trees; a trowel for smaller saplings.
- ● Root pruning saw or handsaw – For trimming thick roots (if needed). A pruning saw with a fine-tooth blade works best.
- ● Wheelbarrow or tarp – To transport soil and the tree. A sturdy tarp (4’x6’ or larger) prevents spills.
- ● Burlap or landscape fabric – 4–6 feet wide, to wrap roots and protect them during transport.
- ● Garden hose or watering can – For deep watering before and after transplanting.
- ● Mulch (pine-friendly) – 3–4 inches of pine straw or wood chips (avoid fresh wood chips—they can mat down).
- ○ Staking supplies (optional but helpful): 3–4 wooden stakes (1–1.5" diameter, 5–6 ft tall).
- ● Soft tree tie straps or nylon rope (avoid wire—it can damage bark).
- ● Timing – Transplant in early spring or fall (avoid extreme heat or frost).
- ● New planting site prep: Loosen soil 12–18" deep and amend with compost (if soil is clay-heavy).
- ● Dig a hole 2–3x wider than the root ball but no deeper.
- ● Safety gear – Gloves, long sleeves, and closed-toe shoes (roots can be sharp!).
- ○ Root stimulator (optional) – A mycorrhizal fungus or transplant shock reducer to boost survival rates.
Step-by-Step instructions for moving a pine tree safely
Here’s how I’ve transplanted mature pines without losing them to shock.
🪴 Step 1: Pick the Right Time and Prepare the New Site
Timing matters most—transplant pines in early spring or late fall when temperatures hover around 50-60°F. Avoid summer heat or winter frost. Clear the new spot of weeds and loosen the soil 12-18 inches deep with a shovel. Pines hate soggy roots, so amend heavy clay with 2 inches of coarse sand or compost if needed.
Dig a hole twice as wide as the root ball but only as deep as the tree’s root flare (where roots meet trunk). This prevents burying the trunk too deep, which causes rot. Water the hole thoroughly 24 hours before transplanting so the soil settles.
🌿 Step 2: Dig a Careful Root Ball and Lift the Tree
Mark the tree’s root spread with stakes or spray paint—pines often have roots extending 2-3 times the tree’s height. Use a sharp spade to cut a clean vertical trench around the root ball, stepping back 6-12 inches from the trunk to avoid damaging the cambium layer. Dig slowly to preserve fine roots.
Lift the tree by its root ball, not the trunk. Wrap the root ball in burlap or a tree transplant sack if it’s large, securing it with twine. Keep the root ball moist at all times—dry roots mean poor survival. If the tree is small enough, skip the burlap and plant directly into the new hole.
☀️ Step 3: Plant with Proper Support and Watering
Lower the tree into the hole, ensuring the root flare sits level with the soil surface. Backfill with the native soil (no amendments now—this can burn roots). Tamp gently as you go to remove air pockets, but don’t compact the soil. A stake or 3-point support system keeps the tree upright while roots establish.
Water deeply immediately after planting—1-2 gallons per inch of trunk diameter—to settle the soil. Mulch the base with 2-3 inches of organic mulch (like pine needles or wood chips), keeping it 6 inches away from the trunk. This retains moisture and regulates temperature without smothering roots.
⏰ Step 4: Monitor and Maintain for the First Year
Keep the soil consistently moist (not soggy) for the first 6-12 months. Deep water once a week unless rain provides 1 inch of moisture. Avoid overhead watering—it can spread disease. Fertilizer is a no-go for the first year; pines are slow growers and need time to adjust.
Watch for needle browning or wilting—signs of stress. Prune only dead branches in the first year. After 12 months, you can apply a balanced, slow-release fertilizer in early spring. Most pines take 2-3 years to fully recover, so patience is key.
Tips & tricks for transplanting a pine tree safely
Moving a pine tree without causing stress requires precision and patience—here's what I've learned from years of trial and error.
Timing is Everything: The 24-hour window before transplanting is critical. Use this time to thoroughly water the new hole—this helps the soil settle and creates an ideal environment for the roots. I've seen trees struggle when planted in dry holes, even if the root ball was moist. Think of it as pre-conditioning the soil for your tree's arrival.
Root Ball Protection: When lifting the tree in Step 2, never pull by the trunk—this can strip bark and damage the cambium layer. Instead, use a sharp spade to cut cleanly around the root ball, stepping back 6-12 inches from the trunk. I've ruined several trees by being too aggressive with the spade, so take your time. The goal is to preserve as many fine roots as possible—they're the lifeline for your tree's recovery.
Watering Wisdom: That immediate post-planting watering in Step 3 is non-negotiable. For a 4-inch diameter tree, you'll need about 4-8 gallons total—1-2 gallons per inch of trunk diameter. I use a soaker hose for this because it delivers water directly to the roots without disturbing the soil. The first year is all about keeping those roots hydrated while they establish.
Mulch Matters: The 2-3 inches of organic mulch you add creates a microclimate that regulates temperature and retains moisture. I always use pine needles or wood chips because they mimic the tree's natural forest floor environment. Just keep it 6 inches away from the trunk—piling mulch against the bark can cause rot. Think of it as creating a protective blanket for your tree's roots.
Pro Tips for Transplant A Pine Tree
- Moving a pine tree without causing stress requires precision and patience—here's what I've learned from years of trial and error.
- Timing is Everything: The 24-hour window before transplanting is critical.
- Root Ball Protection: When lifting the tree in Step 2, never pull by the trunk—this can strip bark and damage the cambium layer.
Frequently asked questions
Got questions about transplanting pine trees? You’re not alone—this process can feel tricky! Below, we’ve rounded up the most common concerns and broken them down into simple, actionable answers to help you feel confident before digging in.
When is the best time to transplant a pine tree?
The ideal window is early spring (just as buds swell) or early fall (before the first frost). Avoid transplanting during extreme heat, drought, or winter—pines struggle with stress and soil freezing. If you must move in summer, do it on a cloudy day and water deeply afterward to reduce shock.
How long does it take for a pine tree to recover after transplanting?
Recovery time varies by size and species, but most pines take 1–3 years to fully stabilize. Smaller trees (under 10 feet) bounce back faster, while mature pines may need 2+ years of consistent care. Watch for new growth in spring—a good sign! Mulch and water regularly to speed up healing.
Can I transplant a pine tree in full sun all year?
While pines love sunlight, avoid transplanting during peak summer sun (10 AM–4 PM). The stress of relocation + intense heat can scorch roots and needles. If you’re moving in summer, choose a shady spot for the first few weeks, then gradually reintroduce full sun as the tree recovers.
How often should I water a pine tree after transplanting?
Water deeply 2–3 times per week for the first month, then taper to once a week (unless it’s extremely dry). Pines hate soggy soil but also can’t tolerate drought stress. Use a soaker hose or drip irrigation to keep roots moist without overwatering—aim for 1–2 inches of water per week.
What if my pine tree’s needles turn brown after transplanting?
Brown needles are often normal for 3–6 months post-transplant due to stress. However, if more than 25% of needles turn brown or fall off, check for:
- Overwatering (yellow needles, mushy soil)
- Underwatering (crispy needles, dry soil)
- Root damage (poor pruning or compacted soil)
Wrapping up and next steps
Transplanting a pine tree might seem daunting, but with the right preparation, timing, and care, your tree can thrive in its new home! 🌲✨ Remember to dig carefully, protect those roots, and water consistently—patience is key.
Now that you’re armed with expert tips, take the leap and give your pine tree the fresh start it deserves.
Ready to make the move? Mark your calendar for the ideal season (early spring or fall) and gather your tools—your pine tree’s new adventure awaits! 🌱