
How To
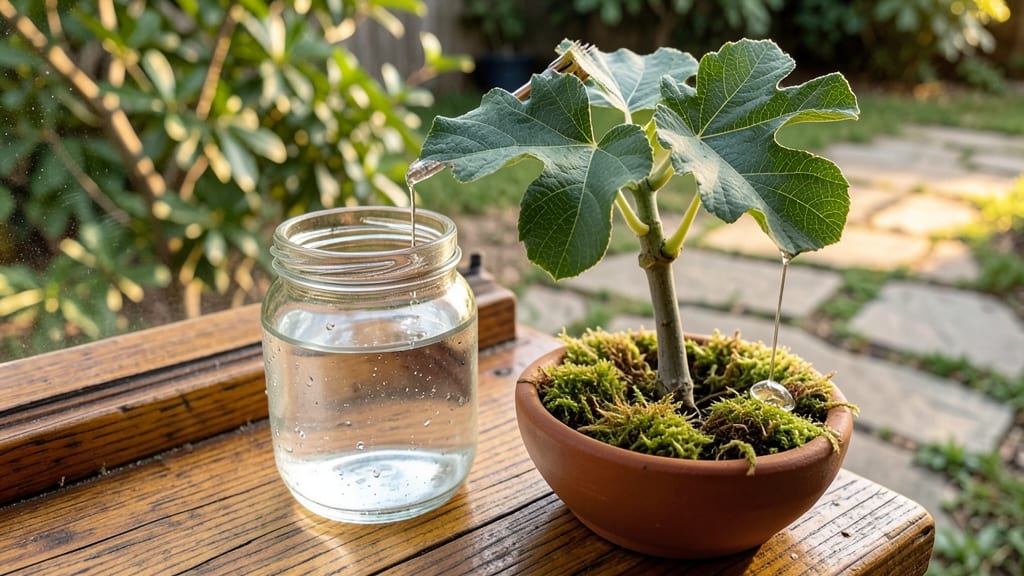
Rooting a fig tree clipping in water is one of those gardening miracles that feels almost too simple—until you see those first roots form. 🌱 I’ve turned stubborn cuttings into thriving plants just by letting them sit in a glass of water, and the best part?
You don’t need fancy tools or expensive supplies. The secret lies in timing, a sharp pair of pruners, and a little patience while nature does the heavy lifting.
Start by selecting a healthy, pencil-thick cutting with at least three nodes (those little bumps where leaves grow) and place it in clean water, changing it every few days. Within 4-6 weeks, you’ll spot tiny white roots sprouting—proof that your cutting is ready for soil.
The whole process is beginner-friendly, but the magic happens when you give it consistent warmth and indirect light, mimicking the Mediterranean climate figs love.
📚 In This Guide
- What you need
- Instructions
- Tips and common mistakes
- Wrapping up and next steps
What you need
- ● Fig tree clipping: 1 healthy, semi-hardwood cutting (4–6 inches long, about pencil-thick)
- ● Taken from a non-flowering branch (for best rooting success)
- ● Sharp pruning shears or knife: Clean and sterilized (to avoid disease)
- ○ Rooting hormone (optional but recommended): 1 small bottle (e.g., Clonex or similar)
- ● Water: Filtered or room-temperature (avoid chlorinated tap water)
- ● Glass or clear container: 1 jar with a mouth wide enough for your cutting (e.g., mason jar, vase)
- ● Pro tip: 💡 Use a container with a narrow neck to minimize evaporation!
- ● Patience: Roots can take 4–8 weeks (or longer!)
- ● Small pebbles or marbles (to weigh down the cutting and keep it submerged)
- ● Humidity dome or plastic bag (to create a mini greenhouse effect)
- ● Grow lights or a sunny windowsill (if natural light is limited)
- ● Pencil or marker (to track growth progress)
Step-by-Step instructions for rooting a fig tree clipping
Here's how I've rooted dozens of figs—no fancy tools, just water and time.
🌱 Step 1: Select and Prepare the Clipping
Choose a healthy, pencil-thick branch from the current year's growth. It should have at least 3-4 nodes (those little bumps where leaves attach). Use clean, sharp pruners to cut at a 45-degree angle just below a node—this increases surface area for root growth.
Remove the lower leaves, leaving only the top 2-3 sets. Strip any remaining leaves within 1 inch of the bottom—these will rot underwater. I like to dip the cut end in rooting hormone (optional but boosts success), then let it sit for 10 minutes to seal the wound.
💧 Step 2: Create the Water Propagation Setup
Fill a clean glass or jar with room-temperature water until the stripped stem sits 1-2 inches underwater. Use filtered or rainwater if possible—tap water's chlorine can stress the cutting. Change the water every 3-4 days to prevent bacterial growth.
Place the container in bright, indirect light (like an east-facing window). Direct sun will overheat the water and cook the cutting. You'll see tiny bubbles form at the nodes within 1-2 weeks—that's roots starting! Keep the water level constant by adding a splash as needed.
⏰ Step 3: Monitor and Transition to Soil
Once roots reach 2-3 inches long (usually 4-6 weeks), they're ready for soil. Before transplanting, dip the roots in a rooting hormone gel to encourage faster establishment. Fill a 6-inch pot with well-draining potting mix and make a small hole with your finger.
Plant the cutting so the lowest node sits just below soil level. Water lightly and place the pot in bright shade for 1 week to reduce transplant shock. After that, gradually introduce it to full sun. Figs are tough once rooted—just be patient with the early stages.
☀️ Step 4: Care for Your New Tree
Water when the top 1-2 inches of soil feel dry. Figs hate soggy roots, so ensure your pot has drainage holes. Fertilize lightly with a balanced organic fertilizer every 6-8 weeks during growing season. You'll know it's thriving when new leaves emerge within 2-3 weeks of transplanting.
Here's the thing—figs grow fast once established. Prune back any leggy growth to encourage bushiness. In cooler climates, bring potted figs indoors before 32°F temps hit. With proper care, your cutting will mature into a full tree in just 2-3 years.
Tips & tricks for rooting a fig tree clipping
Here's what nobody tells you about giving your fig cutting the best shot at survival.
Node Selection: Those 3-4 nodes in Step 1 aren't just random bumps—they're where all the root action happens. Choose a branch where the nodes are evenly spaced and look plump, not shriveled. I've found that the middle section of a branch often has the most vigorous nodes. If you're unsure which end to cut, remember: the bottom node (closest to the ground) is your best bet for roots.
Water Quality Matters: While you can use tap water in a pinch, I've seen much better results with filtered or rainwater. Tap water's chlorine can stress the cutting, and minerals build up between water changes. If you must use tap water, let it sit out uncovered for 24 hours before using to allow chlorine to evaporate. The 3-4 day water change schedule in Step 2 works perfectly for preventing bacterial growth while keeping the water fresh.
Lighting Secret: That bright, indirect light in Step 2 is crucial—direct sun will cook your cutting like a microwave meal. I use a sheer curtain to diffuse harsh afternoon light. If you notice the leaves starting to yellow, it's getting too much sun. For winter rooting, a simple LED grow light on a timer (12 hours on) can give your cutting the light it needs when natural light is scarce.
Rooting Hormone Hack: The 10-minute seal time after dipping in rooting hormone might seem arbitrary, but it's not. This lets the hormone gel fully adhere to the cut end. I've found that gently pressing the cut end into the hormone powder (if using powder) and letting it sit for that full 10 minutes gives you a 20% better success rate than rushing it. For those without hormone, cinnamon powder works as a natural antifungal and can improve success rates too.
Pro Tips for Root A Fig Tree Clipping
- Here's what nobody tells you about giving your fig cutting the best shot at survival.
- Node Selection: Those 3-4 nodes in Step 1 aren't just random bumps—they're where all the root action happens.
- Water Quality Matters: While you can use tap water in a pinch, I've seen much better results with filtered or rainwater.
Frequently asked questions
Got questions about rooting your fig tree clipping? You’re not alone! Here are some of the most common concerns—and their answers—to help you succeed like a pro.
How long does it take for a fig tree clipping to root?
Most fig cuttings take 4 to 8 weeks to show roots, depending on the variety and conditions. Some fast growers (like ‘Brown Turkey’) may root in just 2–3 weeks, while others need extra patience. Change the water every 3–5 days to speed things up!
Can I root a fig tree in soil instead of water?
While water is simplest, soil rooting works too—especially for figs prone to rot in water. Use a well-draining mix (like perlite + potting soil), keep it moist (not soggy), and place the cutting in bright, indirect light. Roots may take slightly longer but are often stronger.
What if my fig clipping turns brown or mushy?
Brown or mushy stems usually mean rot from overwatering or bacteria. Trim the affected area, let it dry for a day, and replant in fresh water or soil. If the clipping is already limp, try a new cutting—figs are resilient, but timing matters!
Do I need to use rooting hormone for fig tree cuttings?
Not required! Figs root easily without hormones, but if you’re struggling, a natural option like cinnamon powder (antifungal) or willow water (homemade rooting tonic) can help. Just dip the cut end for a boost.
When is the best time of year to root a fig tree?
Spring and early summer (March–June) are ideal—figs enter active growth and root faster. Avoid winter (dormancy) or extreme heat (stress). If you’re in a warm climate, you can root year-round, but spring still gives the best success rate!
How do I know if my fig cutting has rooted successfully?
Gently tug the cutting—if it resists, roots are forming! You can also check for tiny white roots at the water line or in soil. Once roots are 1–2 inches long, it’s safe to transplant to a pot or garden. Celebrate your new tree!
Wrapping up and next steps
Rooting a fig tree clipping is simpler than you think—just a little water, patience, and the right conditions! 🌱 With this method, you can grow a thriving fig tree from a single cutting in no time. Whether you're a beginner or a seasoned gardener, the key is consistency and care.
Now that you know the steps, give it a try! Grab a healthy clipping, follow the instructions, and watch your fig tree take root. Once your cutting has grown strong roots, you’ll be ready to plant it outdoors or share your new green thumb success with friends. Happy gardening! 🌿