
How To
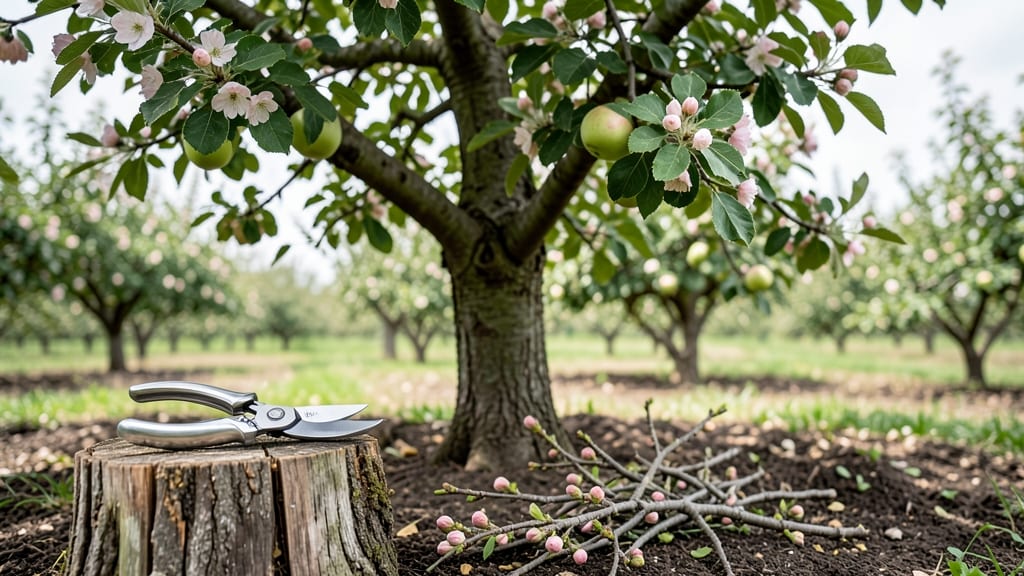
Pruning an apple tree in early spring unlocks the secret to bigger harvests and healthier branches—something I learned after my first tree produced just a handful of misshapen apples. The key isn’t just cutting; it’s timing, technique, and knowing which branches to keep (and which to remove).
You’ll need sharp pruners, a saw for thicker limbs, and a clear day to see the tree’s structure. Start by removing dead wood first—those dry, brittle branches that snap like twigs. Then focus on thinning the canopy to let sunlight reach the center, where most fruit forms.
Think of it like giving your tree a haircut: less bulk, more airflow, and room to grow.
📚 In This Guide
- What you need
- Instructions
- Tips and common mistakes
- Wrapping up and next steps
What you need
- ● Pruning shears: Bypass pruners (sharp, 6–8" blades) for small branches.
- ● Loppers: 1 pair (8–12" blades) for medium branches (½"–2" thick).
- ● Pruning saw: 1 handheld saw (for thick branches >2" diameter).
- ● Disinfectant (70% isopropyl alcohol or bleach solution): 1 bottle or spray for sterilizing tools between cuts.
- ● Gloves: 1 pair of sturdy, cut-resistant gloves (to protect from thorns and sap).
- ● Safety glasses: 1 pair (to shield eyes from debris).
- ● Tarp or drop cloth: 1 large sheet (to collect fallen branches and debris).
- ○ Rope or twine: 1 roll (optional, for securing branches during heavy pruning).
- ● Weather: Choose a dry, overcast day (avoid rainy or windy conditions).
- ● Time of year: Late winter/early spring (dormant season) or post-harvest (summer/fall).
- ● Tree health check: Inspect for disease (e.g., fire blight, cankers) before pruning.
- ○ First aid kit: Optional but handy (for minor scrapes from thorns).
- ● 💡 Sharpen your tools! Dull blades tear wood, increasing disease risk. Sharpen shears/loppers before use.
- ● 🌡️ Work with the grain: Cut at a <45° angle just outside the branch collar (the swollen area where the branch meets the trunk).
- ● 🎯 Tag and bag: Label branches you plan to remove (if local regulations allow burning debris).
Step-by-Step guide for pruning an apple tree
Here's the straightforward approach I've used for years to keep apple trees healthy and productive.
✂️ Step 1: Plan Your Cuts Based on Season and Tree Age
Timing matters more than technique. For young trees under 3 years old, focus on shaping the central leader and scaffold branches during late winter or early spring—just before buds swell but before new growth starts. This is when the tree's energy is dormant but ready to direct toward new growth.
Mature trees should get two pruning sessions: a light cleanup in late winter to remove dead wood and crossing branches, followed by a summer thinning to improve airflow and fruit quality. Never prune in fall—it invites disease and pests to overwinter in fresh cuts.
I always sketch a rough map of the tree's structure first. Mark branches to remove with a piece of twine or flagging tape. This helps visualize the "open vase" shape you're aiming for, where sunlight reaches all fruit clusters and air circulates freely.
✂️ Step 2: Remove Dead, Diseased, or Crossing Branches First
Start with the 3 D's: dead, diseased, and damaged branches. These are your top priority because they drain energy and spread problems. Cut them back to healthy wood or the trunk collar—never leave stubs. A clean cut at a 45-degree angle just outside the branch collar prevents water from pooling and rotting the wound.
Next, remove branches that cross or rub against each other. These create wounds that invite pests and diseases. If two branches compete for the same space, keep the one with the better angle and stronger structure. You'll know you're on the right track when you can see light filtering through the canopy.
Here's the thing—I often see gardeners hesitate on removing branches they think might be "useful." Trust me, a branch that's rubbing another or growing inward will never produce quality fruit. Cut it now and thank me later when your tree bears bushels of apples.
✂️ Step 3: Thin the Canopy for Airflow and Sunlight
This is where you shape the tree for maximum fruit production. Aim to remove 15-20% of the tree's foliage—no more, or you'll stress it. Start at the outside of the tree and work your way in, removing branches that grow inward or downward. These shade the center and reduce fruit quality.
Look for branches that grow at less than a 45-degree angle from the trunk or scaffold branches. These often produce poor-quality fruit and are prone to breaking. Cut them back to a strong lateral branch or the trunk collar. You'll see the difference in fruit size and quality within a season.
For mature trees, focus on thinning out water sprouts—those vigorous, upright shoots that grow straight up. These steal energy from fruit production. Cut them back to a lateral branch or remove them entirely if they're small. The goal is to encourage a balanced, open structure where every branch gets sunlight.
✂️ Step 4: Maintain the Central Leader and Scaffold Branches
Young trees need a strong central leader (the main upright trunk) and well-spaced scaffold branches (the main limbs). If the central leader is weak or damaged, select the strongest upright branch to become the new leader. Make your cut just above an outward-facing bud.
Scaffold branches should be spaced 12-24 inches apart vertically and 8-12 inches apart horizontally. Remove any branches growing too close together or competing for the same space. This spacing ensures each branch gets enough sunlight and air circulation.
Don't skip this step—it's the foundation of a productive apple tree. A poorly structured tree will always struggle with disease, weak growth, and poor fruit quality. Take your time here, and your tree will reward you for years.
Tips & tricks for pruning an apple tree
Pruning an apple tree well is all about strategy—these insights will help you avoid common pitfalls and get professional results.
Seasonal Timing is Everything: The late winter/early spring timing in Step 1 isn't just arbitrary—it's when trees are dormant but ready to channel energy into new growth. For summer thinning (Step 1), wait until after flowering but before fruit sets. I've seen trees stressed by fall pruning develop fungal issues because the cuts don't heal properly in cooler weather.
The 45-Degree Cut Secret: When you make those clean cuts at a 45-degree angle in Step 2, you're not just following instructions—you're preventing water from pooling in the wound. Here's what I learned the hard way: use sharp pruners and cut just outside the branch collar. A dull blade crushes the wood, making it more vulnerable to disease. For thicker branches, I use a pruning saw and make the cut flush with the collar.
Visualize the Open Vase: That 15-20% foliage removal in Step 3 creates the open vase shape that's key to fruit quality. Think of sunlight as your goal—you want it to penetrate to the center of the tree. I always test my work by standing back and looking through the canopy. If I can see light filtering through, I'm on the right track. For mature trees, focus on removing branches that grow straight up (water sprouts) first—they're the biggest energy thieves.
Scaffold Branch Spacing Matters: Those 12-24 inch vertical and 8-12 inch horizontal spacing measurements in Step 4 aren't just numbers—they create the perfect balance. Too close together, and branches compete for sunlight and nutrients. Too far apart, and you lose that strong framework. I mark my spacing with a measuring tape before making any cuts, and I always aim for that 45-degree angle on scaffold branches to maximize fruit production.
Pro Tips for Prune A Apple Tree
- Pruning an apple tree well is all about strategy—these insights will help you avoid common pitfalls and get professional results.
- Seasonal Timing is Everything: The late winter/early spring timing in Step 1 isn't just arbitrary—it's when trees are dormant but ready to channel energy into new growth.
- The 45-Degree Cut Secret: When you make those clean cuts at a 45-degree angle in Step 2, you're not just following instructions—you're preventing water from pooling in the wound.
Frequently asked questions
Got questions about pruning your apple tree? You’re not alone! Here are answers to the most common concerns—so you can prune with confidence and keep your tree thriving.
When is the best time to prune an apple tree?
Timing matters! For dormant pruning (best for shaping), do it in late winter or early spring (before buds swell). For summer pruning (to improve airflow), wait until after harvest but before fall. Avoid pruning in fall—it invites disease.
Can I prune an apple tree in fall?
Generally, no—fall pruning can stress the tree and leave wounds vulnerable to fire blight or fungal infections. If you must prune in fall (e.g., for storm damage), do it early (September/October) and sterilize tools.
Will pruning reduce my apple harvest?
Not if done right! Pruning increases fruit quality by improving airflow and sunlight. However, over-pruning (removing >25% of branches at once) can stress the tree. Focus on selective cuts—remove deadwood, crossing branches, and suckers.
What if my apple tree bleeds sap after pruning?
Sap bleeding (common in early spring) is normal but not harmful. It’s the tree’s way of healing. To minimize it, prune dormant trees (when temps are <40°F) or wait until late winter. Seal large cuts with pruning sealant if needed.
Do I need special tools beyond shears?
Basic tools suffice for most jobs:
- Bypass pruners (for small branches)
- Loppers (thicker branches, ½–1.5” diameter)
- Pruning saw (for large limbs >1.5”)
Wrapping up and next steps
Pruning your apple tree isn’t just about trimming—it’s about nurturing a healthier, fruitier future! 🌿 By following these season-specific cuts, you’ll boost airflow, reduce disease risk, and enjoy a bountiful harvest. Remember, patience and precision are key—start small, observe your tree’s response, and adjust as needed.
Ready to take the next step? Mark your calendar for your tree’s next pruning session and grab those shears! For extra guidance, check out local orchard resources or connect with fellow gardeners in online forums. Your apple tree—and your future pies—will thank you! 🍏✨