
Pruning
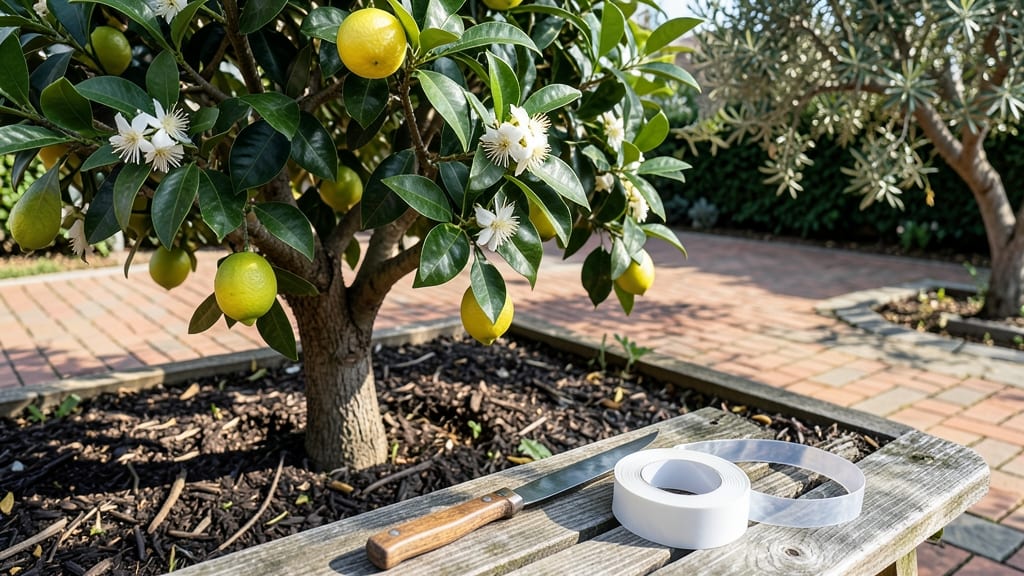
Grafting a lemon tree lets you grow your own sweet, homegrown fruit—even if you start with a tough rootstock. 🌱 I’ve grafted citrus before, and the key is patience, sharp tools, and knowing when to make the cut.
The whip-and-tongue method works best for citrus, and timing matters: late winter or early spring, just as new growth starts.
You’ll need a grafting knife, grafting tape, rootstock (like a hardy Meyer lemon), and a scion (your desired variety). Keep everything clean—sterilize your tools with rubbing alcohol to avoid infections that can kill the graft.
The process takes about 30 minutes, but the real work is in the follow-up care to ensure the scion takes.
Once grafted, wrap the union tightly with grafting tape and cover it with a plastic bag to maintain humidity. Prune any competing shoots from the rootstock, and keep the tree in bright, indirect light.
Within a few weeks, you’ll see new growth from the scion—proof it’s working. With proper care, your grafted lemon tree could bear fruit in just a year or two.
This method works for other citrus too, like limes or oranges, and even lets you experiment with rare varieties. Just remember: grafting isn’t instant—it’s a long-term investment in a tree that’ll reward you for years. Ready to give it a try?
📚 In This Guide
- What you need
- Instructions
- Tips and common mistakes
- Wrapping up and next steps
What you need
- ● Scion wood: Healthy, disease-free lemon tree branches (about ¼-inch thick) with at least 3-4 buds. Choose from a trusted source or your own tree!
- ● Rootstock: A compatible lemon tree rootstock (e.g., Citrus macrophylla or Citrus aurantium) that’s 1-2 years old and ½-inch thick at the base.
- ● Pruning shears or sharp knife: Sterilized with rubbing alcohol to prevent infection.
- ● Grafting tape or rubber bands: 1-2 pieces (about 1-inch wide) to secure the graft.
- ● Grafting wax or sealant: 1 small tub (e.g., Tree Topp®) to protect the cut surfaces.
- ● Plastic bag or humidity dome: A clear plastic bag (or a cut-off 2-liter bottle) to maintain moisture.
- ○ Potting mix: Well-draining soil mix (optional if rootstock is already potted).
- ● Grafting clips: 1-2 pieces (for extra stability—great for beginners!).
- ○ Hormone rooting gel: Small bottle (optional but helpful for scion survival).
- ● Spray bottle: With water to keep cuts hydrated.
- ● Disinfectant wipes: For cleaning tools between grafts.
- ○ Grafting knife (optional): A curved blade for precise cuts (if you’re feeling fancy!).
Step-by-Step guide to grafting a lemon tree for home growers
Here's how I graft lemon trees—simple enough for beginners, reliable enough for experts.
🌱 Step 1: Select and Prepare Your Scion and Rootstock
Choose a healthy 3-4 month old scion (the top lemon variety you want) with pencil-thick stems and at least 3-4 buds. The rootstock (your established lemon tree or seedling) should be about ½ inch thick at the grafting point. I always cut scions in the morning when the plant's sap is flowing—this makes the graft heal faster.
Clean both stems with rubbing alcohol to sterilize the cuts. Use a sharp grafting knife (or a clean, sterilized razor blade) to make a clean, slanted cut on the scion about 2-3 inches long. The rootstock gets a matching cut—just deep enough to split the bark without cutting into the wood. Here's the thing: if your cuts look rough or jagged, start over. A clean cut is your best shot at success.
🪴 Step 2: Make the Graft Union
Slide the scion into the rootstock cut so the cambium layers (the green ring just under the bark) align perfectly. This is where the magic happens—the cambium layers grow together to form the graft union. For a whip-and-tongue graft (the easiest method for lemons), cut a small notch in the scion and rootstock so they interlock like puzzle pieces.
Secure the graft with grafting tape or rubber bands, leaving the top bud exposed. Wrap tightly enough to hold the scion in place but not so tight it restricts growth. I like to use grafting tape because it's easy to remove later without damaging the new growth. Cover the entire graft with grafting wax or sealing compound to prevent drying out and infection.
☀️ Step 3: Protect and Monitor the Graft
Place the grafted tree in a shaded, humid environment for 4-6 weeks—a plastic bag over the top works well. Keep the temperature between 65-75°F and maintain high humidity. You'll see new growth from the scion in 3-4 weeks if everything is working. If the scion starts to dry out or look wilted, mist it lightly or adjust the humidity.
Check the graft weekly for signs of healing. The cambium layers should start to knit together, and you'll notice the scion holding firm when you gently tug it. Once the scion shows 2-3 inches of new growth and the graft union looks solid, you can gradually expose it to more light over 10-14 days. Real talk: if the scion turns yellow or drops leaves, it's not getting enough water or light—adjust immediately.
✂️ Step 4: Remove the Rootstock and Prune for Growth
After 8-12 weeks, when the scion is well-established and the graft union is strong, it's time to prune the rootstock. Cut back the rootstock just above the graft union to encourage the scion to take over. Leave 2-3 strong buds on the scion to promote branching. This is the moment that matters: if you prune too early, the rootstock might outcompete the scion.
Continue to monitor the tree for signs of stress. If the scion grows leggy or pale, it needs more light. If the leaves yellow, it might be overwatered or lacking nutrients. Once the scion is fully integrated and showing healthy new growth, you can remove the grafting tape and let the tree grow on its own. You've got this—your lemon tree is now on its way to bearing fruit!
Tips & tricks for perfect lemon tree grafting
Here's what nobody tells you about grafting lemon trees—these are the details that separate a good graft from a great one.
Timing is Everything: In Step 1, cutting your scion in the morning when sap is flowing is non-negotiable. The plant's natural energy boosts healing—this is why successful grafts often happen when you follow the plant's natural rhythm. If you're working with dormant rootstock, wait until spring when new growth begins. The cambium layers (that green ring under the bark) need to be active for proper fusion.
The Technique That Changed Everything: For Step 2's whip-and-tongue graft, I've found that making the tongue cut slightly longer than the scion cut creates a better interlock. The extra length gives you more surface area for the cambium to connect. After grafting, I always test the connection by gently tugging the scion—if it stays put, you're golden. If it wiggles, you'll need to adjust the fit before sealing.
Environmental Control: During the 4-6 week protection phase in Step 3, maintaining 65-75°F is critical, but humidity is often overlooked. I use a small humidifier near the tree or mist it twice daily if I can't maintain a plastic bag environment. The goal is to keep the scion hydrated without creating a moldy environment—aim for damp, not soggy. A simple hygrometer helps monitor humidity levels accurately.
Pruning Wisdom: In Step 4, when pruning the rootstock, I recommend making the cut just above the graft union at a slight angle. This prevents water from pooling at the cut site. After pruning, I always apply a thin layer of grafting wax to the fresh cuts to seal them and prevent disease. The first few weeks after pruning are critical—watch for signs of stress like yellowing leaves or wilting, which can indicate overwatering or insufficient light.
Pro Tips for Graft A Lemon Tree
- Here's what nobody tells you about grafting lemon trees—these are the details that separate a good graft from a great one.
- Timing is Everything: In Step 1, cutting your scion in the morning when sap is flowing is non-negotiable.
- The Technique That Changed Everything: For Step 2's whip-and-tongue graft, I've found that making the tongue cut slightly longer than the scion cut creates a better interlock.
Frequently asked questions
Got questions about grafting your lemon tree? You’re not alone!
Here are answers to the most common concerns—from timing to troubleshooting—to help you succeed like a pro.
When is the best time to graft a lemon tree?
The ideal window is late winter to early spring (just before buds swell) or mid-summer (when the rootstock is actively growing). Avoid grafting during extreme heat, cold, or drought—these stress the tree and reduce success rates. For citrus, February–March or July–August are prime months in most climates.
Can I graft a lemon tree onto a different citrus rootstock?
Lemon trees thrive on rootstocks like Rough Lemon, Trifoliate Orange, or Sour Orange. The key is compatibility—stick to citrus rootstocks for best results. Non-citrus rootstocks (e.g., grapefruit or lime) may cause incompatibility, leading to poor growth or disease. Always match scion and rootstock from the same family!
What do I do if my graft fails to take?
Don’t panic! Graft failures happen—often due to poor fit, disease, or environmental stress. Check for callus formation (a swollen, healing bump at the graft union) within 2–4 weeks. If it doesn’t form, try again with sharper tools, cleaner cuts, and proper sealing (use grafting tape or wax). Patience is key—some grafts take longer to bond.
How long until my grafted lemon tree bears fruit?
With proper care, grafted lemon trees can produce fruit in 2–5 years, though dwarf varieties may fruit sooner. The rootstock’s vigor and scion health play a big role—stronger rootstocks (like Rough Lemon) accelerate growth. Be patient, and ensure your tree gets full sun, consistent water, and citrus-specific fertilizer to speed up fruiting.
Can I graft a lemon tree indoors or in a container?
Yes, but with adjustments! Containers need well-draining soil and larger pots (15+ gallons) as the tree grows. Grafting indoors works, but you’ll need bright light (grow lights help) and high humidity (like a greenhouse or misting system). Outdoor container trees thrive in warm climates—just move them indoors if frost threatens.
Wrapping up and next steps
Grafting a lemon tree is a rewarding journey that blends patience, precision, and a dash of green-thumb magic! 🌱 By following these steps—selecting the right stock and scion, preparing your tools, and mastering the whip-and-tongue or cleft-grafting techniques—you’re well on your way to cultivating a thriving citrus tree with delicious fruit.
Remember, consistency in care (watering, sunlight, and protection) is key to ensuring your graft takes root and flourishes.
Now that you’ve got the know-how, roll up your sleeves and give it a try! Start with a small project, like grafting a lemon onto a hardy rootstock, and soon you’ll be enjoying homegrown lemons straight from your own backyard.
Happy grafting—and may your future harvests be bursting with flavor! 🍋✨