
How To
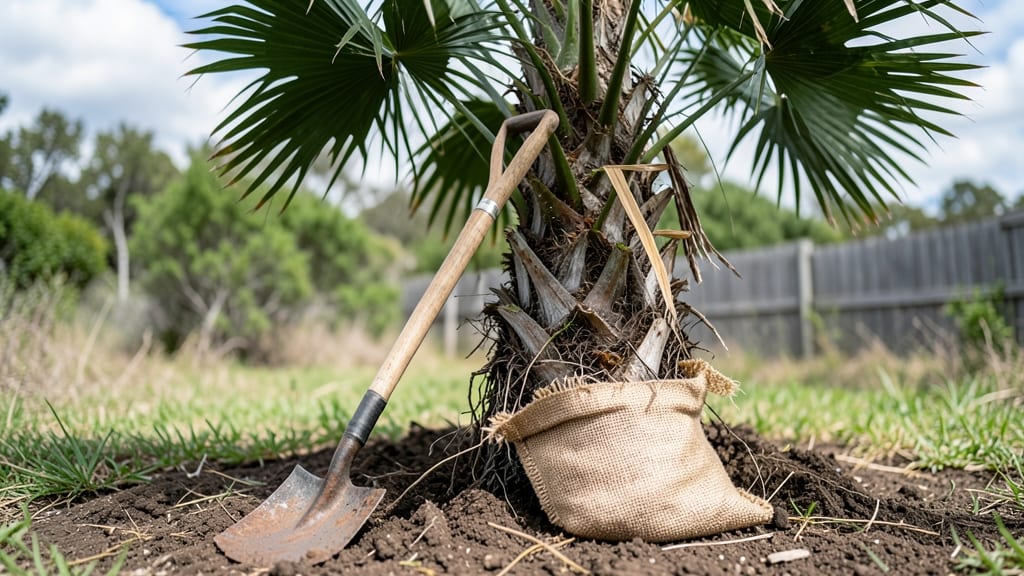
Learn how to dig up a palm tree for transplant without wrecking its roots—it’s trickier than it looks when you’re staring at a 20-foot root ball that feels fused to the ground.
I’ve moved palms from my front yard to a landscaped median, and the difference between a "careful" dig and a "careless" dig is whether the tree survives transplant shock or ends up in the compost pile by summer.
The secret isn’t brute force—it’s patience and the right tools. You’ll need a shovel with a sharp edge, a winch or sturdy ropes (for lifting), and burlap or landscape fabric to wrap the root ball.
Timing matters too: spring or fall gives roots time to recover before extreme heat or cold. Even mature palms can bounce back if you handle the roots gently and keep them moist during the move.
📚 In This Guide
- What you need
- Instructions
- Tips and common mistakes
- Wrapping up and next steps
What you need
- ● Shovel or spade – A heavy-duty digging shovel (24–30 inches wide) for breaking up soil and roots.
- ● Matchet or pruning saw – For cutting through stubborn roots or thick root balls.
- ● Wheelbarrow or tarp – To transport soil and roots (a 10x10 ft tarp works well).
- ● Garden hose with nozzle – For wetting the soil before digging (helps reduce root damage).
- ● Sturdy gloves – Garden or work gloves (thick, cut-resistant if dealing with sharp roots).
- ● Burlap or landscape fabric – 10–12 ft wide, to wrap the root ball for protection during transport.
- ● Staple gun or twine – To secure the burlap around the root ball.
- ● Measuring tape – To assess root ball size and dig depth.
- ● Pruning shears – For trimming fronds or branches if needed.
- ● Root stimulator or mycorrhizal fungi – Helps the tree recover post-transplant.
- ● Tractor or skid-steer loader – For large palm trees (50+ ft tall).
- ● Post-hole digger – If the root ball is extra deep or compacted.
- ● Plastic sheeting – To line the hole and prevent soil loss during transport.
Step-by-Step guide to safely moving a palm tree
Here’s how to handle the heavy lifting without damaging your tree’s delicate roots.
Prepare the Site and Gather Tools
Choose a day when temperatures are mild—60-75°F—to minimize stress on the palm. Clear the area within 3 feet of the trunk, removing rocks, debris, and any low branches that might snag tools. You’ll need a shovel with a sharp blade, pruning shears, burlap or landscape fabric, twine or rope, and a wheelbarrow or dolly for moving the root ball.
I always mark the tree’s drip line—the outer edge of the canopy—with spray paint. This helps me remember how far to dig. A palm’s root system spreads 1.5 times wider than its height, so plan for a wide, deep hole at the new location. If your palm is over 10 feet tall, consider calling a professional—these trees get heavy fast.
Prune and Loosen the Roots
Start by trimming one-third of the fronds—the large, fan-shaped leaves—to reduce weight and water loss. Use pruning shears to cut fronds at their base, leaving 2-3 inches of stem. This also helps the tree focus energy on root recovery. Wrap the remaining fronds with twine or rope to protect them during transport.
Dig a circular trench around the trunk, about 12-18 inches deep, using your shovel. Work slowly to avoid cutting major roots. Once you’ve gone halfway around, stop and loosen the soil with the shovel’s flat edge. The goal is to encourage the roots to stay intact—don’t yank or pull. If the tree is large, you may need to rent a root saw for stubborn roots near the trunk.
Lift and Secure the Root Ball
Carefully dig beneath the root ball, working your way deeper until you can slide the shovel under the widest part. Lift gently—palm trees can weigh hundreds of pounds—and place the root ball on a burlap or landscape fabric to protect the roots. If the root ball is too heavy, slide it onto a dolly or wheelbarrow instead of lifting.
Secure the root ball with twine or rope, tying it every 12 inches around the base. This keeps the fabric in place and prevents roots from spilling out during transport. If the tree is small enough, you can carry it by the trunk, but for larger palms, use a dolly or a tarp with straps to distribute the weight evenly.
Transport and Plant in the New Location
Move the palm slowly and steadily to avoid jostling the roots. If you’re driving, cover the root ball with a tarp to keep it shaded and moist. Once at the new site, dig a hole twice as wide and just as deep as the root ball. The top of the root ball should sit 1-2 inches above ground level—palms hate sitting too deep.
Lower the palm into the hole, keeping the burlap in place until planting. Backfill with the original soil, tamping down lightly to remove air pockets. Water deeply but slowly—10 gallons for every inch of trunk diameter—to settle the soil. Avoid overwatering, which can suffocate roots. Mulch the base with 2-3 inches of organic mulch to retain moisture and regulate temperature.
Aftercare for a Healthy Recovery
Keep the transplanted palm shaded for the first 2-3 weeks using a lightweight shade cloth or temporary structure. Water every 2-3 days until new growth appears—look for fresh fronds or budding leaves as a sign of recovery. Avoid fertilizing for at least 3 months to let the roots establish without competition.
Real talk: Even with perfect technique, some fronds may yellow or drop. Don’t panic—this is normal as the tree adjusts. If you see new growth within 6-8 weeks, you’ve done it right. For extra insurance, apply a rooting hormone to the root ball before planting if your palm is particularly large or delicate.
Tips & tricks for stress-free palm tree transplanting
Moving a palm tree without damaging its roots takes careful planning—and a few tricks from the pros. Here’s how to make the process smoother and ensure your tree thrives after transplanting.
Timing is Everything: The ideal transplant window is during the tree’s active growing season, which varies by species. For most palms, late spring or early fall—when temperatures hover around 60-75°F—is perfect. Avoid extreme heat or cold, as these stress the tree. I’ve learned the hard way that transplanting during summer drought or winter freezes can kill even the hardiest palms.
Protect Those Roots: When digging the circular trench in Step 2, work in stages rather than all at once. After completing the halfway point, stop and loosen the soil with your shovel’s flat edge rather than digging deeper. This prevents roots from tearing or snapping. For stubborn roots near the trunk, a rented root saw works wonders—but only if you’re prepared to handle the extra time and effort. Remember, the goal is to keep that root ball intact.
Equipment Upgrade: If you’re moving a palm over 10 feet tall, don’t attempt this alone. Rent a tree spade or hire a professional—these tools and expertise make all the difference. For smaller palms, a sturdy dolly and extra twine can save your back. I always double-check that my dolly wheels are secure before lifting, especially if the root ball feels heavier than expected.
Aftercare Matters: The first 2-3 weeks of shade and consistent watering are critical. Use a lightweight shade cloth rather than a heavy tarp, which can trap too much heat. I’ve seen transplanted palms recover beautifully when given this extra care—even if some fronds yellow initially, new growth within 6-8 weeks is a great sign. Avoid fertilizing for at least 3 months, as the tree needs to focus on root establishment, not foliage.
Pro Tips for Dig Up A Palm Tree For Transplant
- Moving a palm tree without damaging its roots takes careful planning—and a few tricks from the pros.
- Timing is Everything: The ideal transplant window is during the tree’s active growing season, which varies by species.
- Protect Those Roots: When digging the circular trench in Step 2, work in stages rather than all at once.
Frequently asked questions
Got questions about transplanting your palm tree? You’re not alone—this process can feel intimidating! Here are answers to the most common concerns to help you dig in with confidence.
How do I know when the best time to dig up a palm tree is?
The ideal window is during the cool, dry season—typically late fall or early winter (November–February in most U.S. regions). Avoid extreme heat or frost, as these stress the tree. Young palms (under 5 years) adapt faster, while mature trees need extra care. Pro tip: Water the tree heavily 2–3 days before digging to loosen the soil!
What if my palm tree is too large for my team to handle alone?
For palms with trunks wider than 6 inches or heavy root balls, rent a skid-steer loader or hire a professional arborist. These machines can lift the root ball intact while minimizing damage. Warning: Never use a chainsaw on the trunk—focus on the roots only!
Can I transplant a palm tree without digging up the entire root ball?
Yes! For smaller palms (<3 feet tall), try the “root pruning” method:
- Dig a trench around the perimeter to expose roots.
- Sever 1/3 of the roots with a sharp spade.
- Lift and replant immediately in moist soil.
What should I do if the palm tree’s leaves turn brown after transplanting?
Brown fronds are normal for 2–4 weeks post-transplant due to stress. To help recovery:
- Keep the soil consistently moist (not soggy).
- Avoid fertilizing for 3 months.
- Prune dead fronds only after new growth appears.
Are there palm trees that are easier to transplant than others?
Dwarf varieties (e.g., Pygmy Date Palm, Parlor Palm) and clumping palms (like Bismarck Palm) handle transplanting best due to their flexible root systems. Avoid Mexican Fan Palms or Royal Palms—they’re sensitive and often die post-move. Research your species first!
| Quick Troubleshooting Guide |
|---|
| Problem: Root ball breaks during digging |
| Fix: Use a wide shovel to slice the root ball in sections, then reassemble with burlap and wire. |
| Problem: Tree wilts immediately after planting |
| Fix: Recheck soil moisture and ensure the root flare is above ground level. Shade the tree for 1–2 weeks. |
Wrapping up and next steps
Digging up a palm tree might seem daunting, but with the right tools, patience, and care, you can successfully transplant it into a new home. Remember, timing, preparation, and gentle handling are key to ensuring your palm thrives in its new location.
Now that you’re armed with these tips, take a deep breath—you’ve got this!
Ready to give your palm tree a fresh start? Mark your calendar, gather your supplies, and begin the process on a cool, overcast day. Your hard work will pay off with a lush, healthy tree for years to come! 🌿✨