
Pruning
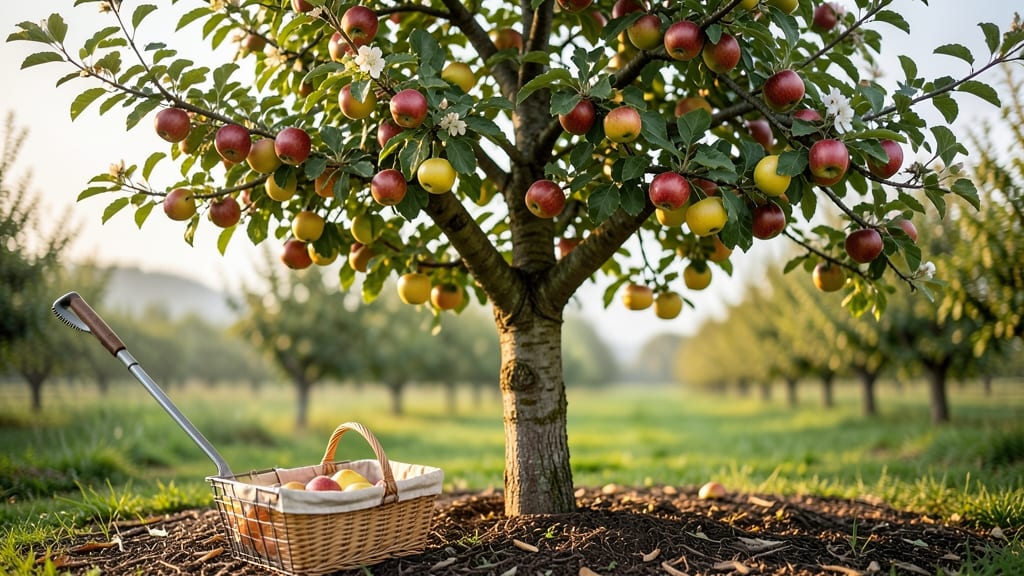
When fruit tree picking hits the sweet spot, you're not just harvesting—you're capturing summer in every bite. 🌿 The difference between mealy apples and juicy perfection comes down to timing, and I’ve learned the hard way that waiting for the right moment makes all the difference.
Peaches blush soft pink, apples develop that signature crunch, and citrus bursts with flavor only when they’re ready. You’ll need a few basics: sharp pruners for clean cuts, a sturdy ladder for high branches, and a bucket lined with fabric to prevent bruising.
Seasonal shifts matter too—late summer heat speeds up ripening, while cooler fall days slow it down.
By the time you’re done, you’ll have baskets full of fruit at its peak—firm yet yielding, fragrant enough to fill the air, and bursting with flavor that store-bought can’t match. The secret? Checking for color, texture, and that telltale give when you gently squeeze.
Works for backyard orchards, urban patios, or even container-grown trees—just adjust for your climate. Here’s how to nail it every season.
📚 In This Guide
- What you need
- Instructions
- Tips and common mistakes
- Wrapping up and next steps
What you need
- ● Harvesting tools: Pruning shears (bypass or anvil type, 4-6 inch blade)
- ● Fruit picking pole (adjustable, 6-10 feet) – especially for tall trees like apples or cherries
- ● Harvesting bag or bucket (lightweight, 5-10 gallon capacity)
- ● Ladder (extendable, 12-20 feet) – for hard-to-reach branches
- ● Safety gear: Work gloves (gardening or heavy-duty, cut-resistant preferred)
- ● Sun protection (hat, sunglasses, SPF 30+ sunscreen)
- ● Harvesting aids: Sharp knife or fruit pickers (for delicate fruits like peaches or plums)
- ● Twine or burlap sacks (for bulk harvesting)
- ● Harvesting basket with a lid (to keep fruit fresh and shaded)
- ● Portable fruit cooler (for preserving quality during transport)
- ● Magnifying glass (to check for pests or ripeness cues on small fruits)
- ● Notebook or app (to track harvest dates, tree varieties, and ripeness notes)
- ● Knowledge of your fruit tree’s peak ripeness indicators (color, firmness, scent)
- ● Access to the tree (ensure branches are sturdy and safe to climb)
- ● Weather check: Harvest on a cool, cloudy day to prevent bruising
Step-by-step guide for harvesting fruit at perfect ripeness
Timing matters more than technique when it comes to fruit—here's how to know exactly when to pick.
🍎 Step 1: Learn Each Fruit's Ripeness Cues
No two fruits ripen the same way, so memorize these visual and tactile clues. Apples should separate easily from the branch when gently twisted—if they resist, wait another week. Peaches give slightly when held, and their skin blushes near the stem. Cherries darken fully and pull free with minimal pressure.
Stone fruits like plums and nectarines develop a fragrant, sweet smell at peak ripeness. Citrus fruits like oranges and lemons should feel heavy for their size and yield slightly to gentle pressure. Grapes change from green to their mature color and taste sweeter when plucked directly from the cluster.
Here's the thing—don't rely on color alone. A red apple can stay hard and tart until it reaches the perfect internal sugar level. Use a combination of color, scent, and the "twist test" for accurate results every time.
☀️ Step 2: Time Your Harvests by Season and Variety
Most fruit trees follow predictable seasonal patterns, but exact timing depends on your climate and specific varieties. Early-season fruits like strawberries and blueberries ripen first, typically in late spring to early summer. Stone fruits peak in mid-to-late summer, while apples and pears mature in late summer to fall.
I always check my local frost dates and adjust accordingly. For example, peaches in my zone ripen in early August, but if we have an unusually warm spring, they might be ready by late July. Keep a harvest journal to track when your specific varieties reach peak flavor each year.
Don't harvest in extreme heat or direct sunlight—fruit softens too quickly and bruises easily. Early morning is ideal because the fruit is cool and firm. If you must pick during the day, work in the shade and handle fruit gently to prevent sunburn.
✂️ Step 3: Use Proper Picking Techniques
How you remove fruit from the tree affects its shelf life and quality. For most fruits, use a sharp pair of pruning shears or a clean, sharp knife to cut the stem about ¼ inch above the fruit. This prevents the fruit from drying out through the stem and extends storage life.
For fruits that don't need stems (like grapes or berries), gently twist them free or use scissors to avoid damaging nearby fruit. Never pull or yank—this can tear the branch or leave part of the stem attached, which speeds up spoilage. I always carry a small bucket lined with a soft cloth to prevent bruising during the harvest.
Real talk: If you're picking for fresh eating, you can be a little rougher with handling. But if you're storing or shipping the fruit, take extra care. Even small bruises create entry points for rot and shorten shelf life dramatically.
📅 Step 4: Know When to Leave Fruit on the Tree
Not all fruit should be picked at its absolute peak ripeness. Some varieties (like certain apple cultivars) develop better flavor and texture when left on the tree slightly past their prime. Others, like stone fruits, become mealy and lose quality if overripe.
Watch for signs of overripeness: wrinkled skin, soft spots that give under pressure, or fruit that falls easily when gently shaken. These are clear signals it's past its prime. I always leave a few extra fruits on the tree as a reference—if they start dropping on their own, it's time to harvest everything.
Some fruits (like pears) actually ripen better after being picked. These should be harvested when they're firm but fully colored, then stored at room temperature until ripe. Others (like peaches) must be picked at peak ripeness—they won't soften properly once harvested.
🌿 Step 5: Store and Use Immediately After Picking
Proper post-harvest handling makes all the difference. Most stone fruits and berries should be used within 2-3 days of picking. Store them in a single layer in the refrigerator, never stacked, to prevent bruising. Apples and pears keep best in a cool, dark place like a root cellar or unheated garage.
Here's a pro tip: Wrap individual fruits in newspaper before storing to absorb moisture and prevent spoilage. For long-term storage, remove any damaged or bruised fruit immediately—these will rot and spread decay to the rest of your harvest.
Don't wash fruit until you're ready to eat it. The natural waxy coating protects against spoilage, and washing removes this protective layer. If you must clean before storage, pat dry thoroughly with a clean towel to prevent mold growth.
Tips & tricks for perfect fruit tree harvesting
Timing your fruit harvest correctly transforms a good crop into an exceptional one—here's how to avoid common mistakes and get it right every time.
Seasonal Adjustments: Your local frost dates are your best friend! I always check the average first frost date in my area and work backward to estimate harvest windows. For example, peaches typically need 10-14 days of warm weather after flowering to ripen properly. If spring was unusually cold, you might need to wait an extra week or two beyond the usual schedule. Keep a simple calendar marking key dates for each fruit variety.
The Twist Test Technique: In Step 1, the "twist test" is your most reliable indicator—but there's a trick to it. For apples, twist gently while looking at the stem. If it comes free with a slight popping sound, it's ready. If it resists, wait another day. For stone fruits, they should yield slightly when held in your palm (like a ripe avocado). I learned this the hard way after picking peaches that were still hard and mealy inside.
Storage Strategy: Step 5 mentions storing stone fruits for 2-3 days, but here's the key: separate varieties by ripeness. Place the most ripe fruits on top of the refrigerator crisper drawer and less ripe ones below. This way, the ethylene gas from the ripe ones helps speed up ripening for the others. For long-term storage, I use perforated plastic bags with paper towels inside to absorb excess moisture—this keeps apples crisp for weeks.
Equipment Upgrade: While pruning shears work, I've found that a fruit harvesting hook makes picking high branches much safer. For delicate fruits like grapes or cherries, I use a small pair of kitchen scissors with rounded tips to avoid crushing the fruit. Always keep a small bucket lined with a soft cloth nearby—it catches fallen fruit and prevents bruising from dropping.
Pro Tips for Fruit Tree Picking
- Timing your fruit harvest correctly transforms a good crop into an exceptional one—here's how to avoid common mistakes and get it right every time.
- Seasonal Adjustments: Your local frost dates are your best friend!
- The Twist Test Technique: In Step 1, the "twist test" is your most reliable indicator—but there's a trick to it.
Frequently asked questions
Got questions about fruit tree picking? You’re not alone! Here are some of the most common concerns—and their answers—to help you harvest like a pro.
When is the best time to pick fruit from a tree?
The ideal time depends on the fruit, but ripe but firm is the golden rule. For example, peaches yield slightly when gently pressed, while apples should separate easily from the stem. Check your tree’s specific variety—some (like cherries) ripen all at once, while others (like figs) can be picked over weeks. Always taste-test a few!
How do I know if my fruit is overripe or underripe?
Overripe fruit often feels mushy, smells fermented, or has soft spots. Underripe fruit may be hard, tart, or fail to release easily from the stem. For citrus, a slight give is normal, but a hollow sound when tapped means it’s past its prime. When in doubt, pick early—many fruits ripen off the tree (like bananas or avocados) but won’t improve if left too long.
What should I do if birds or pests are eating my fruit before I can pick it?
Start with netting (especially for berries or stone fruits) to block birds and insects. For pests like aphids, spray neem oil or insecticidal soap. Handpick larger critters (like squirrels) if they’re a recurring issue. Pro tip: Harvest early in the morning when pests are less active, and shake trees gently to dislodge eggs or larvae before they hatch.
Can I pick fruit that’s fallen to the ground?
Some fallen fruit (like apples or pears) is still safe to eat if it’s just ripe, but avoid those with mold, bruises, or signs of rot. Ground fruit may attract pests or wildlife, so clean up promptly. For varieties prone to dropping (like plums), pick when 70-80% ripe—they’ll finish ripening off the tree. Always wash before eating!
What’s the best way to store freshly picked fruit?
Storage depends on the fruit:
- Stone fruits (peaches, plums): Store unwashed in a paper bag in the fridge for 3–5 days.
- Citrus (oranges, lemons): Keep at room temp for a few days, then refrigerate for longer shelf life.
- Berries: Rinse gently, pat dry, and store in a single layer with a paper towel to absorb moisture.
Wrapping up and next steps
Picking fruit at peak ripeness is both a rewarding and delicious experience—one that connects you directly to nature’s bounty! 🍎🌿 By following the seasonal harvesting timelines and tips shared here, you’ll ensure your fruit is juicy, flavorful, and ready to enjoy (or preserve).
Whether you’re a backyard gardener or a homesteader, every harvest is a step toward self-sufficiency and pure satisfaction.
Ready to take the next step? Mark your calendar for this year’s harvest seasons, and get out there and pick! Share your favorite fruit-picking memories or tips in the comments—we’d love to hear from you! 🌟