
Planting
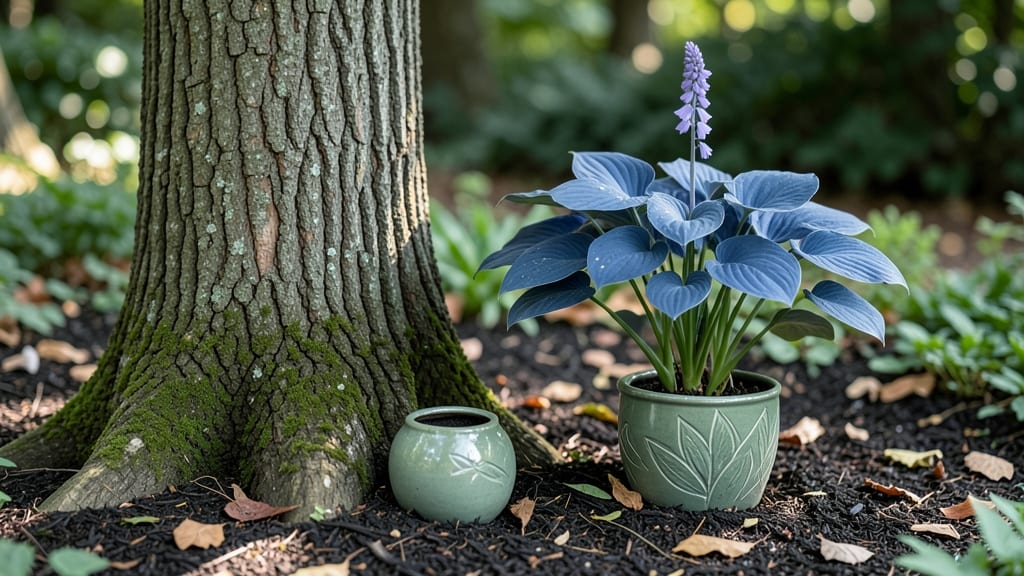
A tree stump plant stand turns yard clutter into a stylish vertical garden that instantly elevates small spaces. 🌿 I stumbled upon this idea after clearing an old oak stump and realized its natural shape could hold plants beautifully—no fancy tools or expensive materials required.
The best part? It’s free if you already have the stump, and the process takes less than a weekend.
You’ll need basic supplies: sandpaper for smoothing rough edges, outdoor paint or stain to protect the wood, and a sealant to keep moisture out. Optional touches like moss or pebbles add texture, while pre-drilled holes let roots breathe.
The result? A rustic, functional centerpiece that blends seamlessly with cottage gardens or urban patios.
Imagine trailing ferns spilling over the edges or succulents nestled in the crevices—your stump becomes a living art piece that thrives for years. It’s perfect for balconies, entryways, or even as a whimsical seating accent. The sustainability factor? Unmatched. Repurposing what’s already there reduces waste while adding charm.
Durability is key, so I’ll share my fail-proof sealing tricks and how to choose plants that match your climate. Whether you’re a beginner or a seasoned gardener, this project proves that great design starts with what you’ve got. Ready to transform that stump into a statement piece?
📚 In This Guide
- What you need
- Instructions
- Tips and common mistakes
- Wrapping up and next steps
What you need
- ● 1 tree stump – Freshly cut or weathered (diameter: 6"–12" for small plants, 12"–24" for larger displays). Pro tip: 💡 Sand or seal the edges if the stump is rough!
- ● 1–2 bags of potting soil – Lightweight, well-draining mix (1–2 cubic feet, depending on stump size).
- ● 1–2 small potted plants – Succulents, herbs, or trailing plants (e.g., sedum, mint, or string of pearls) work best!
- ○ 1 waterproof sealant (optional but recommended) – Outdoor wood sealant or polyurethane to protect the stump.
- ● Safety gloves – For handling rough stumps or soil.
- ● Saw or drill with hole saw bit – To create drainage holes (if your stump is solid wood).
- ● Trowel or small shovel – For filling the stump with soil.
- ● Paintbrush or foam brush – For applying sealant (if using).
- ● Measuring tape – To check stump depth and plant spacing.
- ● Decorative paint or chalk – For customizing the stump (e.g., stripes, patterns, or names).
- ● Moss or decorative stones – To add texture around the base.
- ● Small garden lights or solar-powered stakes – For evening ambiance.
- ● Watering can with a long spout – Makes watering plants in tight spaces easier!
How to build a sturdy tree stump plant stand for elevated gardening
Turn an old stump into a charming, functional centerpiece for your small-space garden—here's how to do it safely and stylishly.
🪴 Step 1: Select and Prepare the Stump
Choose a dry, rot-resistant stump that's at least 12 inches in diameter and 6-8 inches tall (taller stumps need extra stability). Sand down rough edges with 80-grit sandpaper—this prevents splinters and gives your stand a polished look. I like to work outside to avoid dust, but if you must go indoors, wear a dust mask and open windows.
Check for hollow spots or cracks—these weaken the structure. Tap the stump firmly with a hammer; if it sounds hollow, skip it. A solid stump will support 15-20 pounds of soil and plants without tipping. For extra stability, drill two ¼-inch holes through the sides near the base to insert rebar stakes later.
✂️ Step 2: Create Drainage and Planting Chambers
Use a hole saw or spade bit to cut three 4-inch diameter holes evenly spaced around the stump's top. These will hold your plants. The holes should be deep enough to accommodate 3-inch pots (or larger if using self-watering planters). I mark the center of the stump with a pencil first to keep holes symmetrical.
Line each hole with landscape fabric to prevent soil from washing out. This is especially important if your stump sits on a deck or patio. The fabric also blocks weeds from creeping into the planting area. Leave ½ inch of fabric hanging over the edge to secure it later with landscape staples.
💧 Step 3: Add Soil and Install Planters
Fill each hole with lightweight potting mix (avoid garden soil—it compacts and drains poorly). I use a 50/50 blend of potting mix and perlite to improve aeration. Press the soil down gently but firmly; it should be moist but not soggy to the touch. Add slow-release fertilizer (like osmocote) to the mix for a 3-month nutrient boost—this prevents root competition between plants.
Place your self-watering planters or 3-inch pots into the holes. For extra stability, secure them with plastic plant ties wrapped around the stump. If using self-watering planters, ensure the reservoir tubes face outward to avoid spills. Water the soil thoroughly after planting to settle everything in place.
☀️ Step 4: Stabilize and Style Your Stand
Insert two 12-inch rebar stakes into the pre-drilled holes at the base of the stump. Bend them outward slightly and secure them to the ground with landscape staples or u-shaped anchors. This prevents tipping, especially in windy conditions. For a decorative touch, wrap the rebar with burlap or twine to blend it into the rustic aesthetic.
Arrange your plants with sun exposure in mind—group sun-lovers (like succulents or herbs) together and shade-tolerant plants (like ferns or impatiens) on the north or east side. A small watering can with a long spout makes top-ups easier without disturbing the soil. Step back and admire your vertical garden—it’s a game-changer for small spaces!
Tips & tricks for perfect tree stump plant stands
Here's what I've learned after transforming several stumps into stunning vertical gardens—these details make all the difference.
Stump Selection: Don't underestimate the importance of that initial selection. Look for stumps with a 12-inch diameter and 6-8 inches of height—this gives you the perfect balance of stability and planting space. I once used a slightly smaller stump that wobbled when I planted my herbs, so I had to reinforce it with extra rebar. The key is finding one that's solid when tapped with a hammer; a hollow sound means it won't hold weight.
Precision Cutting: When creating those 4-inch diameter holes in Step 2, I recommend marking the center with a pencil first to ensure perfect symmetry. Use a hole saw or spade bit and take your time—rushing can lead to uneven holes that make planting difficult. For extra stability, I drill the holes slightly deeper than needed to accommodate the pot's depth plus an extra inch for drainage.
Soil Blend Strategy: The 50/50 blend of potting mix and perlite is non-negotiable for proper aeration. I've tried using straight potting mix before, and while it works, the plants dry out faster. The perlite creates those essential air pockets while still allowing good drainage. Press the soil down gently but firmly—it should hold its shape when you touch it but not feel compacted like wet sand.
Stabilization Hack: For the rebar stakes in Step 4, I bend them outward just slightly before securing them. This creates a natural counterbalance that prevents tipping. If you're placing your stand on a deck or patio, consider adding four stakes instead of two for extra security. The decorative wrap with burlap or twine isn't just for looks—it also helps camouflage the metal and protects it from weathering.
Pro Tips for Tree Stump Plant Stand
- Here's what I've learned after transforming several stumps into stunning vertical gardens—these details make all the ...
- Stump Selection: Don't underestimate the importance of that initial selection. Look for stumps with a 12-inch diamete...
- Precision Cutting: When creating those 4-inch diameter holes in Step 2, I recommend marking the center with a pencil ...
Frequently asked questions
Got questions about turning a tree stump into a stylish plant stand?
Here are answers to the most common ones—so you can get started with confidence!
How do I know if my tree stump is safe to use as a plant stand?
Avoid stumps with active rot, soft spots, or signs of pest damage (like termite holes). If the wood feels spongy or crumbles easily, it’s not stable enough. For extra safety, reinforce the base with a metal bracket or screw it to a sturdy platform.
How long does it take for a tree stump to dry out before I can use it?
Drying time depends on the wood type and weather. In dry conditions, it may take 2–4 weeks for the surface to stabilize. For faster results, use a heat gun or hairdryer to speed up moisture evaporation, but always wear a mask to avoid inhaling dust.
What’s the best way to stabilize a wobbly tree stump plant stand?
If your stand feels unstable, anchor it to the ground with heavy-duty brackets or screws. For outdoor use, bury the base slightly or add sandbags to the bottom. A small weight (like a brick) inside the stump can also help balance taller plants.
Can I use a tree stump plant stand indoors, or is it only for outdoor gardens?
Just ensure the stump is completely dry and sealed with a non-toxic wood finish (like beeswax or polyurethane) to prevent mold. Avoid placing it near humidity sources (like bathrooms) unless properly treated. Indoor stumps add rustic charm to shelves or as a centerpiece!
What if I don’t have a tree stump—are there easy alternatives?
No stump? No problem! Try repurposing old wooden crates, cinder blocks, or even thick branches secured to a base. For a pre-made option, look for DIY plant stands or stackable ceramic pots. The key is stability—just ensure your alternative can support your plants’ weight!
Wrapping up and next steps
Transforming a tree stump into a charming plant stand is a creative and rewarding way to breathe new life into your garden—no matter how small your space!
With just a few tools and a little elbow grease, you’ve got a stunning, functional centerpiece that adds rustic flair. Now’s your chance to turn that old stump into a thriving green sanctuary!
Ready to take the next step? Grab your supplies, follow the steps, and let your imagination run wild—whether you’re styling it with succulents, herbs, or flowers. Happy gardening! 🌿✨