
Trees
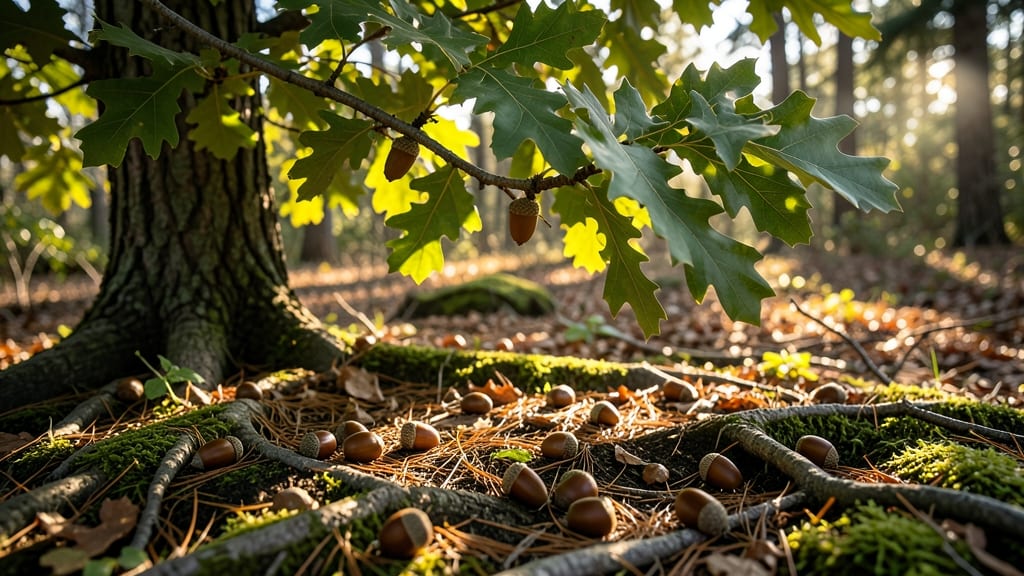
Growing red oak trees from acorns is one of nature’s most rewarding challenges—if you know the layered moisture method that cuts sprouting time from months to weeks. 🌱 I’ve spent years perfecting this technique after watching acorns sit dormant for years in my yard, and the difference is night-and-day: what once took patience now feels like a controlled process.
The secret lies in mimicking the natural conditions acorns experience in forest floors: stratification (cold moisture) followed by warmth.
You’ll need a simple setup—just acorns, damp peat moss or sand, and a sealed container—but the results are worth it: 90%+ germination rates in just 4-6 weeks instead of the usual 6-12 months. This method works even with acorns collected fresh or years-old, as long as they’re whole and plump.
By early spring, you’ll have sturdy young saplings ready for transplanting, their first leaves unfurling with a vibrant green that signals real progress. The key is consistency: keeping moisture levels steady without letting the medium dry out or rot.
Once established, these saplings grow 2-3 feet per year, and with proper care, they’ll mature into towering oaks that outlive generations.
Whether you’re restoring a forest edge or adding a future shade tree to your property, this approach turns a wild-collected acorn into a guaranteed oak seedling. The best part? You’ll learn how to troubleshoot common pitfalls—like mold or slow germination—so your first batch becomes your most successful yet.
📚 In This Guide
- What you need
- Instructions
- Tips and common mistakes
- Wrapping up and next steps
What you need
- ● Red oak acorns: 50–100 fresh, plump acorns (ensure they’re not shriveled or hollow-sounding when tapped).
- ● Water: 2–3 cups of room-temperature, filtered water (chlorine-free for best results).
- ● Container: A shallow tray, seedling tray, or even a repurposed food container (8"x12" or larger).
- ● Growing medium: A mix of 50% coarse sand (for drainage) and 50% peat moss or coconut coir (for moisture retention). Aim for 2–3 cups total.
- ○ Plastic wrap or breathable lid: To create a humid environment (optional but highly recommended).
- ● Spray bottle: For gentle misting (10–15 oz capacity).
- ● Glove: 1 pair (nitrile or rubber) to protect hands from tannins.
- ● Measuring cup: For precise medium ratios.
- ● Small knife or pruner: To trim acorn caps (if needed) for faster hydration.
- ● Label & marker: To track planting dates and progress.
- ● Patience! 😉 Acorns may take 4–8 weeks to sprout—consistency is key.
- ● Grow lights or a sunny windowsill (if natural light is limited).
- ● Humidity dome or clear plastic bag (alternative to plastic wrap).
- ● pH test kit (ideal soil pH: 5.0–6.5 for oak acorns).
- ● Journal or notebook to log moisture levels and sprouting milestones.
Step-by-Step guide to sprouting red oak acorns using the layered moisture method
Here's how to break dormancy and coax strong seedlings from acorns in just weeks.
🌱 Step 1: Stratify Acorns for Dormancy Break
Fill a quart-sized container with damp sphagnum moss or peat moss (keep it moist but not soggy). Place acorns in a single layer, spacing them 1 inch apart—this prevents rot and allows airflow. Cover with another 1-inch layer of damp moss, then seal the container with plastic wrap to maintain humidity.
Store the container in your refrigerator's crisp drawer (around 34-40°F) for 6-8 weeks. Check monthly—if the moss dries out, mist it lightly. You'll know stratification worked when tiny white roots (½ inch long) appear. This cold treatment mimics winter conditions and signals the acorn it's safe to grow.
💧 Step 2: Transition to Warm Moisture Layering
Once roots emerge, move the container to a warm, shaded spot (around 70°F). Remove the plastic wrap and place the container in a shallow tray to catch any excess moisture. Keep the moss consistently damp—press your finger into it; if it feels dry ½ inch deep, add a light mist. Avoid soaking the moss, as waterlogged conditions cause rot.
Here's the key: place the container in a clear plastic bag with a few air holes, then tie it loosely. This creates a humid microclimate that mimics spring soil conditions. Watch for the acorn shells to split open—this happens 2-4 weeks after moving to warmth. Once you see green sprouts (½ inch tall), it's time to plant.
☀️ Step 3: Plant Sprouted Acorns in Growing Medium
Fill 4-inch biodegradable pots with a mix of 50% potting soil and 50% perlite (this ensures excellent drainage). Plant each acorn 1 inch deep, with the sprout facing upward. Gently firm the soil around the acorn to eliminate air pockets but don't compact it—you want roots to push through easily.
Place the pots in a bright, indirect light location (like a north-facing window). Keep the soil consistently moist—water when the top ½ inch feels dry. Avoid overhead watering, as wet acorn shells can rot. In 4-6 weeks, you'll see the first true leaves emerge, signaling healthy growth.
⏰ Step 4: Gradually Acclimate Seedlings to Outdoor Conditions
After 6 weeks of indoor growth, start hardening off seedlings by placing them outside in a shaded, sheltered spot for 1-2 hours daily. Gradually increase exposure over 2 weeks, moving them to morning sun first (afternoon sun can scorch tender leaves). Watch for wilting—if leaves droop, bring seedlings back inside immediately.
Once seedlings tolerate 6+ hours of sunlight daily without stress, transplant them into the ground or larger containers. Choose a location with partial shade for the first year—young red oaks need protection from intense afternoon sun. Mulch around the base with 2 inches of organic mulch to retain moisture and regulate soil temperature.
Tips & tricks for perfect red oak acorn sprouting
Here's what nobody tells you about getting those acorns to sprout reliably—these little tricks make all the difference.
Stratification Success: The 6-8 weeks in your fridge isn't just about time—it's about consistency. Use a small thermometer in your crisp drawer to confirm it stays between 34-40°F. If your fridge runs warmer, move the container to a cooler spot like a basement or garage. I learned this the hard way after watching roots fail to develop in a slightly warmer drawer. The cold treatment is what breaks dormancy, so don't rush it!
Moisture Balance: When checking your moss in Step 1, squeeze a handful gently—it should feel like a damp sponge, not a dripping towel. Overwatering is the #1 reason acorns rot before sprouting. For Step 2, that clear plastic bag creates the perfect humidity, but don't seal it completely. Poke 3-4 small holes to prevent fungal growth while maintaining that tropical microclimate. The goal is dampness, not a swamp!
Visual Growth Cues: You'll know you're on track when you see these three signs: first, those tiny white roots (½ inch long) during stratification; then the acorn shell splitting open (2-4 weeks after warming); and finally, the green sprouts (½ inch tall) that signal it's time to plant. Miss any of these, and you might be dealing with stalled growth. I keep a small notebook to track these milestones—it's the best way to catch problems early.
Light Transition Strategy: That bright, indirect light in Step 3 is crucial, but don't move pots too quickly to direct sun. Start with a north-facing window, then gradually shift to east-facing as your seedlings grow stronger. I've seen tender young leaves scorch in just hours under midday sun. For faster growth, you can supplement with a grow light 12 inches above the pots—just keep it on for 14 hours daily to mimic natural daylight.
Pro Tips for Red Oak Tree Acorns
- Here's what nobody tells you about getting those acorns to sprout reliably—these little tricks make all the difference.
- Stratification Success: The 6-8 weeks in your fridge isn't just about time—it's about consistency. Use a small thermo...
- Moisture Balance: When checking your moss in Step 1, squeeze a handful gently—it should feel like a damp sponge, not ...
Frequently asked questions
How long does it take for red oak acorns to sprout using the layered moisture method?
With the layered moisture method, you’ll typically see sprouts in 4–8 weeks. Patience is key—red oak acorns are slow to germinate because their hard shells protect the embryo. Keep the layers consistently moist (not soggy), and check weekly for tiny root hairs or cracks in the shell. Cold stratification (40–50°F for 60–90 days) can speed this up!
Can I use red oak acorns straight from the tree without any prep?
Nope! Red oak acorns must be prepped first—their thick shells and tannins (bitter compounds) inhibit germination. Start with stratification (cold treatment) for 2–3 months, then soak in water for 24–48 hours before layering. Skipping these steps? You’ll likely end up with zero sprouts. Pro tip: Use a sand-and-water mix for stratification for best results!
What’s the best way to store red oak acorns before planting?
Store them in a cool, dry place (like a paper bag in the fridge) until you’re ready to stratify. Avoid plastic bags—they trap moisture and cause mold. If storing long-term (6+ months), add a desiccant packet to prevent rot. Label them with the harvest date, as freshness drops after 1–2 years.
Why are my red oak acorns rotting in the moisture layers?
Over-moisture or poor airflow is usually the culprit. Troubleshoot:
- Check drainage: Ensure your container has holes or use a breathable fabric (like burlap) between layers.
- Reduce water: Squeeze excess moisture from the sand/peat mix before layering.
- Inspect for mold: If you see fuzzy growth, discard the batch and start fresh with sterilized materials.
Pro tip: Use sterilized sand (baked at 200°F for 30 mins) to prevent fungal issues.
Are red oak acorns safe for wildlife if I don’t plant them?
Red oak acorns are a nutrient-rich snack for squirrels, deer, and birds—just avoid areas treated with pesticides. If you’re not using them, scatter a few in your yard to support local wildlife. Bonus: The tannins make them less appealing to rodents, so they’re a great low-waste option for nature lovers!
Wrapping up and next steps
Mastering the layered moisture method for red oak tree acorns unlocks a world of rewarding sprouting success—no more waiting months for stubborn seeds to break dormancy! 🌱 With the right prep, patience, and a little care, you’ll soon be nurturing tiny oak saplings into future giants.
Whether you’re a gardening newbie or a seasoned green thumb, every acorn you sprout is a step toward stronger ecosystems and stunning shade trees.
Ready to take the next step? Start small—plant a few acorns today and track their progress. Share your sprouting wins with fellow gardeners, or dive deeper into oak tree care by researching ideal transplanting times for your climate. The forest begins with a single seed—let yours grow! 🌳✨