
Trees
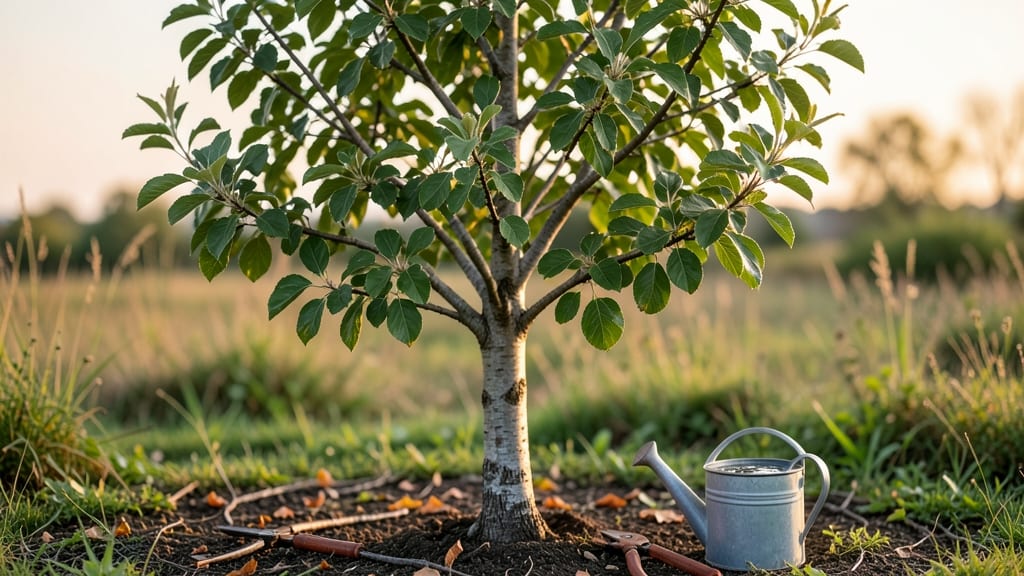
Your cherry tree leaves aren’t just food for pests—they’re nature’s pest-repellent shield when you use them right. 🌿 Last summer, my sweet cherry tree was under siege by aphids until I discovered how to harness those leaves as a natural barrier.
The secret lies in their bitter compounds that deter insects while feeding the soil.
Start by collecting fallen leaves (or gently prune a few) and brew them into a strong tea—simmer a handful in water for 20 minutes, strain, and let cool. Spray this on foliage or pour around the base to create a protective zone.
For extra defense, chop leaves and compost them directly into the soil, where they’ll release repellent oils over time.
📚 In This Guide
- What you need
- Instructions
- Tips and common mistakes
- Wrapping up and next steps
What you need
- ● Fresh or dried cherry tree leaves: 2–3 cups (enough to cover your garden area in a 1–2 inch layer). Tip: Harvest from non-sprayed trees for organic purity! 🌱
- ● Garden gloves: 1 pair (to protect your hands from thorns or rough edges).
- ● Pruners or sharp scissors: 1 pair (for harvesting leaves safely).
- ● Garden twine or mesh: 1 roll (to secure leaves in place, if needed).
- ● Watering can or hose: 1 (to moisten leaves for better adhesion).
- ● Drying rack or mesh bag: For preserving leaves if you can’t use them fresh.
- ● Compost bin: To recycle leftover leaves after use.
- ○ Mulch or straw: A thin layer (optional) to hold leaves in place.
How to use cherry tree leaves as a natural pest barrier
Here's my go-to method for creating a simple, organic pest deterrent that works in any garden.
🌿 Step 1: Collect and Prepare the Leaves
Gather fresh, fallen cherry tree leaves from clean, pesticide-free areas. Avoid leaves from trees near roads or sprayed with chemicals—you want the natural compounds intact. I collect them after a light rain when they're soft and easy to handle. Spread them out on a tarp or clean sheet to dry completely in the sun for about 2-3 days. This preserves their natural oils and makes them easier to work with.
Once dry, crush the leaves slightly with your hands or a rolling pin. The goal is to release the natural compounds that repel pests while keeping them recognizable as mulch. Too much crushing creates dust, which can blow away—just enough to break the cell structure. Store them in a dry place until ready to use.
🌱 Step 2: Apply as a Mulch Layer Around Plants
Spread a 2-3 inch thick layer of the crushed leaves around the base of your plants, extending about 12 inches outward from the stems. Focus on areas where pests like slugs, aphids, or Japanese beetles are known to gather. The key is to create a barrier that pests won't cross—think of it like a natural force field for your garden.
For best results, apply this mulch after watering your plants. The damp soil helps the leaves settle and release their pest-repelling compounds more effectively. Replenish the layer every 4-6 weeks or after heavy rain, as it breaks down over time. You'll notice fewer pests lingering near treated areas almost immediately.
☀️ Step 3: Refresh and Maintain the Barrier
Check your mulch layer every 2 weeks during active growing seasons. If it looks thin or decomposes significantly, add a fresh layer of crushed cherry leaves. This keeps the pest-repelling compounds active and maintains the physical barrier. I like to combine this with other organic methods like neem oil for even better results.
Watch for signs that the barrier is working—fewer chewed leaves, no slug trails at dawn, and healthier-looking plants. If you notice pests still getting through, increase the thickness slightly or add a second layer around particularly vulnerable plants. The leaves work best when they form a continuous barrier, so don't skip gaps between plants.
Tips & tricks for perfect cherry tree leaf pest barriers
Between us, the secret to making these natural pest barriers truly effective lies in the details. Here's what nobody tells you about getting the most out of your cherry tree leaves.
Timing is Everything: The 2-3 day drying period in Step 1 is critical—don't rush it! I learned this the hard way after using damp leaves that clumped together and didn't release their compounds properly. Place your tarp in a spot that gets morning sun but stays shaded by midday to prevent scorching. This gentle drying preserves the natural oils that repel pests while making them easier to crush.
Crushing Technique: When it comes to crushing the leaves in Step 1, think "breakfast cereal" not "powder." You want to rupture the cell structure just enough to release those pest-repelling compounds, but not so much that you create a fine dust. I use a rolling pin for large batches—it's more consistent than hand-crushing alone. Store your crushed leaves in a breathable cotton bag (not plastic) to prevent moisture buildup that could encourage mold.
Application Strategy: The 2-3 inch thickness in Step 2 creates that crucial barrier effect, but placement matters just as much. For particularly vulnerable plants, create a "double barrier"—apply a 1-inch layer first, then your main 2-3 inch layer on top. This works especially well for seedlings or plants with delicate stems. I also recommend applying the mulch in the late afternoon so the leaves have time to settle before evening pests become active.
Maintenance Insight: The 2-week check in Step 3 is your early warning system. If you notice the layer breaking down faster than expected, you might have a moisture issue—either too much rain or poor drainage. In that case, increase your layer to 3 inches initially. For container plants, mix crushed leaves directly into the potting soil at planting time for continuous protection without needing to replenish as often.
Pro Tips for Cherry Tree Leaves
- Between us, the secret to making these natural pest barriers truly effective lies in the details. Here's what nobody ...
- Timing is Everything: The 2-3 day drying period in Step 1 is critical—don't rush it! I learned this the hard way afte...
- Crushing Technique: When it comes to crushing the leaves in Step 1, think "breakfast cereal" not "powder." You want t...
Frequently asked questions
Got questions about using cherry tree leaves as a natural pest deterrent? You’re not alone! Here are answers to common queries to help you get the most out of this eco-friendly garden hack.
Why do cherry tree leaves repel pests?
Cherry tree leaves contain benzaldehyde and hydrocyanic acid, compounds that deter insects like aphids, Japanese beetles, and even slugs. The strong scent and mild toxicity make them a natural (and non-toxic) alternative to chemical sprays. Plus, they decompose harmlessly, enriching your soil!
When is the best time to harvest cherry tree leaves?
Harvest leaves in late spring to early summer when they’re fully mature but before pests like aphids infest them. Avoid leaves with visible damage or disease—they won’t be as effective. Store them in a dry, shaded spot (like a paper bag) for up to 2 weeks or dry them for longer storage.
Can I use cherry tree leaves from any species?
Most sweet cherry or tart cherry varieties work, but avoid black cherry leaves—they contain higher levels of prunasin, which can be toxic to pets or humans if ingested in large amounts. When in doubt, stick to ornamental or edible cherry trees labeled as safe.
What pests do cherry tree leaves not repel?
While effective against soft-bodied insects and slugs, cherry leaves won’t stop hard-shelled pests like earwigs, armored scale insects, or larger critters (e.g., raccoons or deer). For those, combine leaves with neem oil or physical barriers like row covers.
How do I maximize their pest-repellent power?
- Crush the leaves before using—the released oils work better.
- Place them near (not directly on) plants to avoid smothering delicate foliage.
- Reapply every 1–2 weeks or after rain, as their potency fades.
- Combine with other repellents, like garlic spray or diatomaceous earth, for stubborn pests.
Are cherry leaves safe for edible gardens?
Yes! Since they’re organic and non-toxic to plants, they’re ideal for vegetable gardens, herb beds, and fruit trees. Just avoid using them on alliums (like onions or garlic), which may compete with their scent-based repellent effects.
What’s a good alternative if I don’t have cherry trees?
Try these pest-repelling leaf alternatives:
- Mint or basil leaves (deter ants, mosquitoes, and cabbage worms).
- Lavender leaves (repels moths and flies).
- Rosemary or thyme clippings (great for slugs and beetles).
- Citrus peels (confuses pests with their scent).
Wrapping up and next steps
From their natural pest-repelling properties to their ease of use, cherry tree leaves be the unsung hero of your organic garden! 🌿 Whether you’re battling aphids, slugs, or even deer, these leaves offer a free, chemical-free solution that aligns perfectly with eco-friendly gardening.
Ready to transform your garden’s defenses? Start by harvesting a few leaves today—your plants (and your conscience) will thank you!
- Next step: Try mulching or brewing a leaf tea this weekend and watch your garden thrive naturally!
- Pro tip: Store extra leaves in a dry, shaded spot for future use—nature’s pest control is always in season! ✨